Baked Spinach Ricotta Chicken

Recipe ByAshley |
UpdatedApril 7, 2026 |
Comments
This Post May Contain Affiliate Links. Please Read Our Disclosure Policy
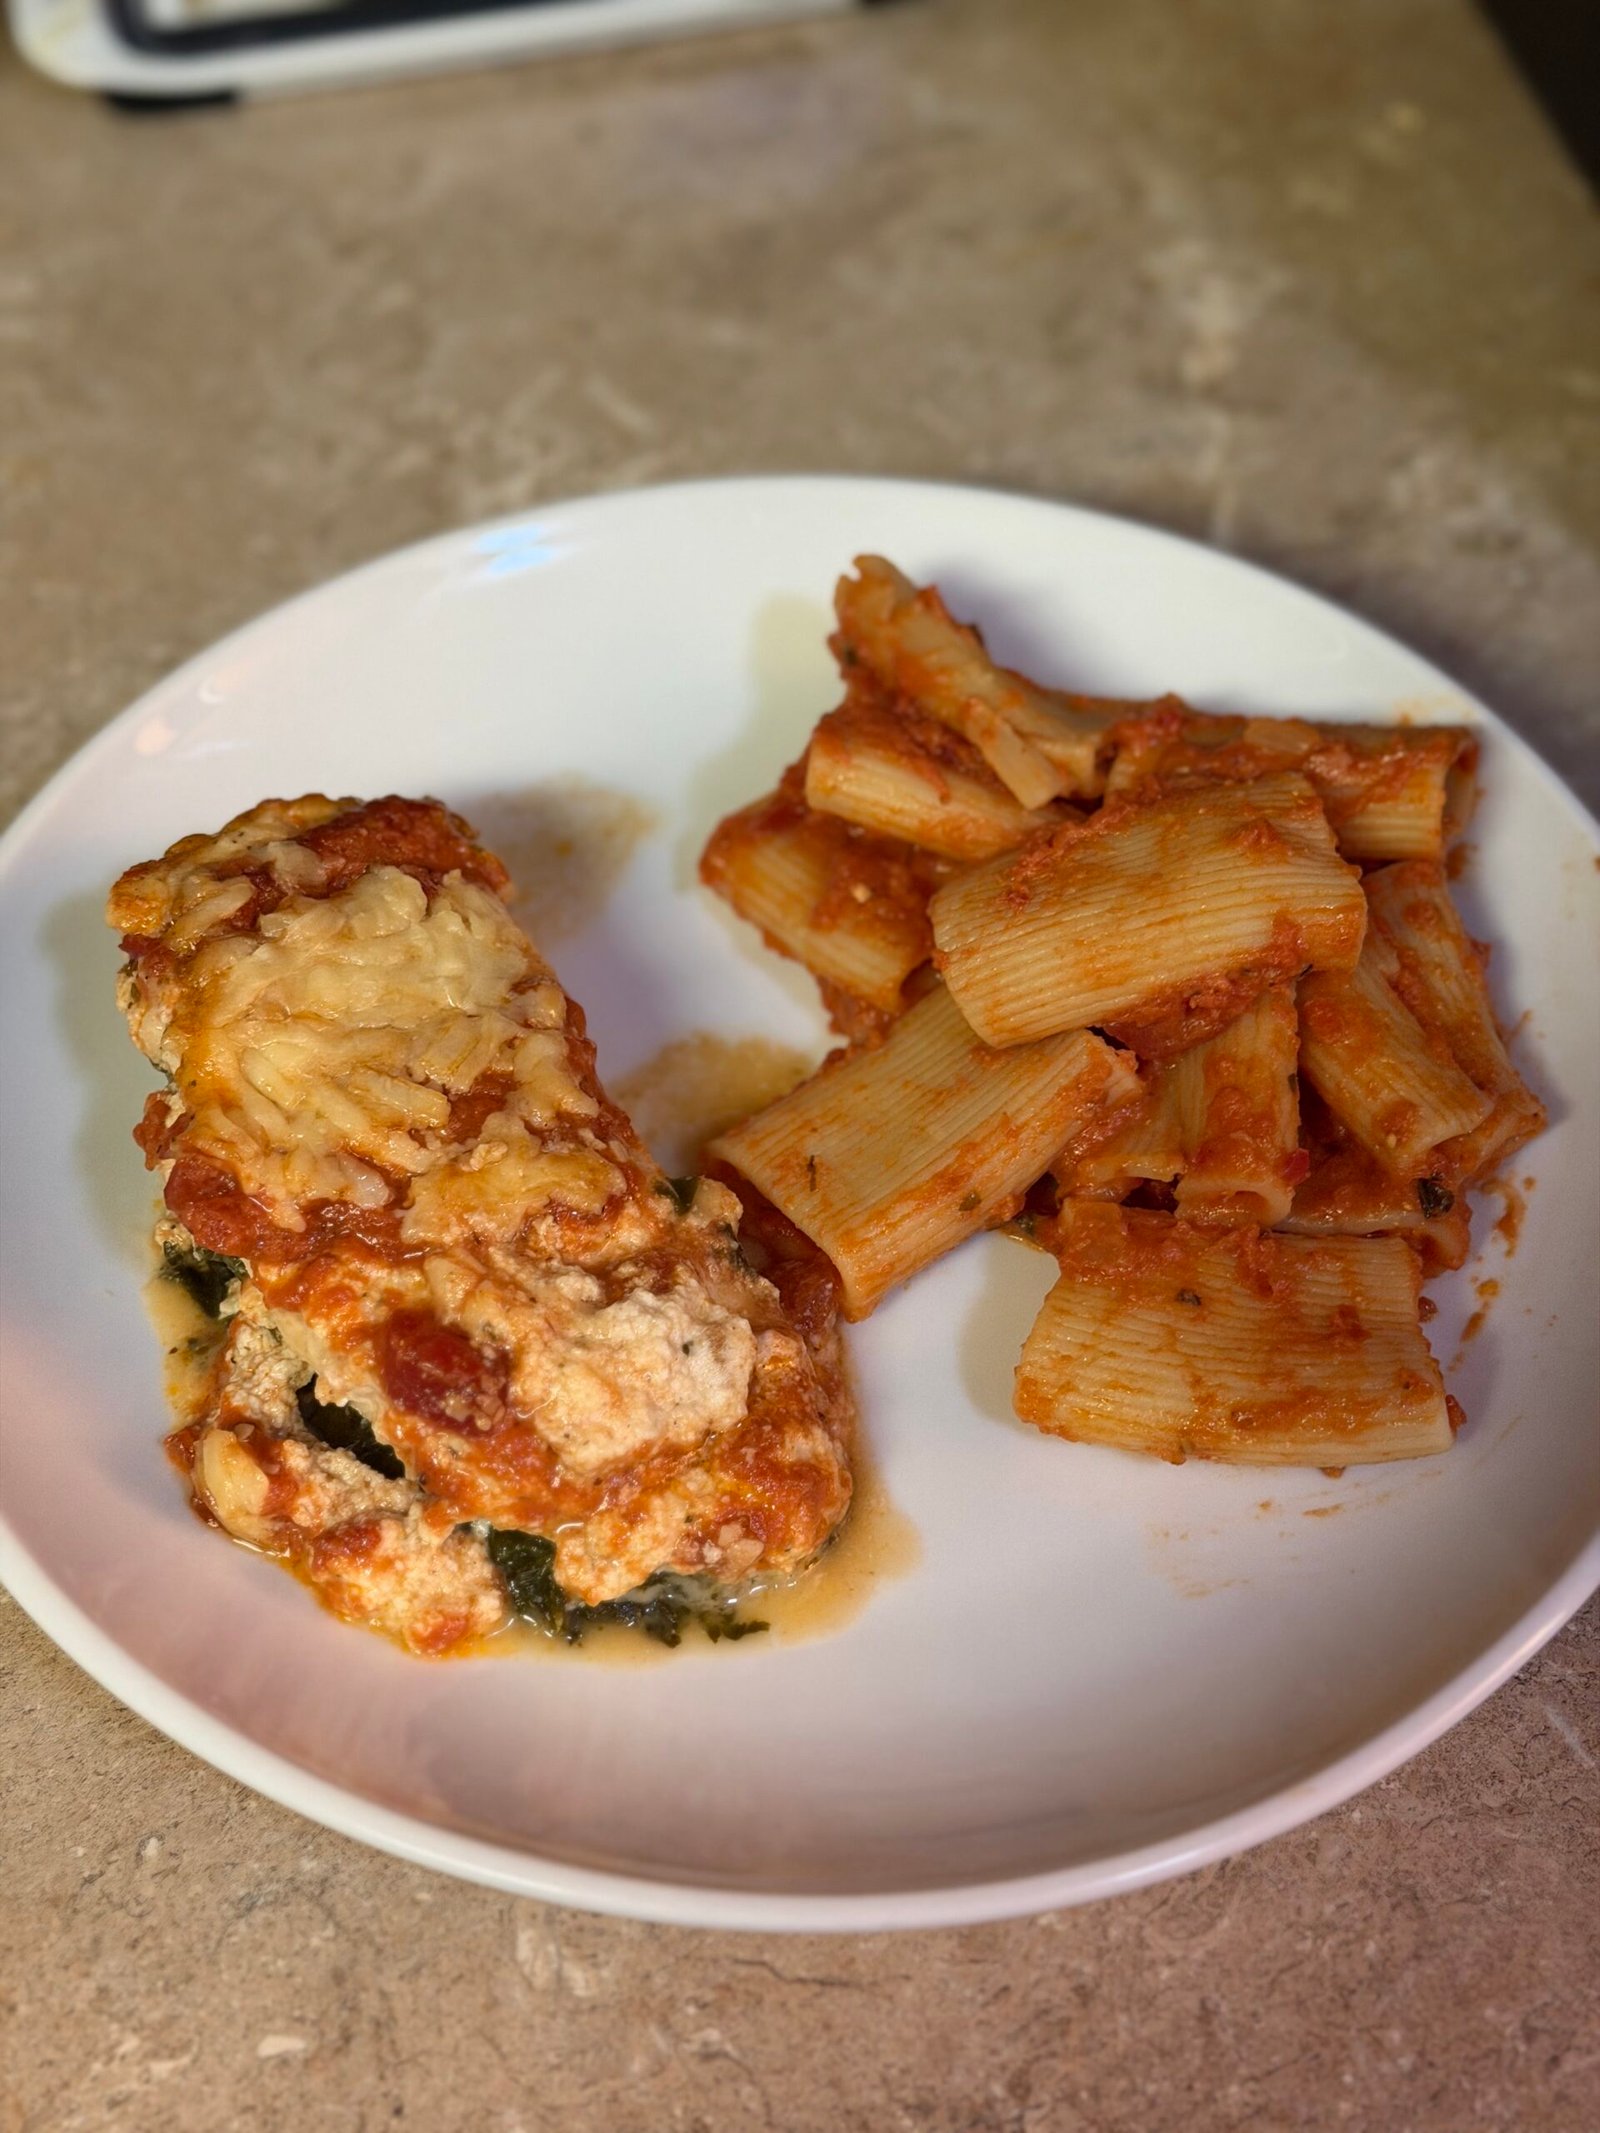
Hey friends! Ashley here. You know those Tuesday nights when you need something that feels fancy and restaurant-worthy — but you have exactly zero energy for anything complicated? That’s where this Baked Spinach Ricotta Chicken comes in and saves the day completely. We’re talking juicy chicken breasts nestled on a bed of fresh spinach, smothered in a creamy herbed ricotta filling, blanketed in marinara, and finished with a golden layer of melted parmesan — all in one single casserole dish. Forty-five minutes. One pan. The ricotta bubbles, the parmesan turns golden, and the whole kitchen fills with that unmistakable smell of a real dinner happening. Ready? Let’s go!
Why You’ll Love This Baked Spinach Ricotta Chicken
I make this baked spinach ricotta chicken on repeat — and once you try it, it earns a permanent spot in your weeknight dinner lineup. Here’s exactly why:
- One-Dish, Zero-Stress Cleanup: Everything — the spinach, chicken, ricotta filling, sauce, and cheese — goes straight into a single casserole dish. That means less prep, fewer dishes, and more time actually sitting down and enjoying dinner with your family. Weeknight cooking doesn’t get much better than that.
- Loaded with Protein & Hidden Greens: Each serving is packed with lean chicken breast protein and a full two cups of fresh spinach tucked right into the base layer. It’s one of those feel-good meals that tastes indulgent but is genuinely nourishing — and the kids won’t even notice the spinach under all that cheesy goodness.
- Kid-Approved Cheesiness: Let’s be real — if a meal is smothered in ricotta, marinara, and melted parmesan, the kids are absolutely eating it. My crew goes completely wild for this one, and even my pickiest eater asks for seconds. Cheese really is the universal love language in this house.
- Naturally Low-Carb & Gluten-Free: Skip the pasta on the side and this dish is naturally low-carb and gluten-free without any modifications at all. It fits beautifully into a lighter eating routine without ever feeling like diet food — it’s rich, satisfying, and absolutely delicious just as it is.
- Make-Ahead Friendly: You can assemble the entire casserole the night before, pop it in the fridge, and simply slide it into the oven when dinnertime rolls around. Future-you will absolutely thank present-you for this one — especially on those crazy-busy weeknight evenings.
Honestly, this is the kind of imperfectly perfect recipe that makes weeknight cooking feel less like a chore and more like something you actually look forward to.
Ingredient Spotlight: Ricotta Cheese & Fresh Spinach
Let’s talk about the star of the show — ricotta cheese. If you’ve never baked with ricotta before, prepare to fall in love. It has this magical quality where it stays creamy and fluffy in the oven, holding all those herbs and spices together in one luscious, scoopable filling. I always reach for whole-milk ricotta for this recipe — the higher fat content keeps it rich and smooth rather than grainy. Part-skim ricotta can turn a little watery during baking, and we absolutely do not want a watery casserole situation. Your grocery store’s deli section sometimes carries fresh ricotta, which is even more luxurious if you can find it!
Now let’s give some love to fresh spinach. I know what you’re thinking — can I use frozen? Technically yes, but I really do recommend fresh here. Fresh spinach creates this gorgeous, silky layer at the bottom of the casserole that soaks up all the juices from the chicken as it bakes. Frozen spinach holds a lot of water, which can make the bottom of your dish soggy rather than tender. If fresh isn’t available, thaw frozen spinach completely and squeeze every last drop of moisture out with a clean towel before using. Two cups of fresh spinach sounds like a lot, but it wilts down to almost nothing — so don’t be shy with it!
The parmesan cheese plays two roles here: it goes into the ricotta filling for depth of flavor, AND it goes on top for that irresistible golden, slightly crispy finish. I always buy a block and shred it myself — pre-shredded parmesan often has anti-caking agents that prevent it from melting as beautifully. It takes an extra two minutes and makes a genuinely noticeable difference. The same goes for your marinara sauce — use one you love the flavor of, because it’s a featured component here. A good quality jarred marinara works perfectly; no shame in that shortcut whatsoever!
Finally, don’t overlook the garlic. Three minced cloves, divided between the chicken seasoning and the ricotta filling, create incredible layers of savory flavor throughout every single bite. Fresh garlic is strongly preferred over garlic powder here — it blooms beautifully in the oven and gives the whole dish that aromatic depth that makes it taste truly homemade. And the Italian seasoning and crushed red pepper in the filling add just enough warmth and herb-forward flavor to make this taste like something your favorite Italian restaurant would be proud to serve.
Let’s Make Baked Spinach Ricotta Chicken Step-by-Step
- Preheat & Prep Your Pan: Preheat your oven to 400°F and lightly grease a 9×13 casserole dish with cooking spray or a thin layer of olive oil. Getting your oven to full temperature before you start assembling is important — that initial blast of high heat is what cooks the chicken through perfectly and gives everything gorgeous color on top.
- Butterfly & Season the Chicken: Butterfly each chicken breast and pound to an even thickness of about 1 inch. This step is everything, y’all — even thickness means every piece cooks through at exactly the same rate, no dry edges and no undercooked centers. Season both sides generously with the sea salt, cracked pepper, and half of your minced garlic.
- Layer the Spinach: Spread all of the fresh spinach evenly across the bottom of your prepared casserole dish. It’ll look like a lot right now, but don’t worry — it wilts down beautifully in the oven and creates the most wonderful tender base for the chicken to sit on.
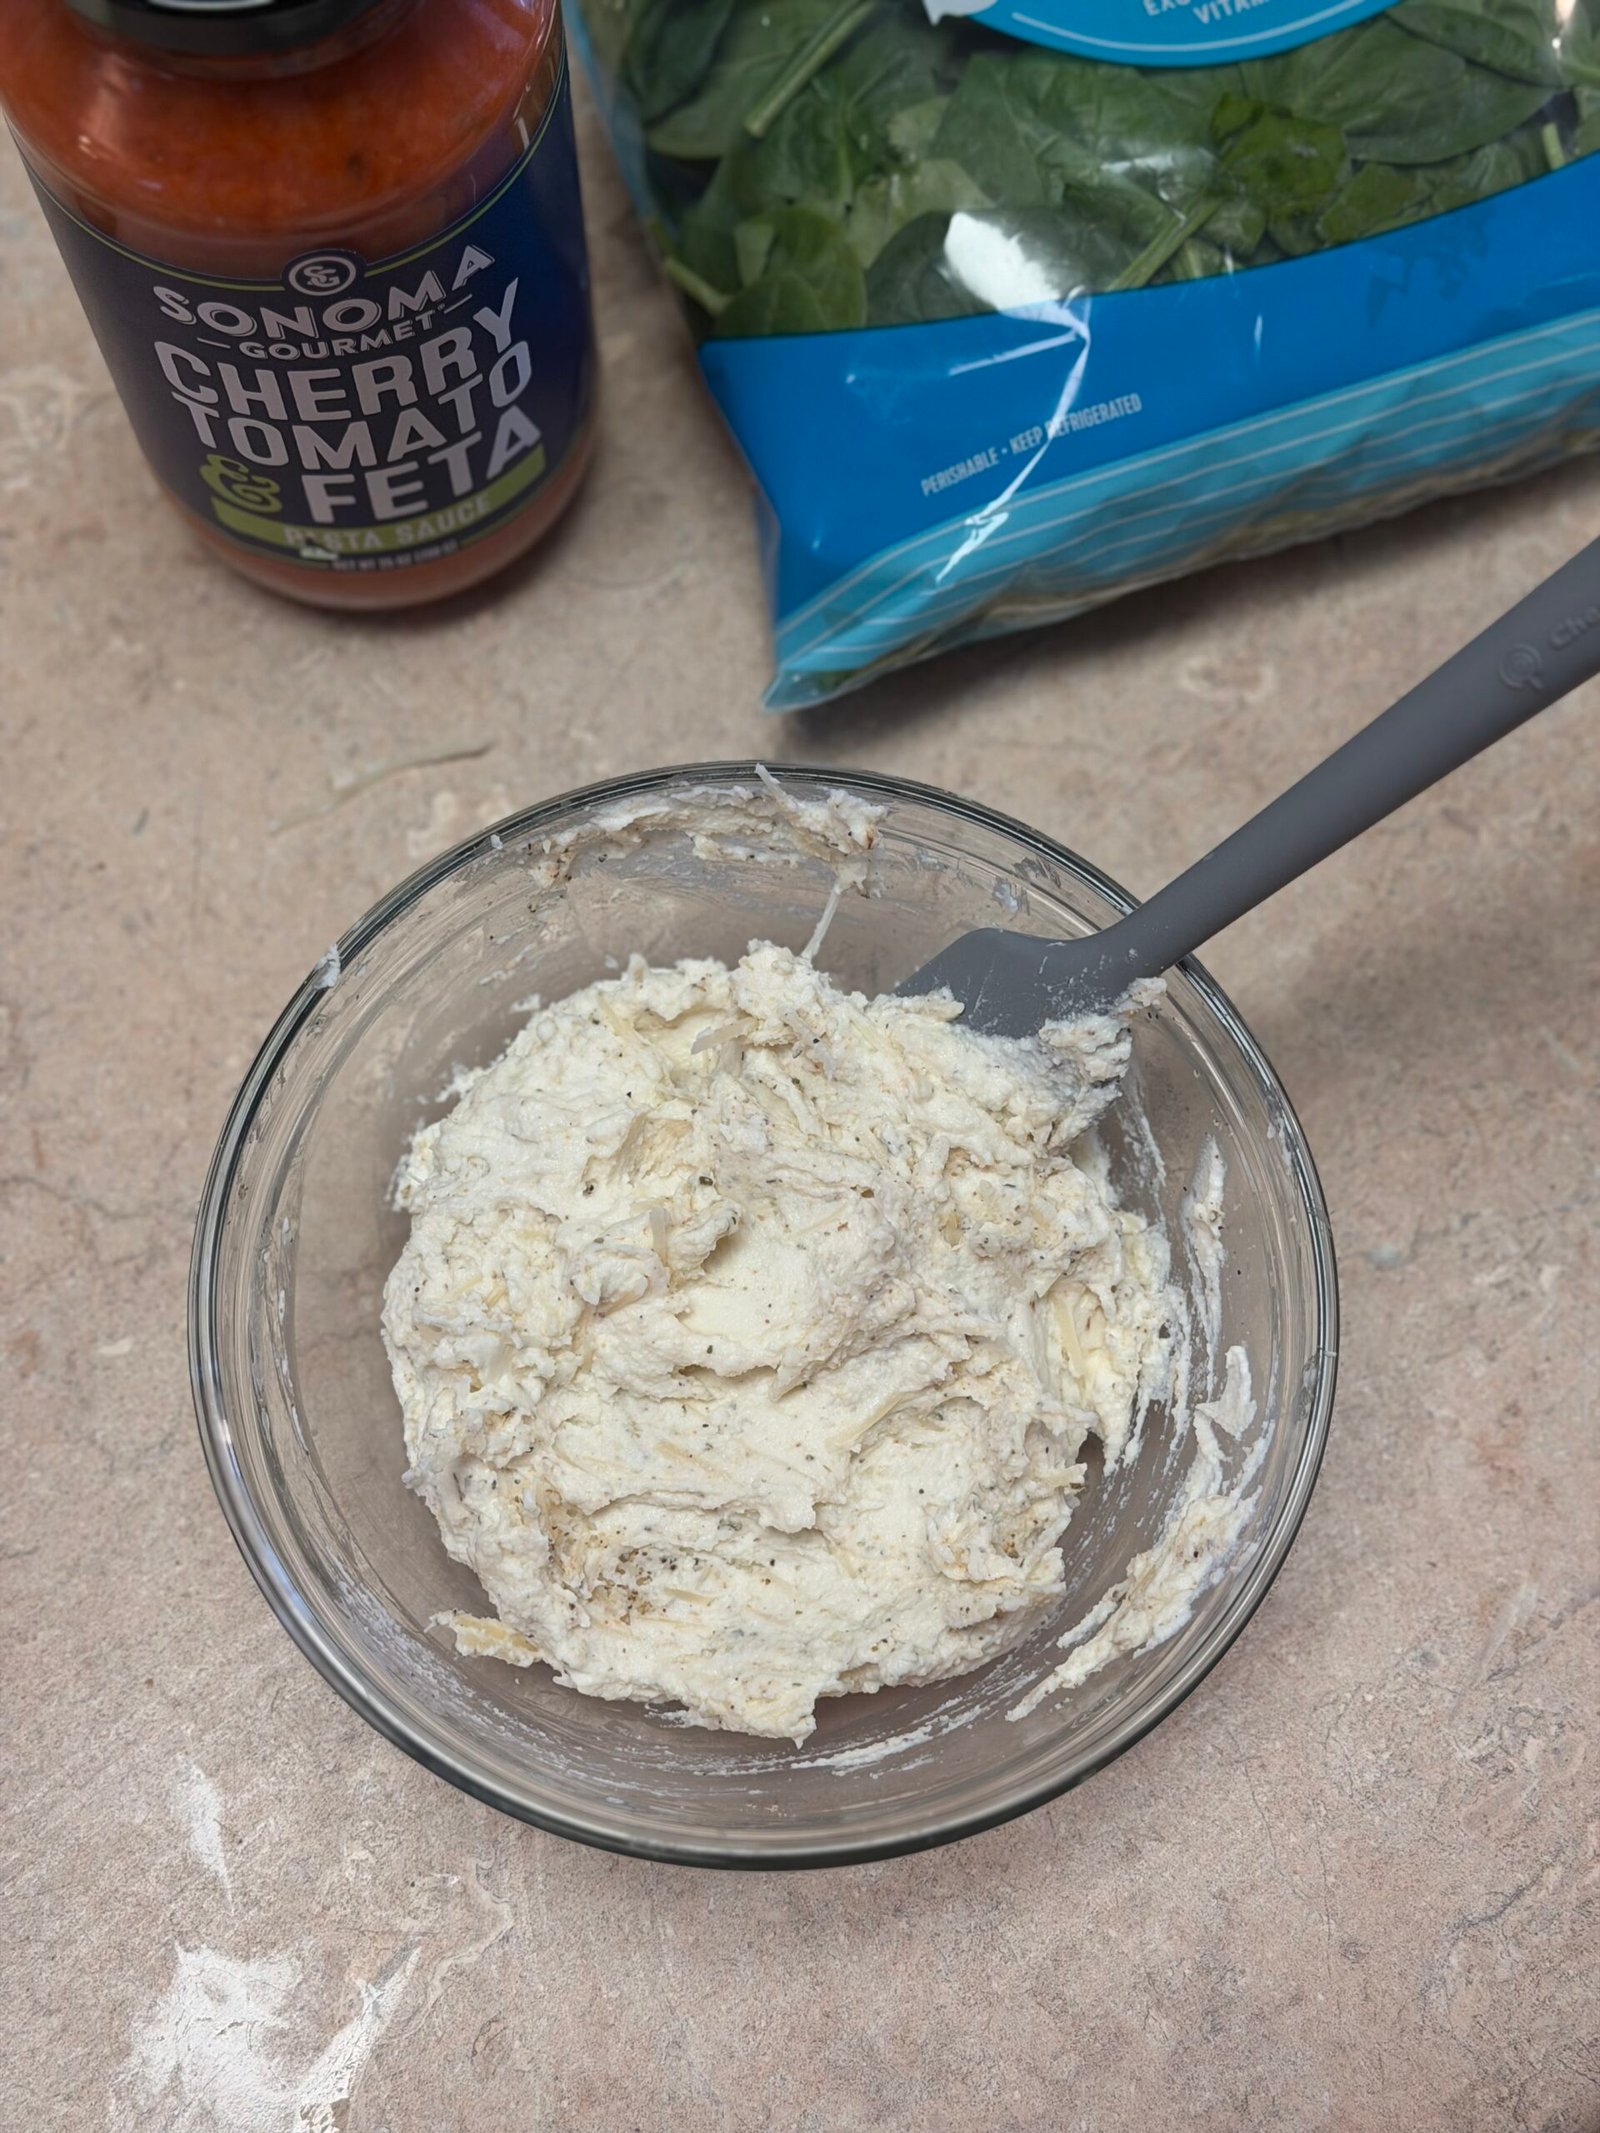
- Mix the Ricotta Filling: In a medium bowl, combine the ricotta cheese, shredded parmesan, Italian seasoning, crushed red pepper, and the remaining minced garlic. Stir everything together until smooth and creamy — this is where all the flavor magic happens, so taste it and adjust seasoning if needed. It should smell absolutely incredible.
- Assemble the Casserole: Place the seasoned chicken breasts in a single layer on top of the spinach. Then spoon the ricotta mixture generously and evenly over each piece — don’t be shy here, really pile it on. Every bite should have that creamy ricotta center.
- Add the Sauce & Cheese: Pour the marinara sauce evenly over the entire dish, then shower everything with the extra parmesan cheese. I always go a little heavy-handed with the parmesan — y’all know how I am about cheese. The more the merrier!
- Bake to Perfection: Slide the casserole into your preheated 400°F oven and bake for 30 minutes, or until the chicken reaches an internal temperature of 165°F — use a meat thermometer to check! Let the casserole rest for 5 full minutes before slicing and serving. This step is non-negotiable!
Ashley’s Pro-Tips for the Best Baked Spinach Ricotta Chicken
Pound that chicken! I know it sounds like an extra step, but taking two minutes to pound your chicken breasts to an even 1-inch thickness is genuinely the difference between perfectly juicy results and dry, unevenly cooked pieces. Use a meat mallet, a rolling pin, or even the bottom of a heavy skillet. Just get it done — you will not regret it.
Use whole-milk ricotta. This is one of those ingredient swaps that truly matters. Whole-milk ricotta bakes up creamy and rich, while part-skim ricotta can release excess moisture and turn grainy in the heat. Check the label before you grab it off the shelf — that one small detail makes a big difference in your final result.
Don’t skip resting time. Once that casserole comes out of the oven, I know it is incredibly hard to wait — it smells absolutely divine. But give it a full 5 minutes before you cut in. That resting period lets all the juices redistribute throughout the chicken, keeping every bite moist and flavorful instead of watching all the good stuff run out onto your cutting board.
Check your internal temperature. A simple instant-read meat thermometer is your best friend for this recipe. Pull the casserole at exactly 165°F — no guessing, no cutting into pieces to check, no dried-out chicken. It’s a $10 tool that takes all the stress out of cooking chicken and I absolutely refuse to cook without one.
Customize your heat level. The ¼ tsp of crushed red pepper in the ricotta filling adds a gentle, pleasant warmth — not spicy, just interesting. If you’re feeding super spice-sensitive kids, leave it out entirely. If your family loves heat, double it or add a drizzle of calabrian chili oil on top before serving. Make it yours!
Storage & Make-Ahead Tips
Store any leftovers in an airtight container in the refrigerator for up to 4 days. To reheat, cover individual portions with a damp paper towel and microwave for 1–2 minutes, or cover the full casserole dish with foil and warm in a 350°F oven for about 15 minutes until heated through. Honestly, the flavors deepen overnight and it tastes even better the next day — leftover lunch goals right there!
This dish freezes beautifully! Let the casserole cool completely, then portion into freezer-safe containers or wrap tightly in foil and place in a zip-top freezer bag. Freeze for up to 3 months. To reheat from frozen, thaw overnight in the fridge, then bake covered at 350°F for 20–25 minutes until heated through and bubbly. Pop the foil off for the last 5 minutes to re-crisp that golden parmesan topping.
Want to get ahead of dinner? Assemble the entire casserole up to 24 hours in advance — layer the spinach, season the chicken, spread the ricotta filling, pour the sauce, and top with cheese. Cover tightly with plastic wrap or foil and refrigerate. When you’re ready to cook, pull it from the fridge about 15–20 minutes before baking so it’s not stone cold going into the oven, then bake as directed. Future-you will be so, so grateful — dinner practically makes itself on the nights you need it most.
A Little Joy on Top
This baked spinach ricotta chicken is honestly a full meal all on its own, but if you want to round it out for the family, a few serving ideas make it truly shine. Spoon it over a big bowl of al dente spaghetti or penne for the pasta lovers at your table — the extra sauce and creamy ricotta mix into the noodles in the most magical way. For a lighter option, zucchini noodles or spaghetti squash are wonderful here too. And a hunk of warm, crusty garlic bread on the side for sopping up every last bit of that marinara? Completely non-negotiable in my house.
For a simple green side, a Caesar salad or a crisp arugula salad dressed with lemon and olive oil pairs beautifully with the richness of this dish. And if you’re cooking for guests and want an impressive spread, open a bottle of a light Chianti or Pinot Noir alongside it. Your guests will think you spent all afternoon in the kitchen — and you and I will know the delicious truth.
If you love easy chicken casseroles as much as I do, you are going to want to bookmark my Easy Low Carb Chicken Parm Casserole — it has that same cozy, Italian-inspired energy and is another one-dish weeknight winner. For nights when you want something quick on the stovetop instead, my Easy 30-Minute Healthy Orange Chicken is a family favorite that comes together in a flash. And when dinner is done and you want something sweet, my Easy Homemade Brownies are the perfect crowd-pleasing finish — because every great family dinner deserves chocolate at the end!
This baked spinach ricotta chicken is the kind of recipe that reminds me exactly why I love cooking for my family. It’s simple, nourishing, absolutely delicious, and it brings everyone to the table happy. I hope it does the same for yours! If you make it, I would love to hear how it turned out — drop a comment below or tag me on Pinterest. Happy cooking, friends!
Want to Save This Recipe?
Enter your email below, and we’ll send the link straight to your inbox.
Baked Spinach Ricotta Chicken Recipe
Ingredients
Method
- Preheat oven to 400°F and lightly grease a 9×13 casserole dish.
- Butterfly each chicken breast and pound to an even thickness of approximately 1 inch. Season both sides with salt, pepper, and half the minced garlic.
- Spread the fresh spinach evenly across the bottom of the prepared casserole dish.
- In a medium bowl, combine the ricotta cheese, shredded parmesan, Italian seasoning, crushed red pepper, and remaining minced garlic. Stir until smooth and well combined.
- Place the seasoned chicken breasts on top of the spinach layer. Spread the ricotta mixture generously and evenly over each piece of chicken.
- Pour the marinara sauce over the top, then sprinkle the extra parmesan cheese generously over everything.
- Bake at 400°F for 30 minutes, or until the chicken reaches an internal temperature of 165°F. Let rest for 5 minutes before serving.
Tried this recipe?
Let us know how it was!
Meet Ashleybakeseasy
Welcome to Ashley Bakes Easy! I’m Ashley, a home cook and mother who believes that delicious food doesn’t have to be complicated. My journey in the kitchen started with a simple goal: create meals that my whole family would love, we could afford on a single income, and create recipes tailored for our special needs son Winston.
LET’S CONNECT!

Hello Form Ashleybakeseasy
Welcome to Ashley Bakes Easy! I’m Ashley, a home cook and mother who believes that delicious food doesn’t have to be complicated. My journey in the kitchen started with a simple goal: create meals that my whole family would love, we could afford on a single income, and create recipes tailored for our special needs son Winston.
Leave a Reply