
Easy Thai Peanut Chicken

Comments
This Post May Contain Affiliate Links. Please Read Our Disclosure Policy
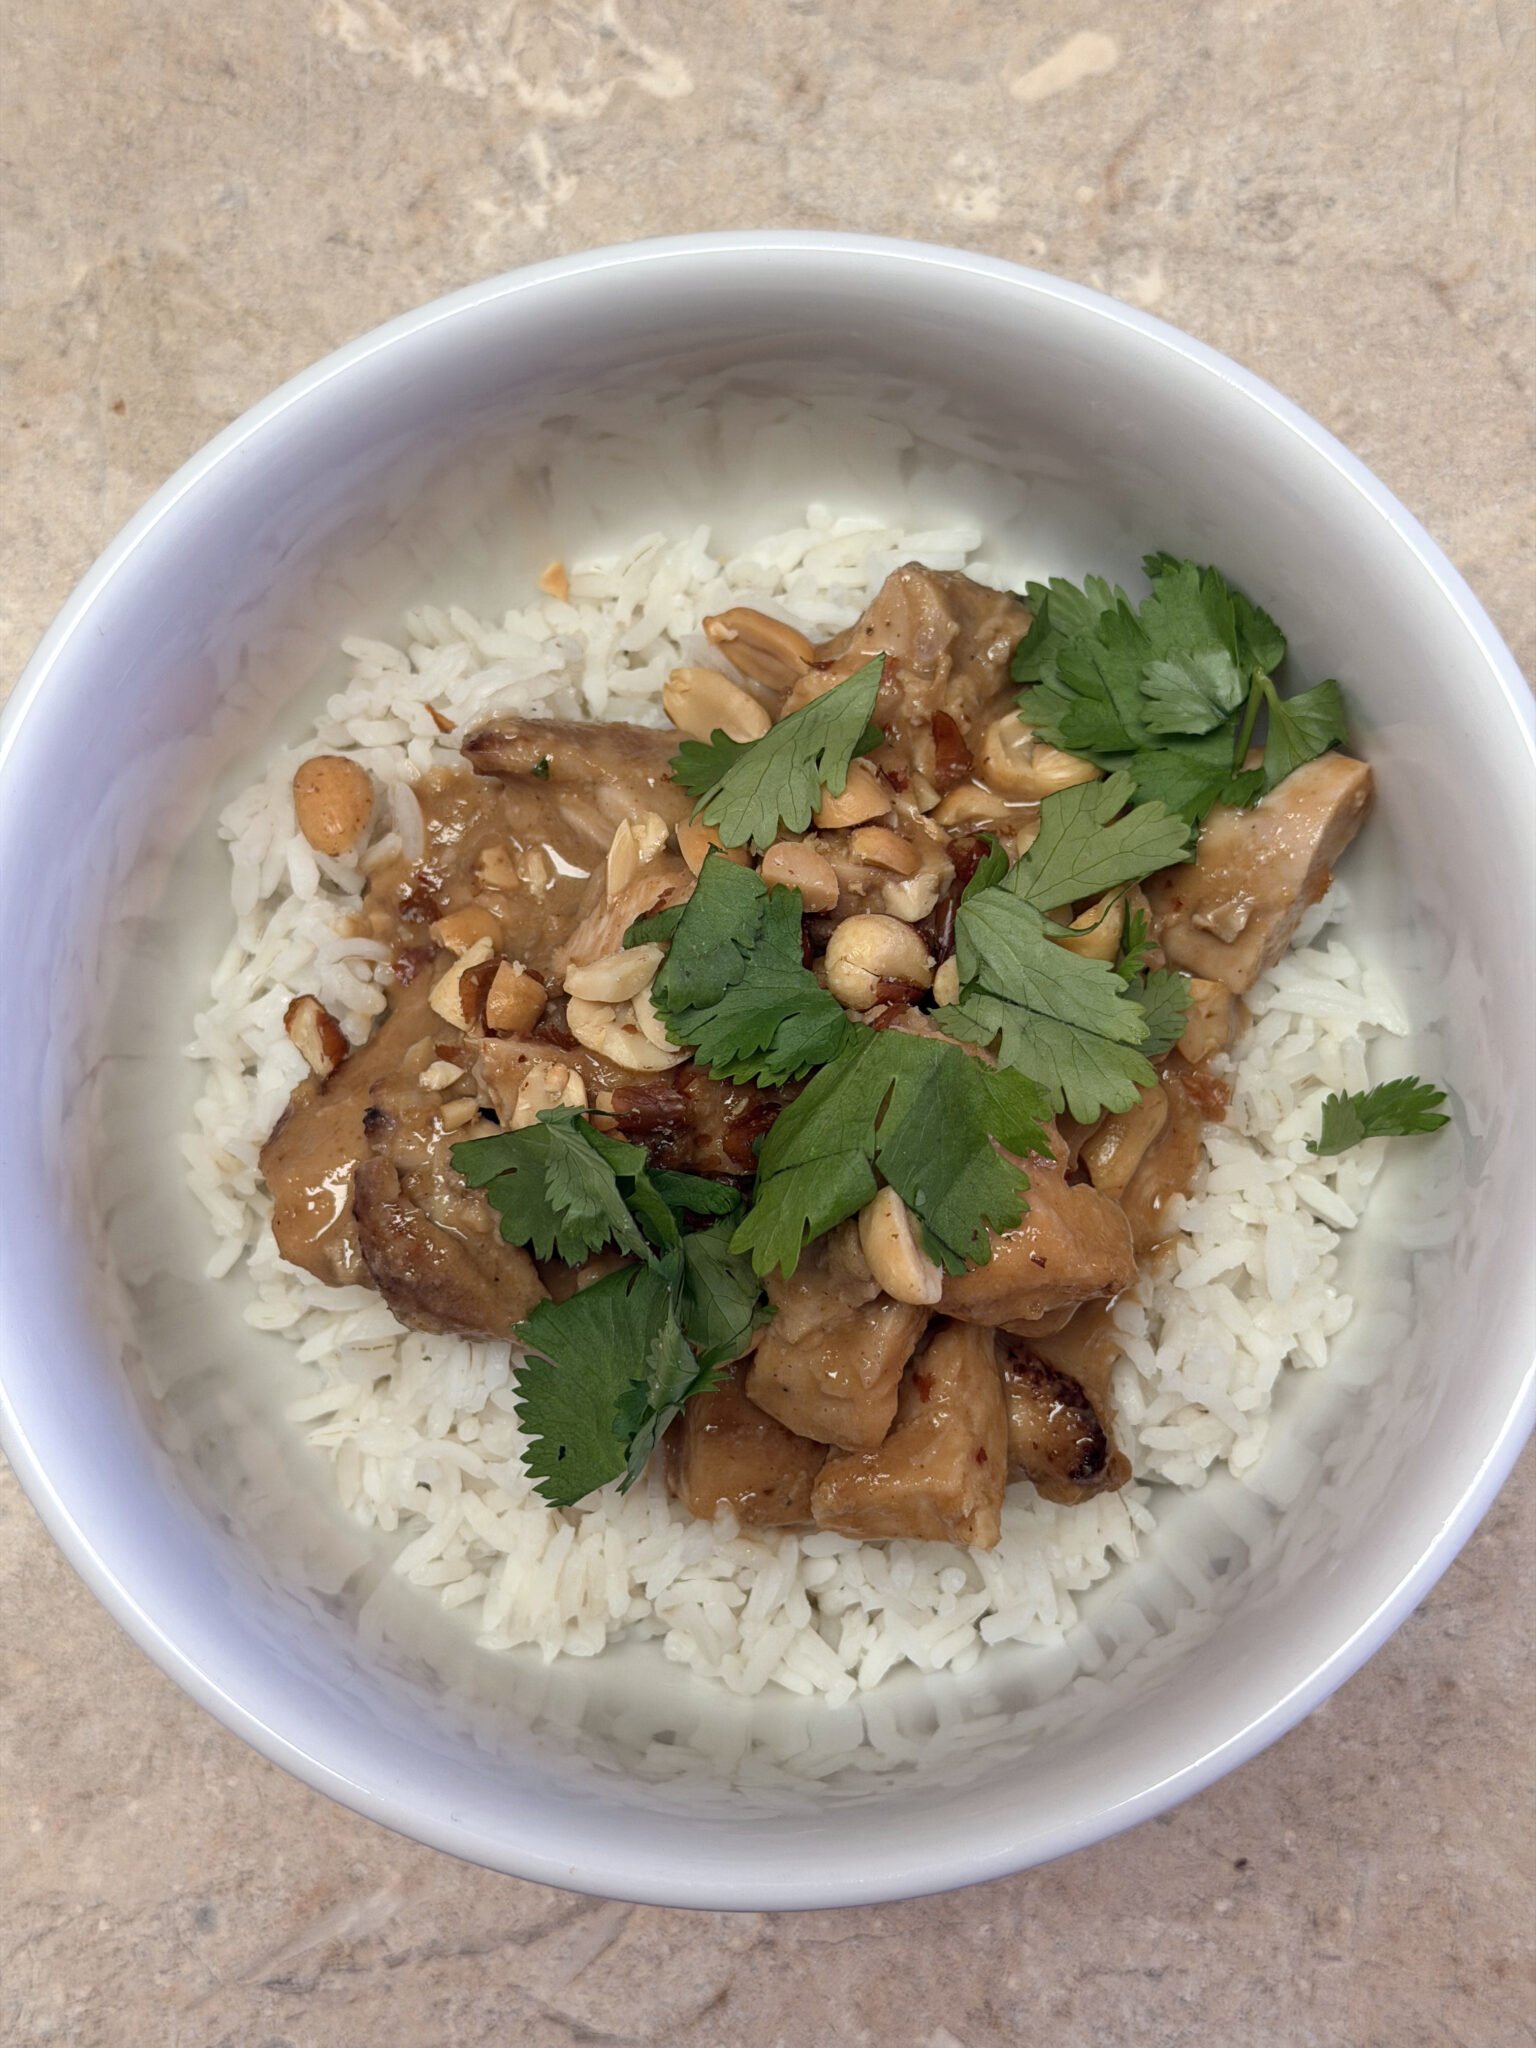
Hey friends! Ashley here. Let’s talk about those nights when you want something that feels special and exotic, but you don’t have the energy for a complicated recipe or a trip to the grocery store for obscure ingredients. This Thai Peanut Chicken is exactly that kind of recipe. It delivers bold, restaurant-quality flavor with ingredients you probably already have in your pantry—creamy peanut butter, coconut milk, soy sauce, lime, and a few spices. The chicken marinates in a rich peanut sauce, then gets grilled or broiled until tender and juicy. Serve it over rice with extra sauce for drizzling, and suddenly you’ve got a dinner that feels like takeout but tastes so much better. This is “imperfectly perfect” cooking: simple, flavorful, and totally impressive without the stress.
Why This Thai Peanut Chicken Is Your New Weeknight Hero
I used to think dishes with “Thai” in the title required a ton of specialty ingredients and complicated techniques. But this recipe completely changed my perspective. It’s approachable, uses pantry staples, and delivers incredible flavor without any fuss.
This recipe proves that you don’t need a long list of exotic ingredients or complicated techniques to make something truly delicious. Sometimes the best meals are the ones that come together easily with what you already have.
Ingredient Spotlight: The Creamy Peanut Sauce
The real star of this recipe is the peanut sauce. It’s rich, creamy, slightly sweet, tangy, and just a little spicy—everything you want in a Thai-inspired sauce. We start with ½ cup of creamy peanut butter as the base. Use the commercial stuff like Jif or Skippy, not natural peanut butter. The stabilizers in commercial peanut butter help create a smooth, consistent sauce that won’t separate.
Next comes 1 cup of unsweetened full-fat coconut milk from a can (not the carton kind). The coconut milk adds richness and creates that silky texture. Make sure to stir it well before measuring, as the cream and liquid can separate in the can. For tang and brightness, we add 2 tablespoons of fresh lime juice (about 1 medium lime). Fresh is key here—bottled lime juice just doesn’t have the same vibrant flavor.
2 tablespoons of soy sauce (or fish sauce if you want a more authentic Thai flavor) brings that savory, umami depth. 1½ tablespoons of packed brown sugar balances the saltiness and tang with a touch of sweetness. Dark brown sugar is preferred for its deeper molasses flavor, but light brown sugar works too.
For aromatics, we’re using 1 teaspoon of ground ginger and 1 tablespoon of minced fresh garlic (about 3 large cloves). These bring warmth and depth to the sauce. Finally, ½ teaspoon of crushed red pepper flakes adds just enough heat to make things interesting without overwhelming the other flavors. You can always add more to taste if you like it spicy!
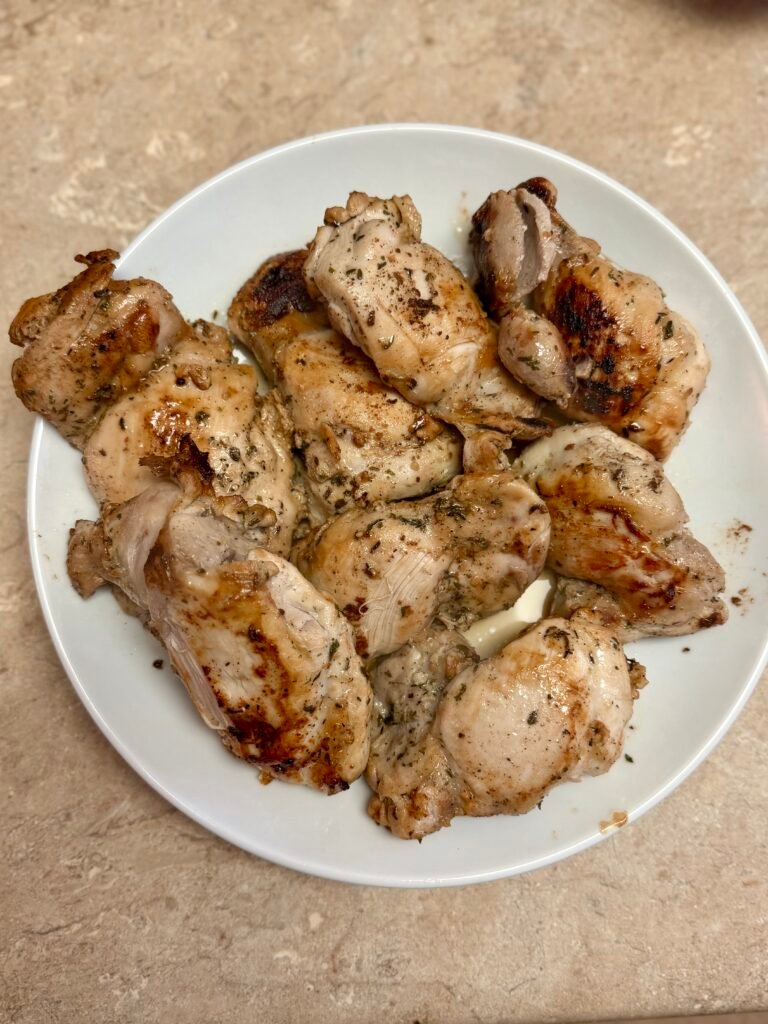
For the chicken, we’re using 2 pounds of boneless, skinless chicken thighs cut into bite-sized chunks. Chicken thighs stay tender and juicy even if you slightly overcook them, making them the perfect choice for grilling or broiling.
Let’s Cook! Simple Steps for Perfect Thai Peanut Chicken
- Make the Peanut Sauce: In a medium bowl, whisk together the peanut butter, coconut milk, lime juice, soy sauce, brown sugar, ground ginger, minced garlic, and crushed red pepper flakes. Whisk vigorously until everything is fully combined and smooth. The sauce should be creamy and pourable.
- Reserve Sauce for Serving: Transfer 1 cup of the prepared peanut sauce to a small bowl. Cover it with plastic wrap or a lid and pop it in the refrigerator. This will be your serving sauce. The remaining sauce (about ½ to 1 cup) will be used to marinate the chicken.
- Marinate the Chicken: Place the bite-sized chicken chunks in a large baking dish or mixing bowl. Pour the remaining peanut sauce over the chicken and toss until all the pieces are fully coated. Cover the dish with plastic wrap and refrigerate for at least 1 hour and no more than 8 hours. Give the chicken a stir at least once during marinating to ensure even coating.
- Prepare to Cook: About 15 minutes before you’re ready to cook, remove the reserved peanut sauce from the fridge and let it come to room temperature. When the chicken is done marinating, remove it from the fridge and uncover.
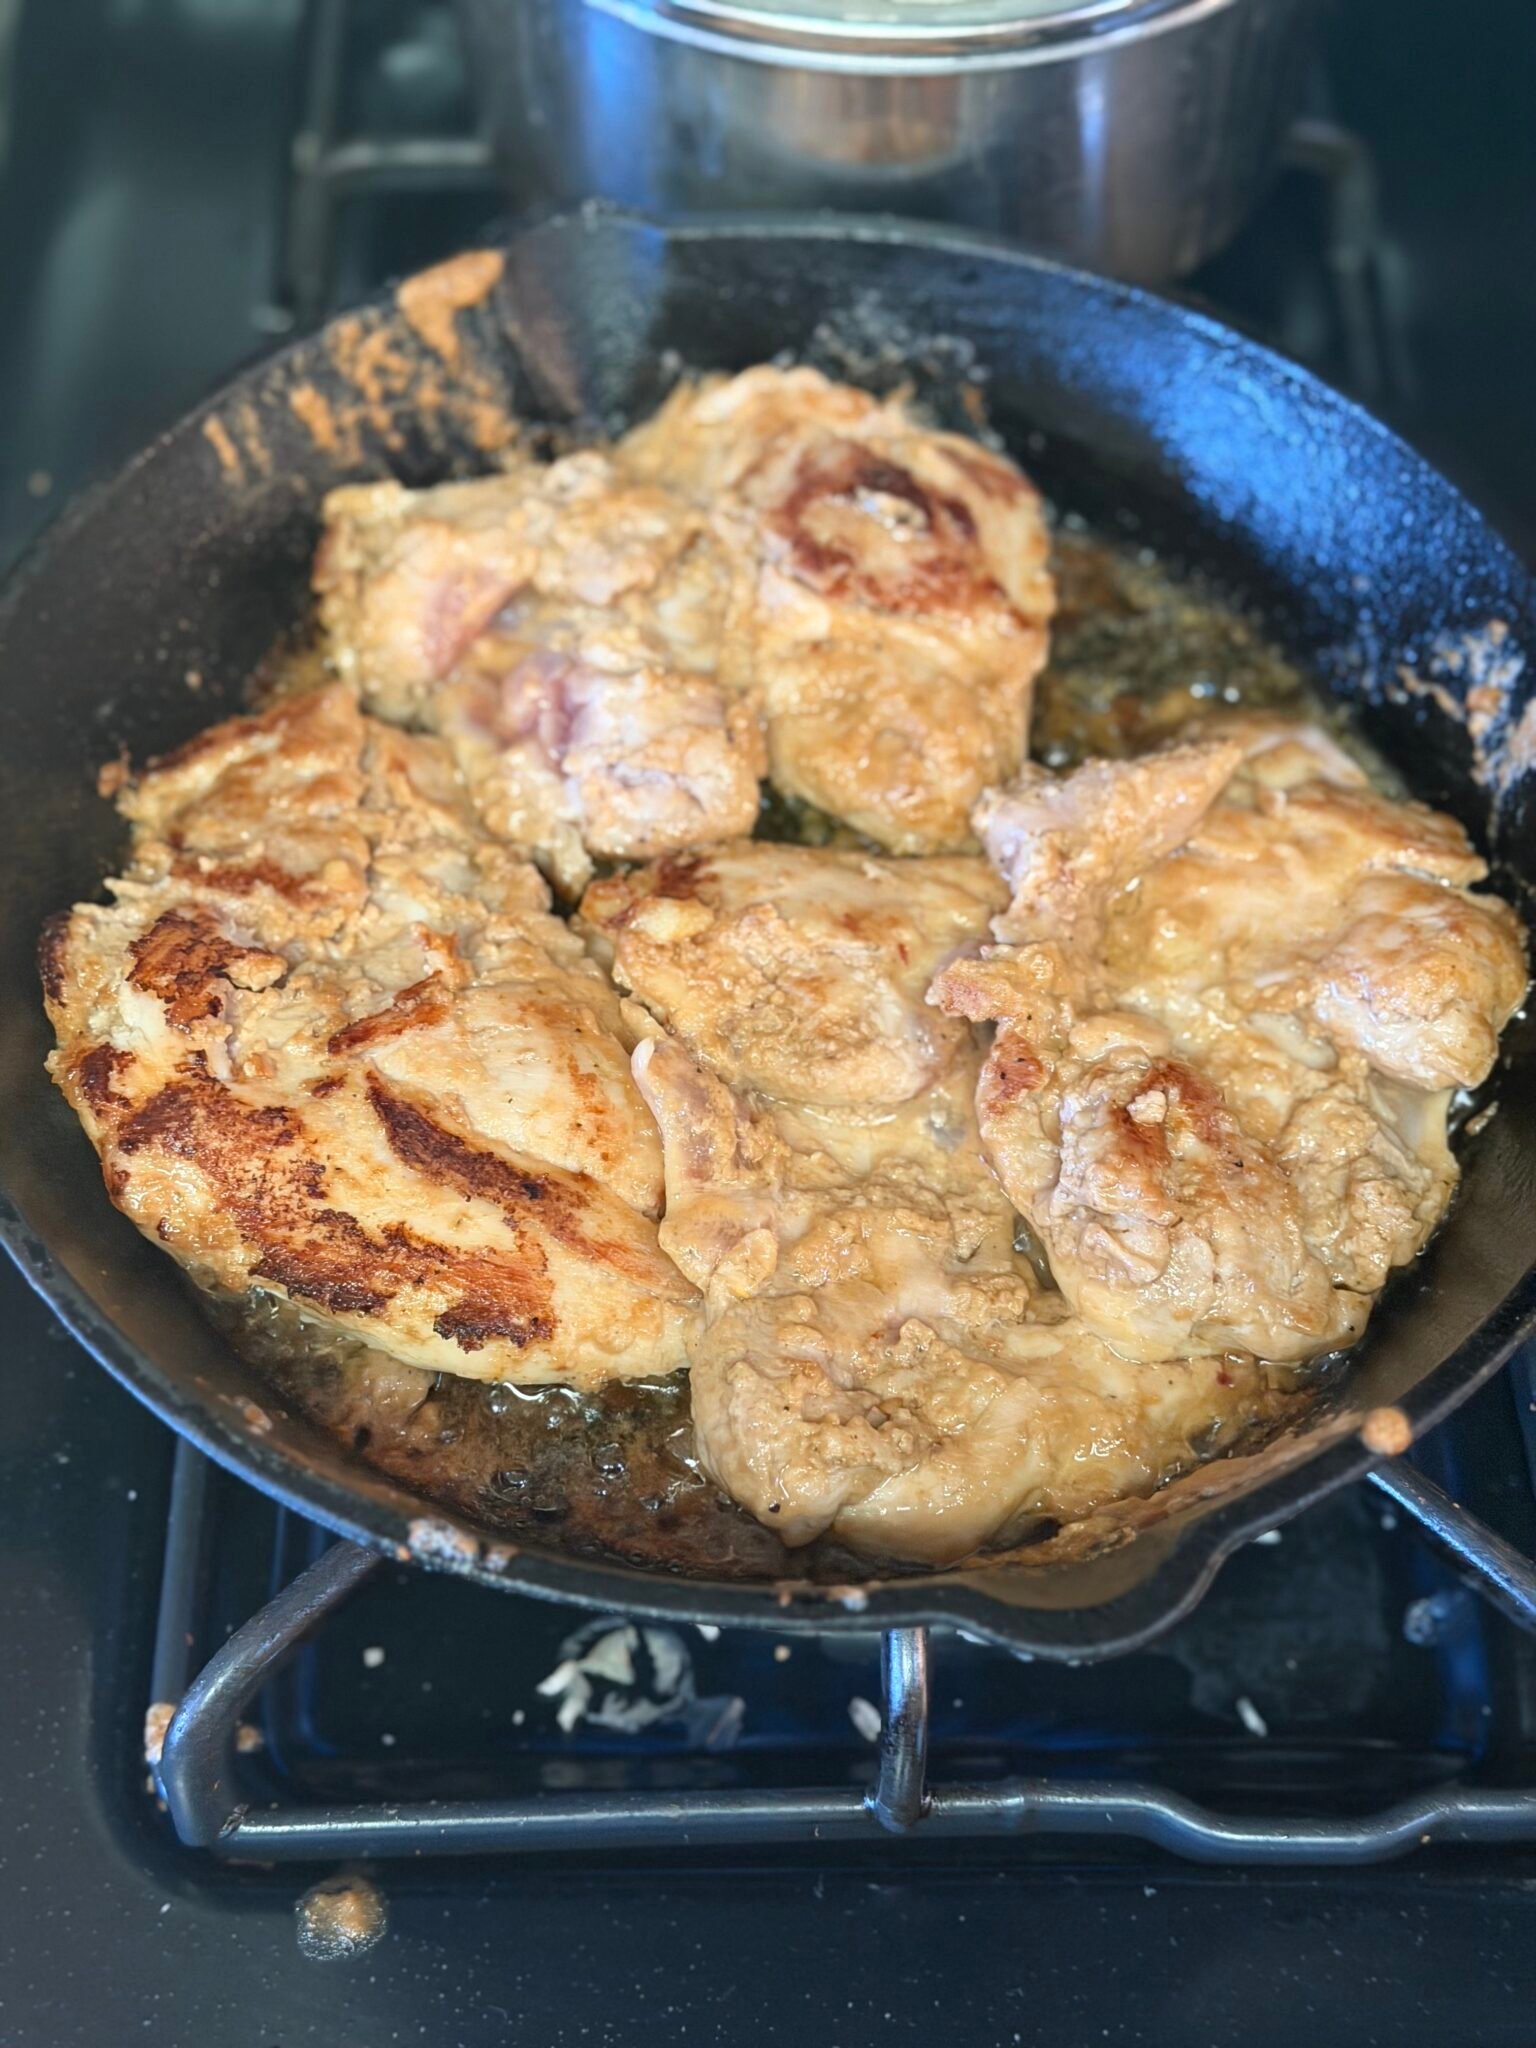
- To Broil: Preheat your broiler to high. Thread the marinated chicken onto metal skewers (or wooden skewers soaked in water for 30 minutes), or place the chicken pieces on a wire rack set over a baking sheet. Lightly grease the baking sheet or rack with cooking spray. Broil for 6 minutes or until the internal temperature reaches 160°F. Let the chicken rest for 5 minutes before serving.
- To Grill: Preheat your grill to medium-high heat (375° to 450°F). Thread the marinated chicken onto skewers and place them on the grill over indirect heat. Close the lid and grill for 6 minutes, then flip and grill for another 6 to 10 minutes until the internal temperature reaches 160°F and the chicken releases easily from the grates. Let rest for 5 minutes before serving.
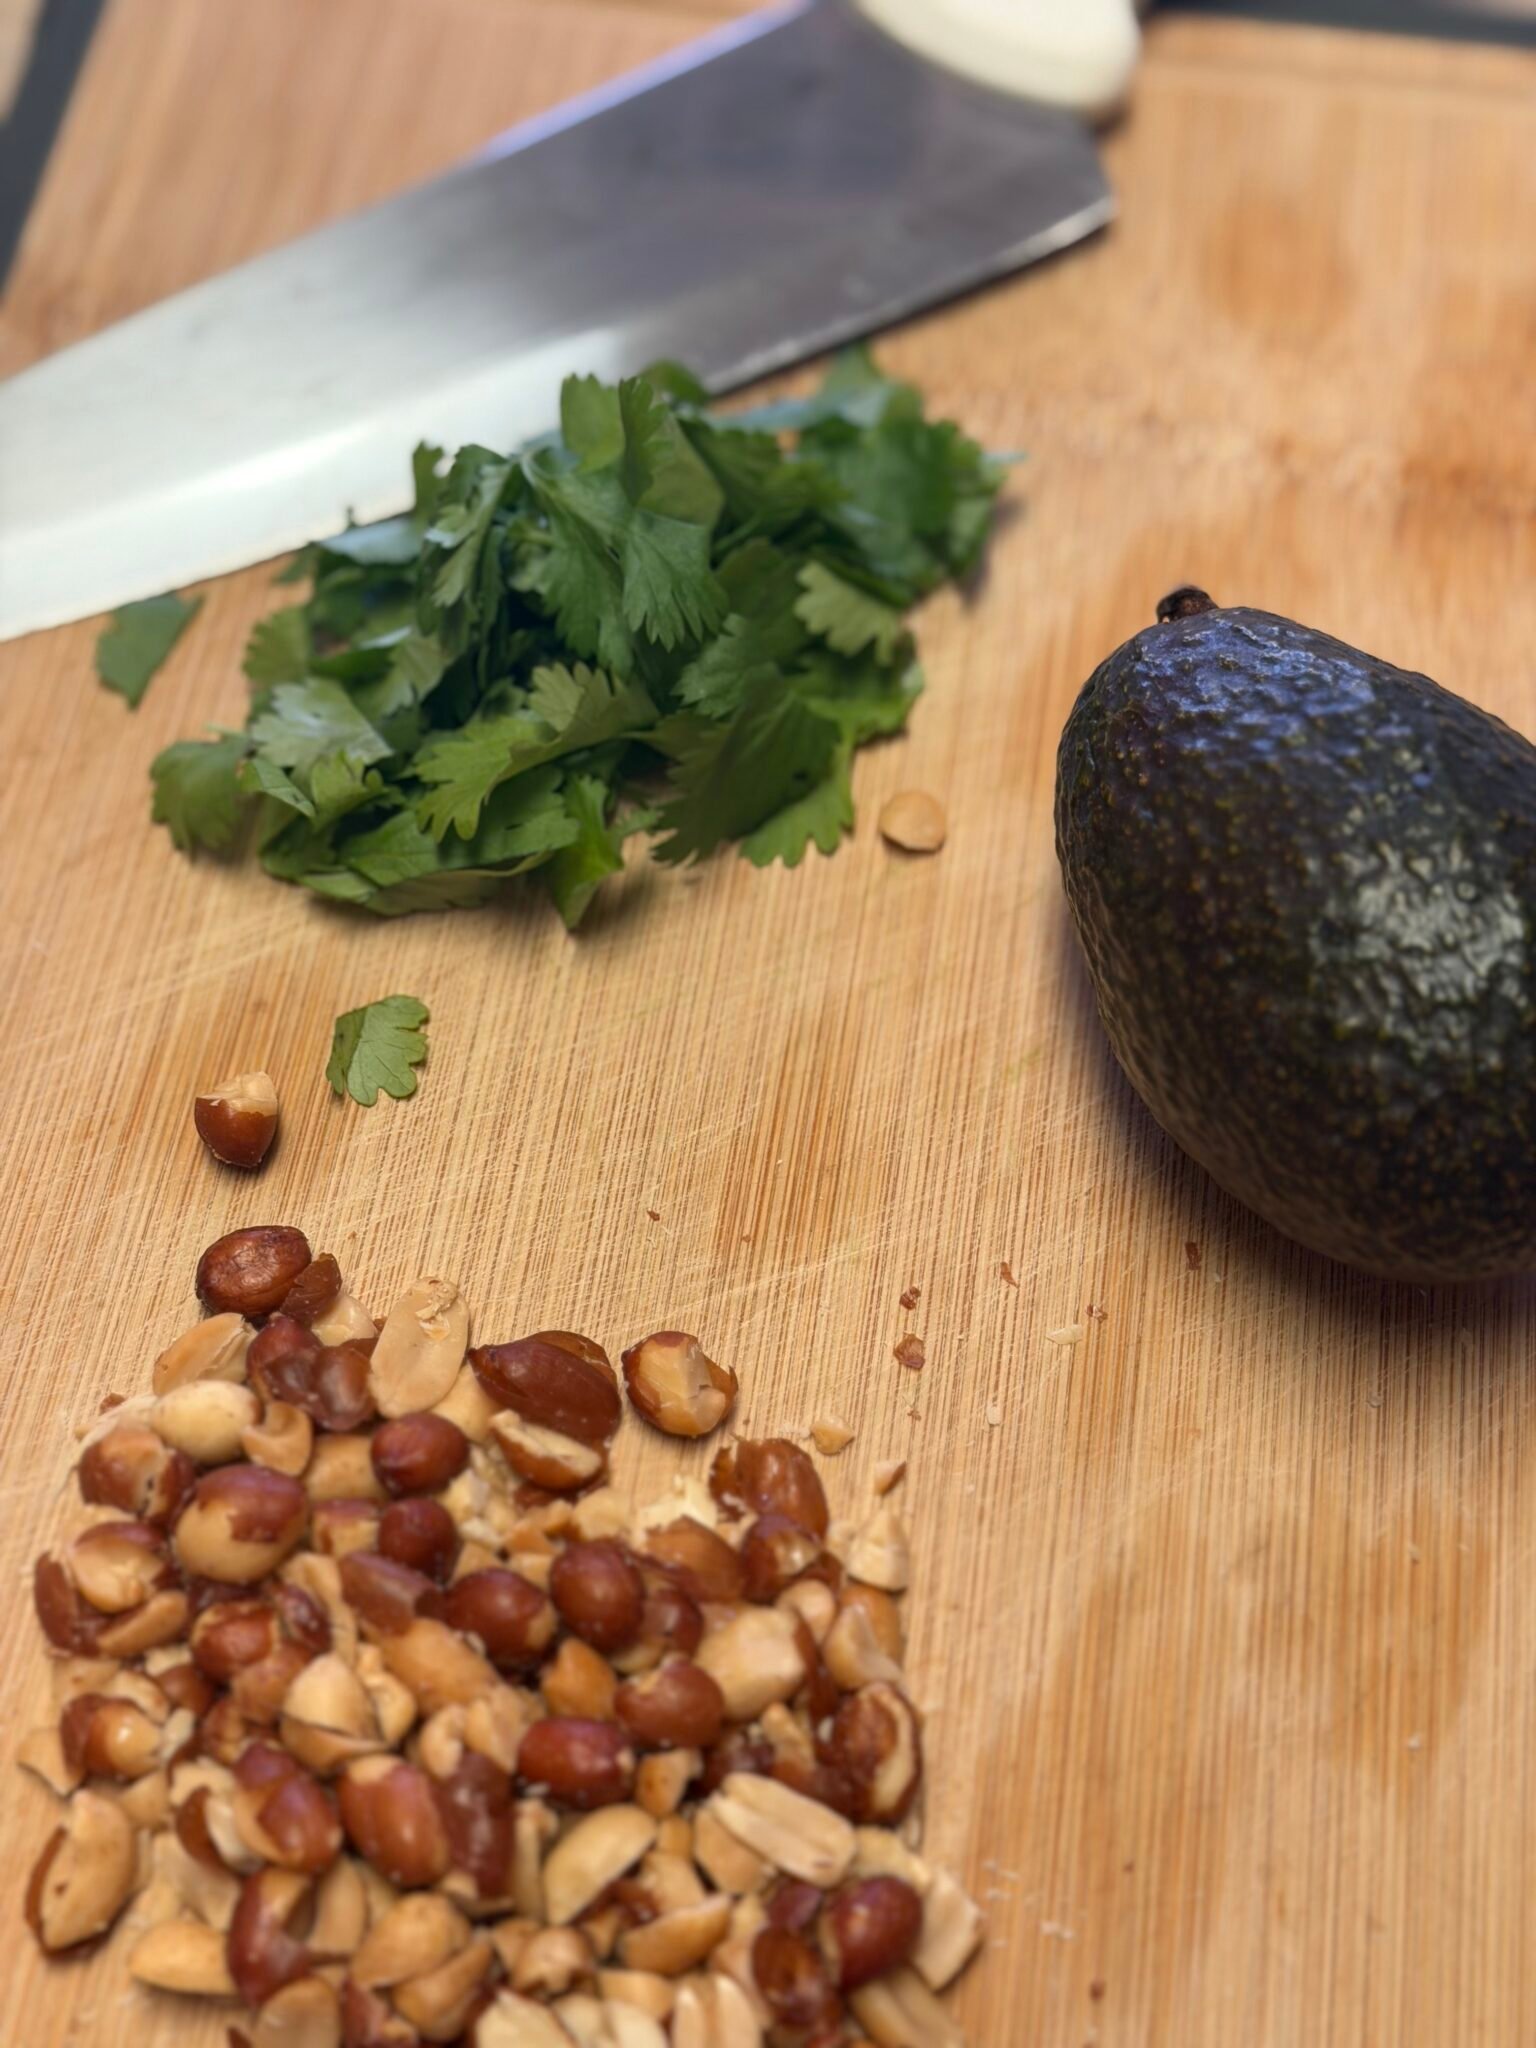
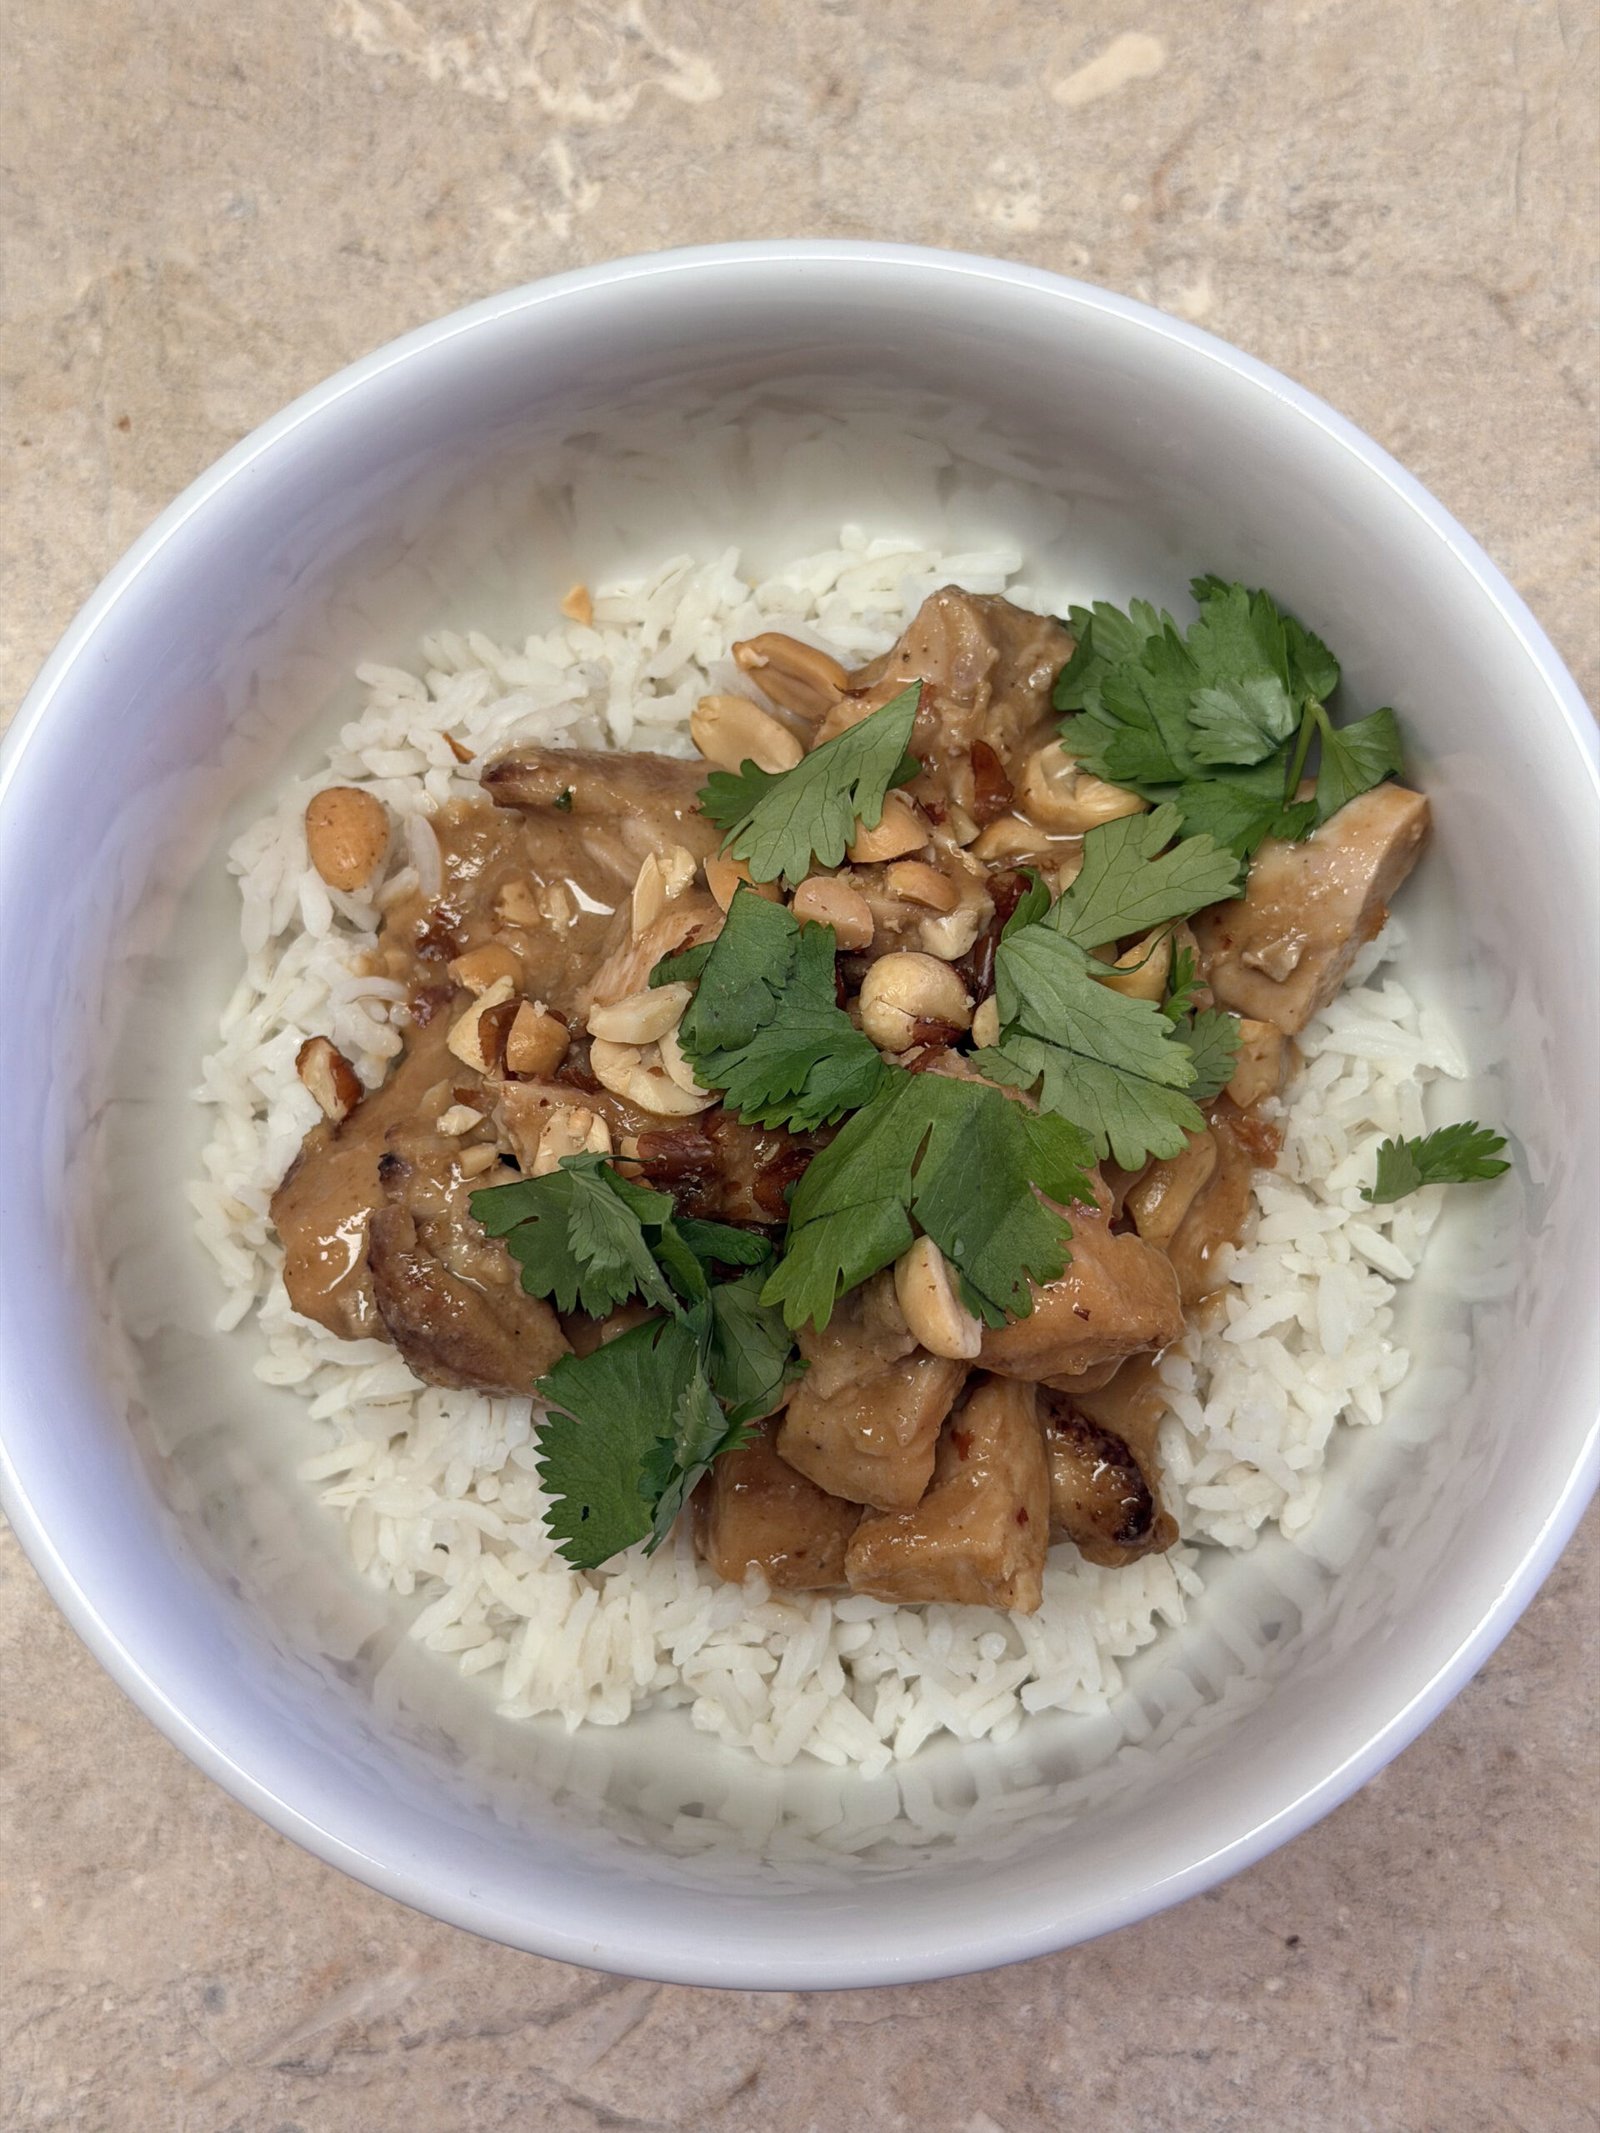
- Serve: Transfer the chicken to serving plates. Serve over cooked white or brown rice with the reserved peanut sauce drizzled on top or served on the side. Garnish with lime wedges, chopped peanuts, green onions, and cilantro if desired. Enjoy!
Ashley’s Pro-Tips: Making This Chicken Work for You
Marinating time is flexible, but I recommend at least 1 hour for the flavors to really penetrate the chicken. If you can marinate it for 4 to 8 hours (or even overnight), the flavor will be even better. Just don’t go longer than 8 hours, as the acid in the lime juice can start to break down the chicken and make it mushy.
Chicken thighs are my preferred choice here because they stay juicier and more tender than chicken breasts. But if you only have chicken breasts on hand, they’ll work too—just be extra careful not to overcook them, as they can dry out more easily.
If you’re using wooden skewers, don’t forget to soak them in water for at least 30 minutes before threading the chicken. This prevents them from burning under the broiler or on the grill. Alternatively, you can skip the skewers altogether and just place the chicken pieces on a wire rack or directly on the grill grates.
Want to make this recipe gluten-free, paleo, or keto? It’s super easy to adapt! Use gluten-free soy sauce or tamari for gluten-free. For paleo, swap the peanut butter for cashew or almond butter and use coconut aminos instead of soy sauce. For keto, use a low-carb peanut butter and replace the brown sugar with a brown sugar substitute like Swerve.
Storage and Serving: Meal Prep Made Easy
Leftover Thai peanut chicken stores beautifully in an airtight container in the refrigerator for up to 4 days. Reheat it gently in the microwave or on the stovetop with a splash of water or coconut milk to keep it moist. The peanut sauce also stores well—just give it a good stir before using, as it may thicken slightly in the fridge.
This recipe is perfect for meal prep! You can marinate the chicken in the morning, then cook it when you get home from work. Or cook a big batch on Sunday and use it throughout the week for quick lunches and dinners. Serve it over rice, in lettuce wraps, on top of salads, or even in grain bowls with your favorite veggies.
If you’re serving this for a party or gathering, I love presenting the chicken on skewers on a big platter with the peanut sauce in a bowl for dipping. Garnish the platter with lime wedges, chopped peanuts, and fresh herbs for a beautiful, restaurant-worthy presentation that will seriously impress your guests.
A Little Joy on Top
There’s something so satisfying about making a dish that tastes like it came from a restaurant, especially when you know exactly what went into it and can feel good about serving it to your family. This Thai Peanut Chicken is proof that bold, exciting flavors don’t have to come from complicated recipes or obscure ingredients. With a little peanut butter, coconut milk, and some pantry spices, you can create something truly special that brings everyone to the table with smiles on their faces. That’s what “imperfectly perfect” cooking is all about.
If you love bold, restaurant-inspired chicken dinners you can make at home, you’ll also want to try my Easy 30-Minute Healthy Orange Chicken — another takeout-style favorite ready in minutes! And for pure weeknight comfort, my Easy Low Carb Chicken Parm Casserole is always a hit with the whole family.
I hope this recipe becomes a regular in your dinner rotation! If you give it a try, I’d love to hear how it turned out and what creative twists you added. Happy cooking, y’all!
Want to Save This Recipe?
Enter your email below, and we’ll send the link straight to your inbox.
Easy Thai Peanut Chicken Recipe
Ingredients
Method
- Make the Sauce: In a medium bowl, whisk together the peanut butter, coconut milk, lime juice, soy sauce, brown sugar, ground ginger, minced garlic, and crushed red pepper flakes until fully combined and smooth.
- Reserve Sauce for Serving: Transfer 1 cup of the prepared peanut sauce to a small bowl. Cover with plastic wrap or a lid and refrigerate. This will be your serving sauce. The remaining sauce (about ½ to 1 cup) will be used to marinate the chicken.
- Bring to Room Temperature: About 15 minutes before serving, remove the reserved sauce from the refrigerator and let it come to room temperature.
- Marinate: Place the bite-sized chicken chunks in a large baking dish or mixing bowl. Pour the remaining peanut sauce over the chicken and toss until all pieces are fully coated.
- Refrigerate: Cover the dish with plastic wrap and refrigerate for at least 1 hour and no more than 8 hours. Toss or stir the chicken at least once while marinating to ensure even coating.
- Preheat Broiler: Preheat your broiler to high. If using skewers, thread the marinated chicken pieces onto metal skewers or wooden skewers that have been soaked in water for 30 minutes. Place skewers on a lightly greased baking sheet. If not using skewers, fit a baking sheet with a wire rack and place the chicken pieces on the rack.
- Broil: Place the baking sheet under the broiler and cook for 6 minutes, or until the internal temperature reaches 160°F.
- Rest and Serve: Remove the chicken from the broiler and let it rest for 5 minutes before serving. Serve with rice, reserved peanut sauce, and garnishes.
- Preheat Grill: Preheat your grill to medium-high heat (approximately 375° to 450°F). Lightly spray the grill grates with cooking spray if desired.
- Grill: Thread the marinated chicken onto skewers and place them on the grill over indirect heat. Close the lid and grill for 6 minutes. Flip the skewers and grill for another 6 to 10 minutes, until the internal temperature reaches 160°F and the chicken releases easily from the grates.
- Rest and Serve: Remove the skewers from the grill and let the chicken rest for 5 minutes before serving. Serve with rice, reserved peanut sauce, and garnishes.
- After resting, transfer the chicken to serving plates. Serve over cooked rice with the reserved peanut sauce on the side. Garnish with lime wedges, chopped peanuts, green onions, and cilantro if desired.
Nutrition
Notes
Ashley’s Pro-Tips:
Coconut Milk: Make sure to use full-fat coconut milk from a can (not the carton kind). Stir it well before measuring, as it can separate in the can. Marinating Time: Marinate for at least 1 hour for best flavor, but you can marinate up to 8 hours. Don’t go longer than 8 hours or the acid in the lime juice can make the chicken mushy. Chicken Thighs vs. Breasts: I prefer chicken thighs for this recipe because they stay juicier and more tender, but you can absolutely use chicken breasts if you prefer. Just be careful not to overcook them. Make it Gluten-Free: Use gluten-free soy sauce, tamari, or fish sauce. Make it Paleo: Use cashew or almond butter instead of peanut butter, fish sauce or coconut aminos instead of soy sauce, and coconut sugar instead of brown sugar. Spice Level: Start with ½ teaspoon of red pepper flakes and adjust to taste. You can always add more heat, but you can’t take it away! Storage: Store leftover chicken in an airtight container in the fridge for up to 4 days. Reheat gently in the microwave or on the stovetop.Tried this recipe?
Let us know how it was!
Meet Ashleybakeseasy
Welcome to Ashley Bakes Easy! I’m Ashley, a home cook and mother who believes that delicious food doesn’t have to be complicated. My journey in the kitchen started with a simple goal: create meals that my whole family would love, we could afford on a single income, and create recipes tailored for our special needs son Winston.
LET’S CONNECT!
Hello Form Ashleybakeseasy
Welcome to Ashley Bakes Easy! I’m Ashley, a home cook and mother who believes that delicious food doesn’t have to be complicated. My journey in the kitchen started with a simple goal: create meals that my whole family would love, we could afford on a single income, and create recipes tailored for our special needs son Winston.
Leave a Reply