Better Than a Box: The Easy “Pantry Staple” Homemade Brownie

Recipe ByAshley |
UpdatedFebruary 26, 2026 |
Comments
This Post May Contain Affiliate Links. Please Read Our Disclosure Policy
Hey friends! Ashley here. We’ve all been there—it’s 8:00 PM, the kids are finally settled, and that chocolate craving hits hard. You head to the pantry hoping to find that trusty blue or red box, only to realize… it’s empty. Before you put on your shoes for a late-night grocery run, let me stop you right there. You can actually make brownies that are better than the boxed stuff using things you already have in your kitchen. This is the definition of “imperfectly perfect” baking: no fancy chocolate melting, no complicated steps, just one bowl and a few pantry staples between you and fudgy, chocolatey heaven.

Why These “Box-Style” Homemade Brownies are a Game Changer
I used to think that homemade brownies were a whole “project” involving double boilers and expensive cocoa butter. But this recipe proves that you can get that iconic, crinkly-top, fudgy-middle result with the most basic ingredients. It’s my go-to “emergency” dessert because it’s faster than driving to the store.
- Pantry-Staple Perfection: Flour, sugar, cocoa, eggs, and butter. That’s it. If you have a basic kitchen, you have everything you need to make these right now.
- One-Bowl, Zero Stress: You don’t even need a hand mixer. A sturdy spoon and one mixing bowl are all it takes, which means cleanup is a total breeze.
- The “Better Than Box” Flavor: Because you’re using real butter and fresh eggs, these have a richness that the boxed mixes (with their preservatives and powdered oils) just can’t touch.
- Total Texture Control: Like them extra fudgy? Pull them out at 18 minutes. Prefer them a bit more “cakey”? Let them go until 25. You’re the boss of the bake!
- Budget-Friendly Bliss: It costs pennies to make these compared to the “gourmet” mixes at the store, but the result tastes like a million bucks.
The beauty of this recipe is its simplicity. It’s honest, it’s fast, and it’s the most reliable way to satisfy a sweet tooth without making a mess of your kitchen.
Ingredient Spotlight: Simple Basics That Bring the Magic
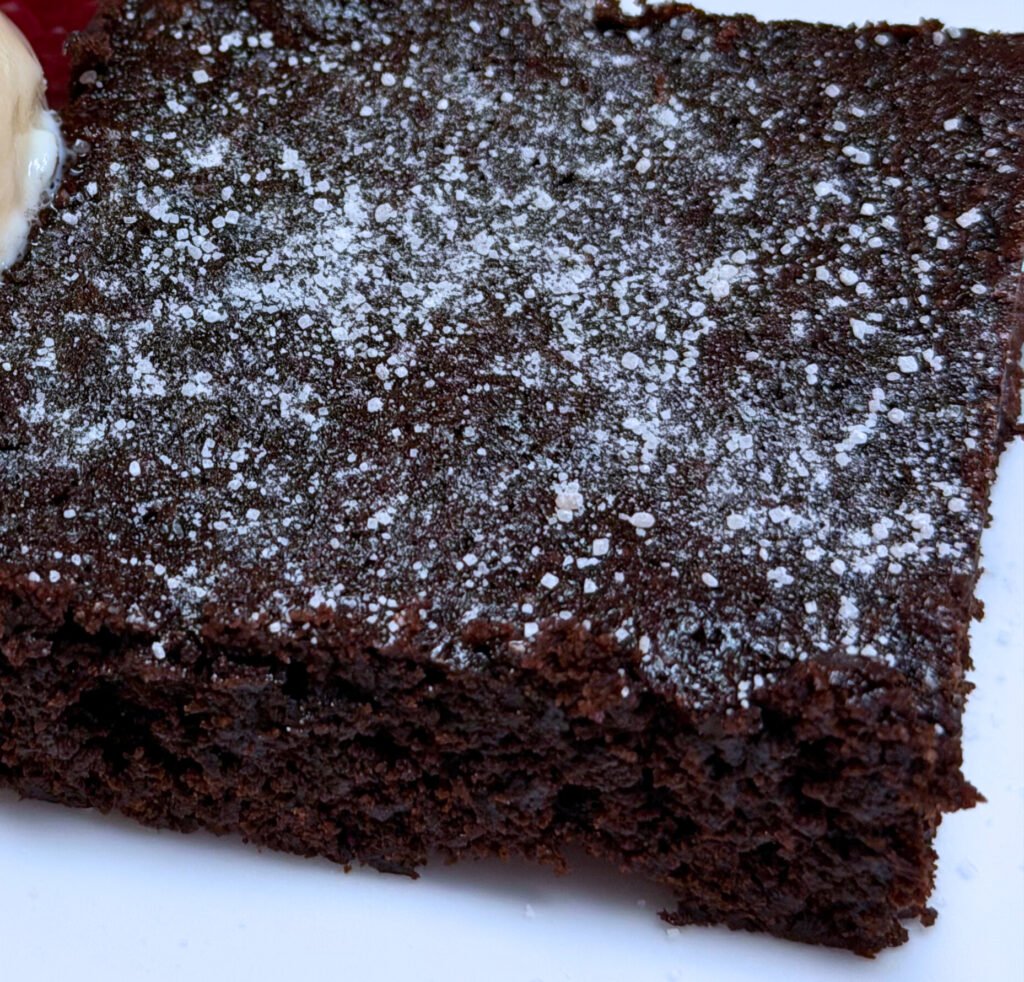
The “soul” of these brownies is the 1/2 cup of cocoa powder. You don’t need the fancy Dutch-processed stuff (though it’s great if you have it!); a standard tin of unsweetened cocoa does the job beautifully. We’re pairing that with 1 cup of sugar to balance the bitterness and give us that classic brownie sweetness.
For the structure, we use just 1/2 cup of all-purpose flour and a dash of salt. Using less flour is the secret to that dense, fudgy texture—we aren’t making chocolate cake here, we’re making brownies! To bind it all together, we use 2 large eggs and 1 stick of melted butter (or 1/2 cup of oil if you’re in a real pinch). Personally, I’m “Team Butter” because it adds a nutty richness that oil just can’t replicate.
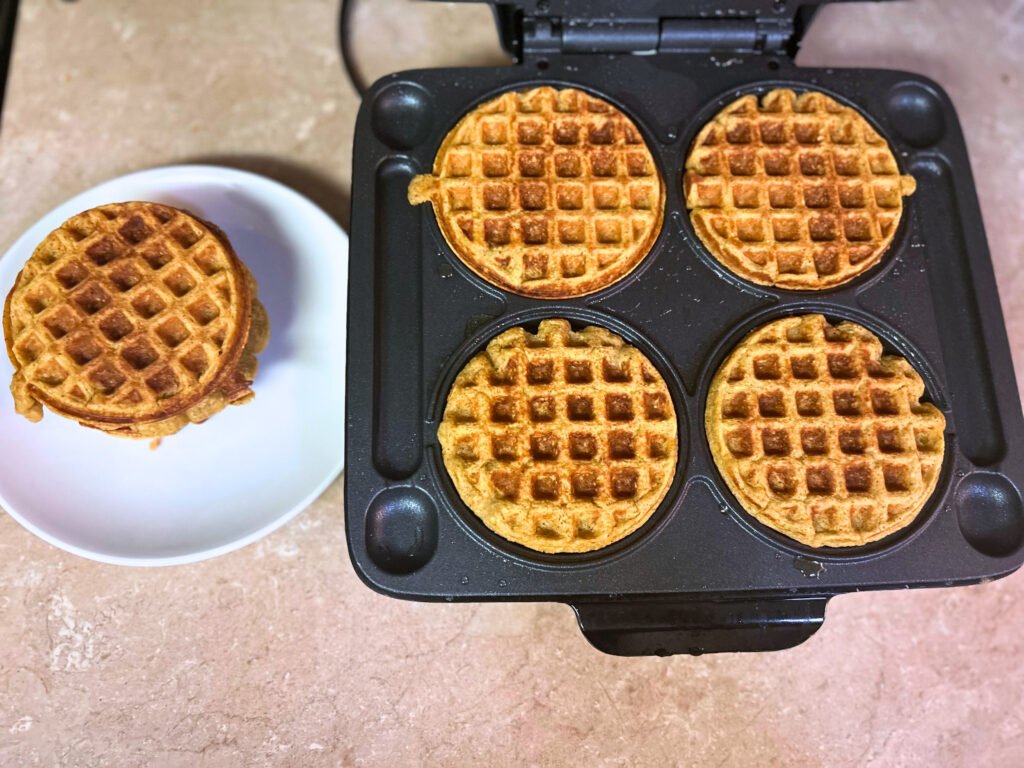
When these simple ingredients hit the bowl, they transform into a thick, glossy batter that smells exactly like childhood. It’s proof that you don’t need a long list of ingredients to make something truly special. If you love simple, ingredient-short recipes, my Easy Sweet Potato Waffles are another family favorite you’ll want to bookmark!
Let’s Bake! Simple Steps to Fudgy Perfection
- Prep the Pan: Preheat your oven to 350°F. Take an 8×8 square baking pan and give it a good coating of oil or butter. If you want to be extra careful about sticking, you can line it with parchment paper, leaving a little “overhang” so you can lift the whole block out later.
- Mix the Dry: In your large bowl, stir together the sugar, cocoa powder, flour, and that dash of salt. Whisking the dry ingredients together first helps break up any cocoa clumps and ensures your brownies rise evenly.
- Incorporate the Wet: Pour in your melted butter (make sure it’s not piping hot, or you’ll scramble the eggs!) and the two eggs. Stir everything together until the batter is smooth and glossy. Don’t over-mix—just go until the streaks of flour disappear.
- Bake to Your Liking: Spread the batter into your oiled pan. Pop it into the oven for 18 to 25 minutes. Start checking at the 18-minute mark with a toothpick. For fudgy brownies, you want a few moist crumbs sticking to the toothpick. If it comes out clean, they’ll be more on the cakey side. Let them cool (if you can wait!) before cutting into squares.
Ashley’s Pro-Tips: How to Customize Your Pantry Brownies
The “imperfectly perfect” thing about this recipe is how much it loves “add-ins.” If you have a half-bag of chocolate chips in the pantry, toss them in! A handful of chopped walnuts or pecans? Perfect. Even a swirl of peanut butter or a sprinkle of sea salt on top can take these from “Tuesday night treat” to “party-ready dessert.”
If you find your cocoa powder is looking a bit lumpy, sift it through a fine-mesh strainer before adding it to the bowl. It only takes ten seconds and ensures you don’t get a bitter “cocoa bomb” in the middle of a bite.
And here’s my favorite trick: if you really want that “box mix” shiny, crackly top, whisk the sugar and eggs together really well for about a minute before adding the melted butter and dry ingredients. That extra air creates that beautiful, thin crust that everyone fights over!
Storage and Reheating: If There’s Anything Left…
These brownies stay fresh in an airtight container at room temperature for about 3 days, or in the fridge for up to a week. Honestly, they rarely last that long in our house, but it’s good to know!
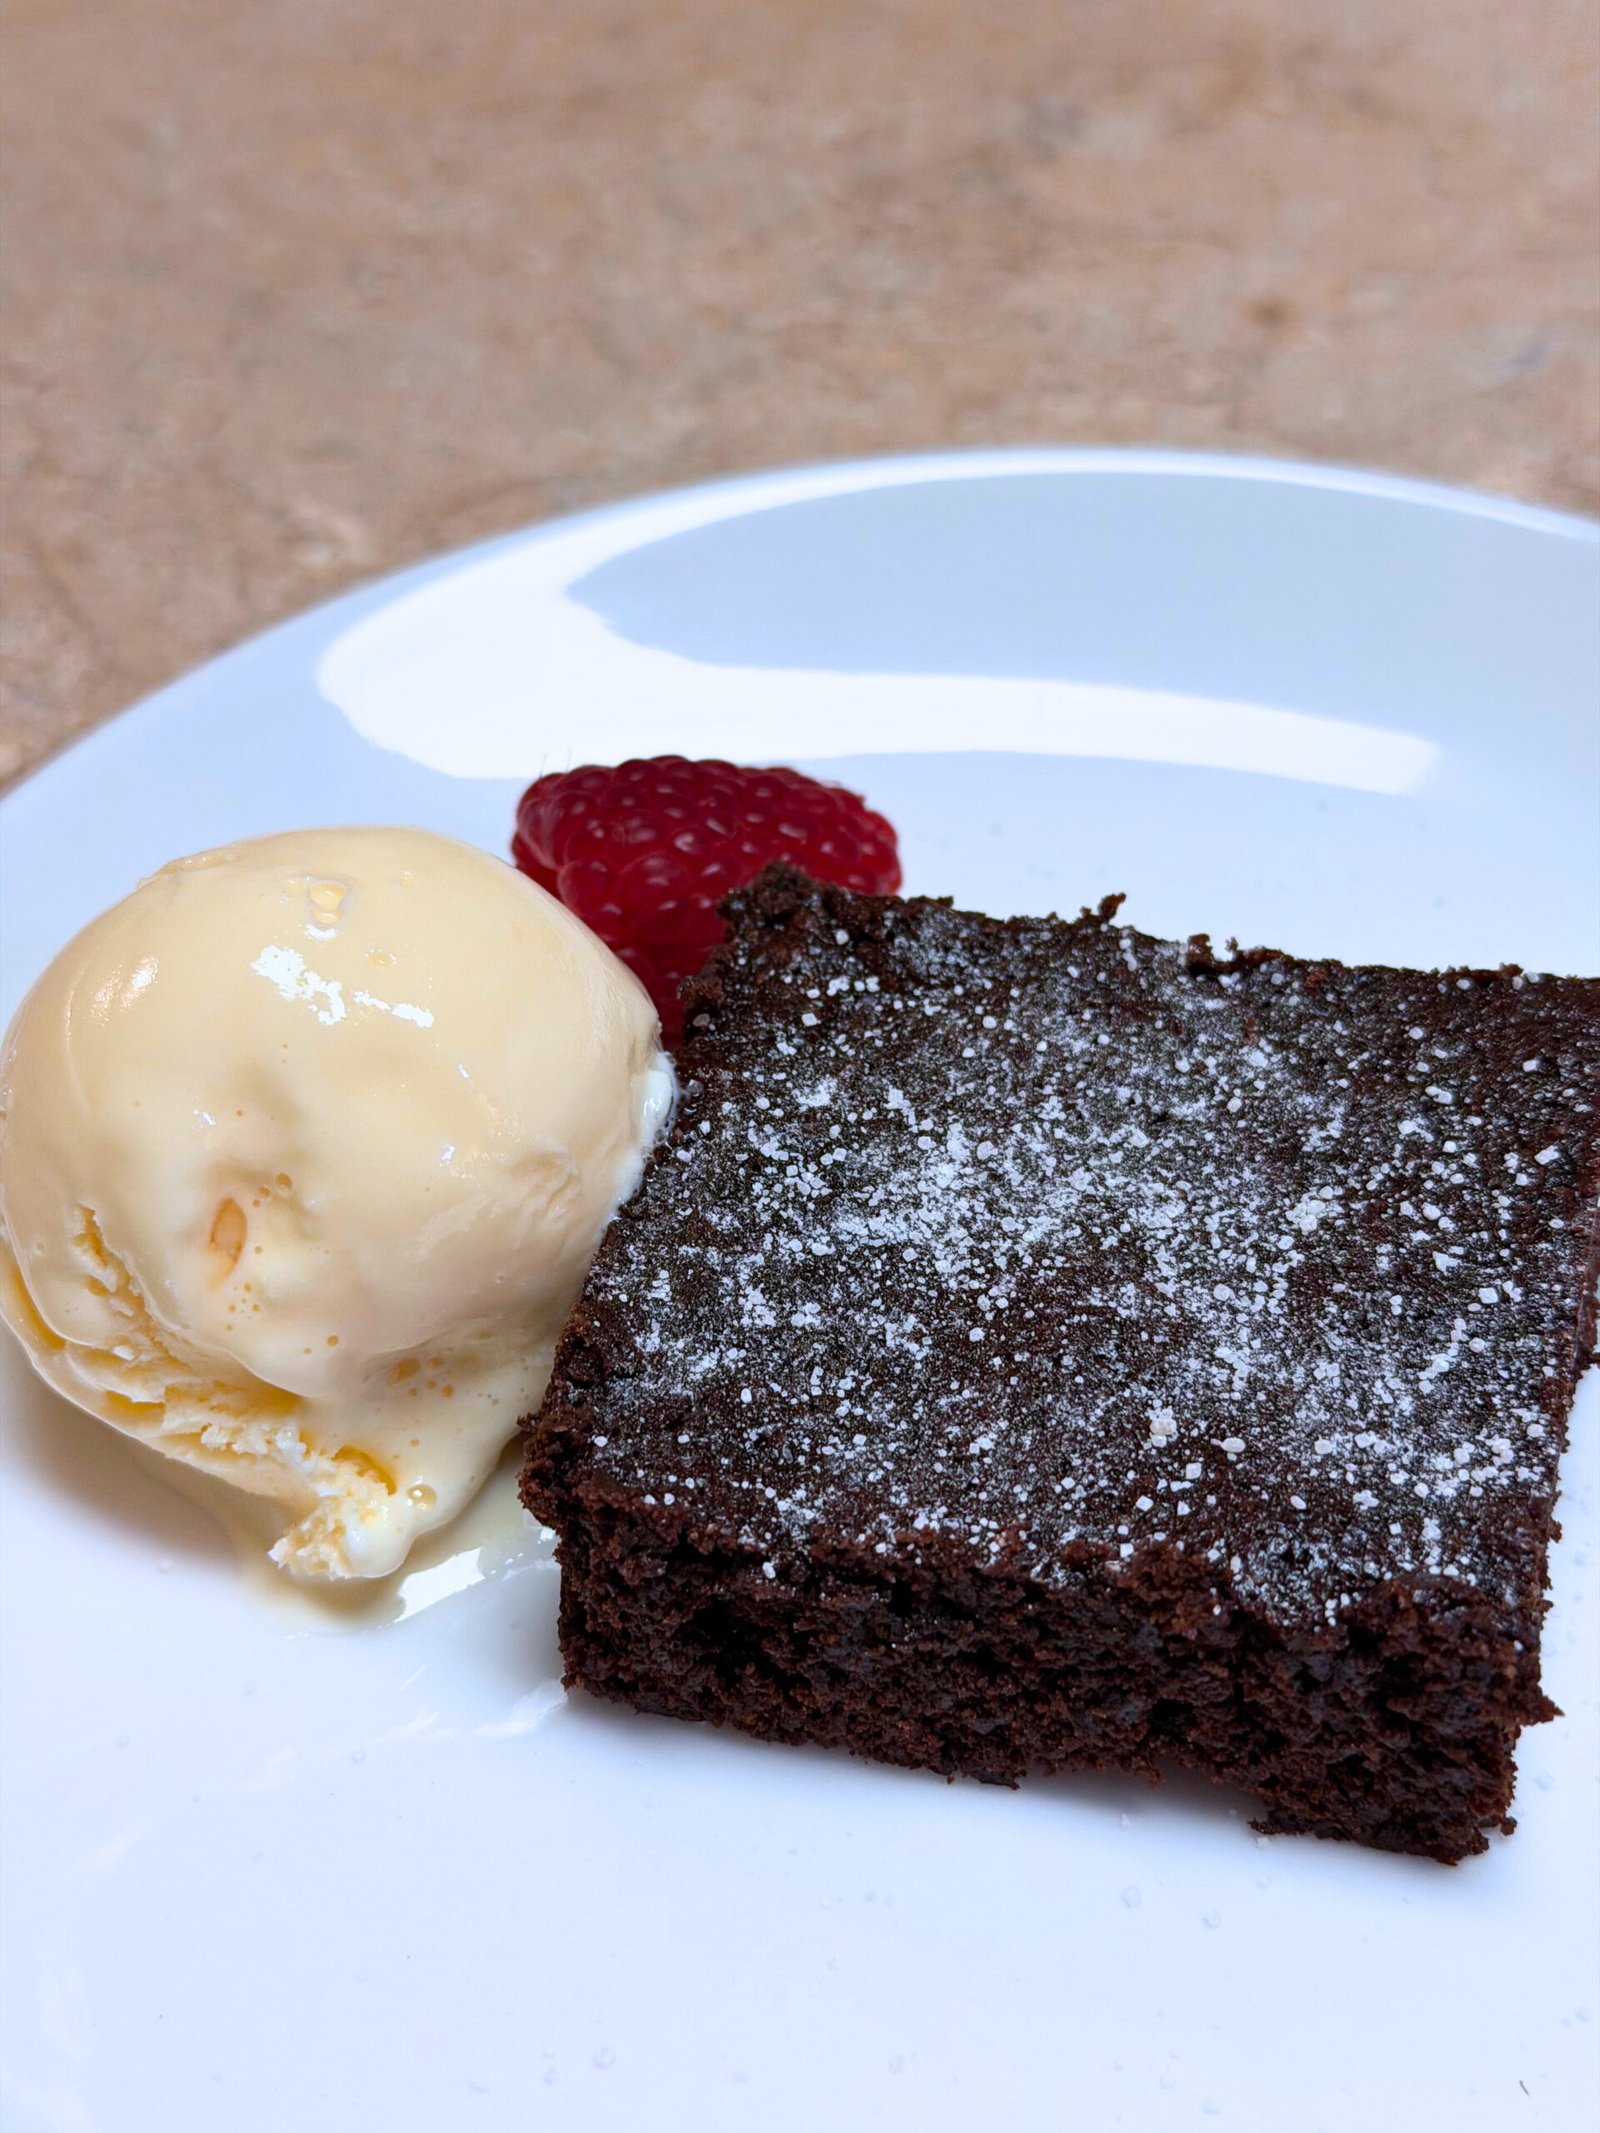
If you like that “fresh from the oven” feel, just pop a square in the microwave for 10 seconds. It softens the butter back up and makes the chocolate flavors pop. They’re also incredible as the base for a sundae—just add a scoop of vanilla bean ice cream and a drizzle of chocolate sauce, and you’ve got a restaurant-quality dessert made entirely from your pantry.
These are also very freezer-friendly. Wrap individual squares in plastic wrap and toss them in a freezer bag. They make a great “hidden snack” for when you need a little chocolate pick-me-up later in the month.
A Little Joy on Top
Baking for your family shouldn’t feel like a chore or require a trip to the store for a specific box. These Homemade Pantry Brownies are a reminder that the best things in life are often the simplest ones. There is something so satisfying about pulling a tray of bubbling, chocolatey goodness out of the oven using nothing but the basics you already had on hand.
I truly hope this recipe saves your next chocolate emergency! And if you’re on a roll with easy baking, you’ve got to try my ABC Toddler Cookies next—made with just applesauce, banana, and chia seeds, and the kids go absolutely crazy for them. It’s an “imperfectly perfect” classic that never goes out of style. Happy baking, y’all!
Want to Save This Recipe?
Enter your email below, and we’ll send the link straight to your inbox.
Better Than a Box: Homemade Pantry Brownies
Ingredients
Equipment
Method
- Preheat oven to 350°F. In a large bowl, whisk sugar, cocoa, flour, and salt together.
- Pour in melted butter and eggs. Stir until smooth and glossy. Don’t over-mix!
- Spread in an 8×8 pan. Bake for 18-25 minutes. For fudgy results, pull them out when a toothpick has a few moist crumbs.
Notes
Ashley’s Pro-Tips:
The Crackle Hack: Whisk the sugar and eggs together for one full minute before adding butter for that iconic shiny, crackly top!Tried this recipe?
Let us know how it was!
Meet Ashleybakeseasy
Welcome to Ashley Bakes Easy! I’m Ashley, a home cook and mother who believes that delicious food doesn’t have to be complicated. My journey in the kitchen started with a simple goal: create meals that my whole family would love, we could afford on a single income, and create recipes tailored for our special needs son Winston.
LET’S CONNECT!

Hello Form Ashleybakeseasy
Welcome to Ashley Bakes Easy! I’m Ashley, a home cook and mother who believes that delicious food doesn’t have to be complicated. My journey in the kitchen started with a simple goal: create meals that my whole family would love, we could afford on a single income, and create recipes tailored for our special needs son Winston.

Leave a Reply