
Easy Homemade Bone Stock

Comments
This Post May Contain Affiliate Links. Please Read Our Disclosure Policy
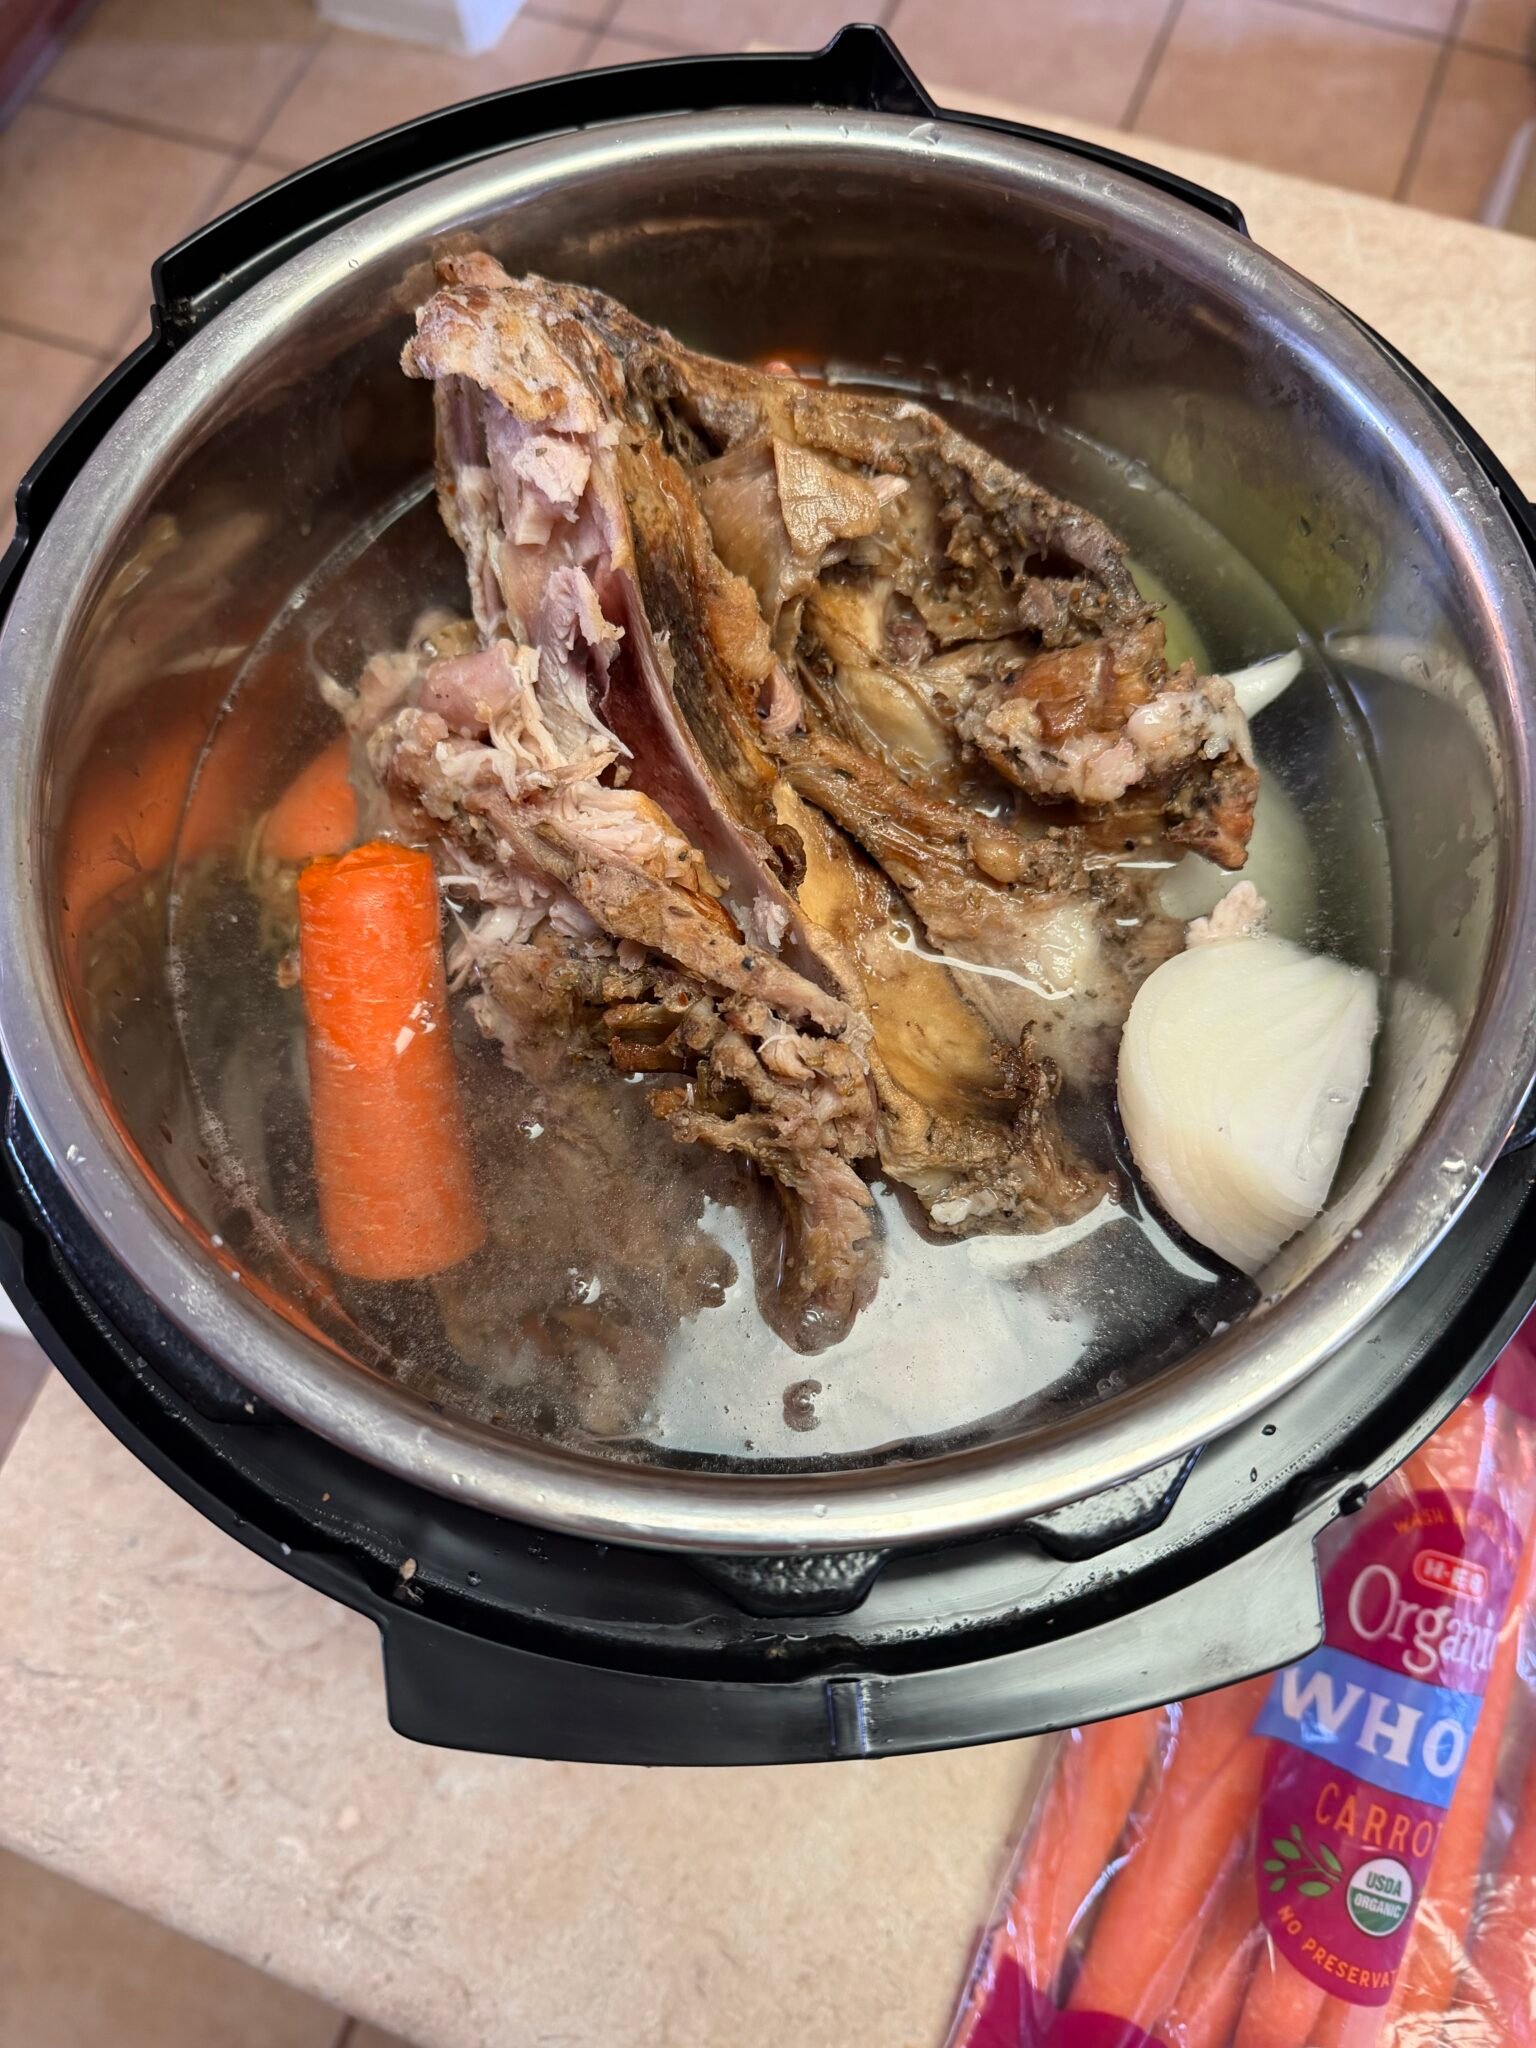
Hey friends! Ashley here. If there is one thing that serves as the literal backbone of a cozy kitchen, it’s a good, rich stock. I know, I know—it sounds like something out of an old-fashioned cookbook that takes three days and a culinary degree. But let’s be real: we are busy, and we are all about that “zero-waste” life when we can manage it. That is exactly why I am obsessed with this Homemade Bone Stock. It is the ultimate “imperfectly perfect” kitchen staple because it’s basically just a way to turn kitchen scraps into liquid gold. It’s nourishing, it’s frugal, and it will help you add flavor to every dish you make—from soups and stews to the simplest pot of rice.
Why Homemade Stock Will Be Your New Kitchen Superpower
I used to be a “box of chicken broth” kind of gal until I realized that I was literally throwing away the best ingredients every time we had a roast chicken or a steak night. Making your own stock is like getting a free gift from your grocery budget. Once you see how easy it is to add flavor to every dish using your own brew, you’ll never go back to the store-bought cartons.
- The Ultimate Zero-Waste Win: You are taking the bones and the “sad” veggies in the back of your crisper drawer and turning them into a high-end pantry staple.
- Deeply Nourishing: Homemade stock is packed with collagen and minerals that come from those bones simmering low and slow. It’s basically a hug for your immune system.
- Completely Forgiving: There is no “right” way to flavor this. Stock is the most patient recipe in your repertoire—it will take whatever you give it and turn it into something delicious.
- A Foundation for Every Meal: Whether you’re deglazing a pan for a quick sauce or simmering a hearty stew, this stock adds a silky texture and depth of flavor that is pure magic.
- Prep It and Forget It: Whether you use a slow cooker or a pressure cooker, the actual “work” time is about five minutes. The heat does all the heavy lifting while you live your life.
The beauty of this stock is that it’s a background player that makes everyone else look like a star. When you have a few jars of this in your freezer, you’re halfway to a gourmet dinner on even your busiest night.
Ingredient Spotlight: Turning Scraps into Liquid Gold
The base of this recipe is any kind of bones. We’re talking beef, chicken, turkey, or even pork. I keep a gallon-sized freezer bag in my kitchen, and every time we have meat with bones, I toss them in there. Once the bag is full, it’s stock time! This is the best way to honor the entire animal and get every bit of value out of your grocery trip.
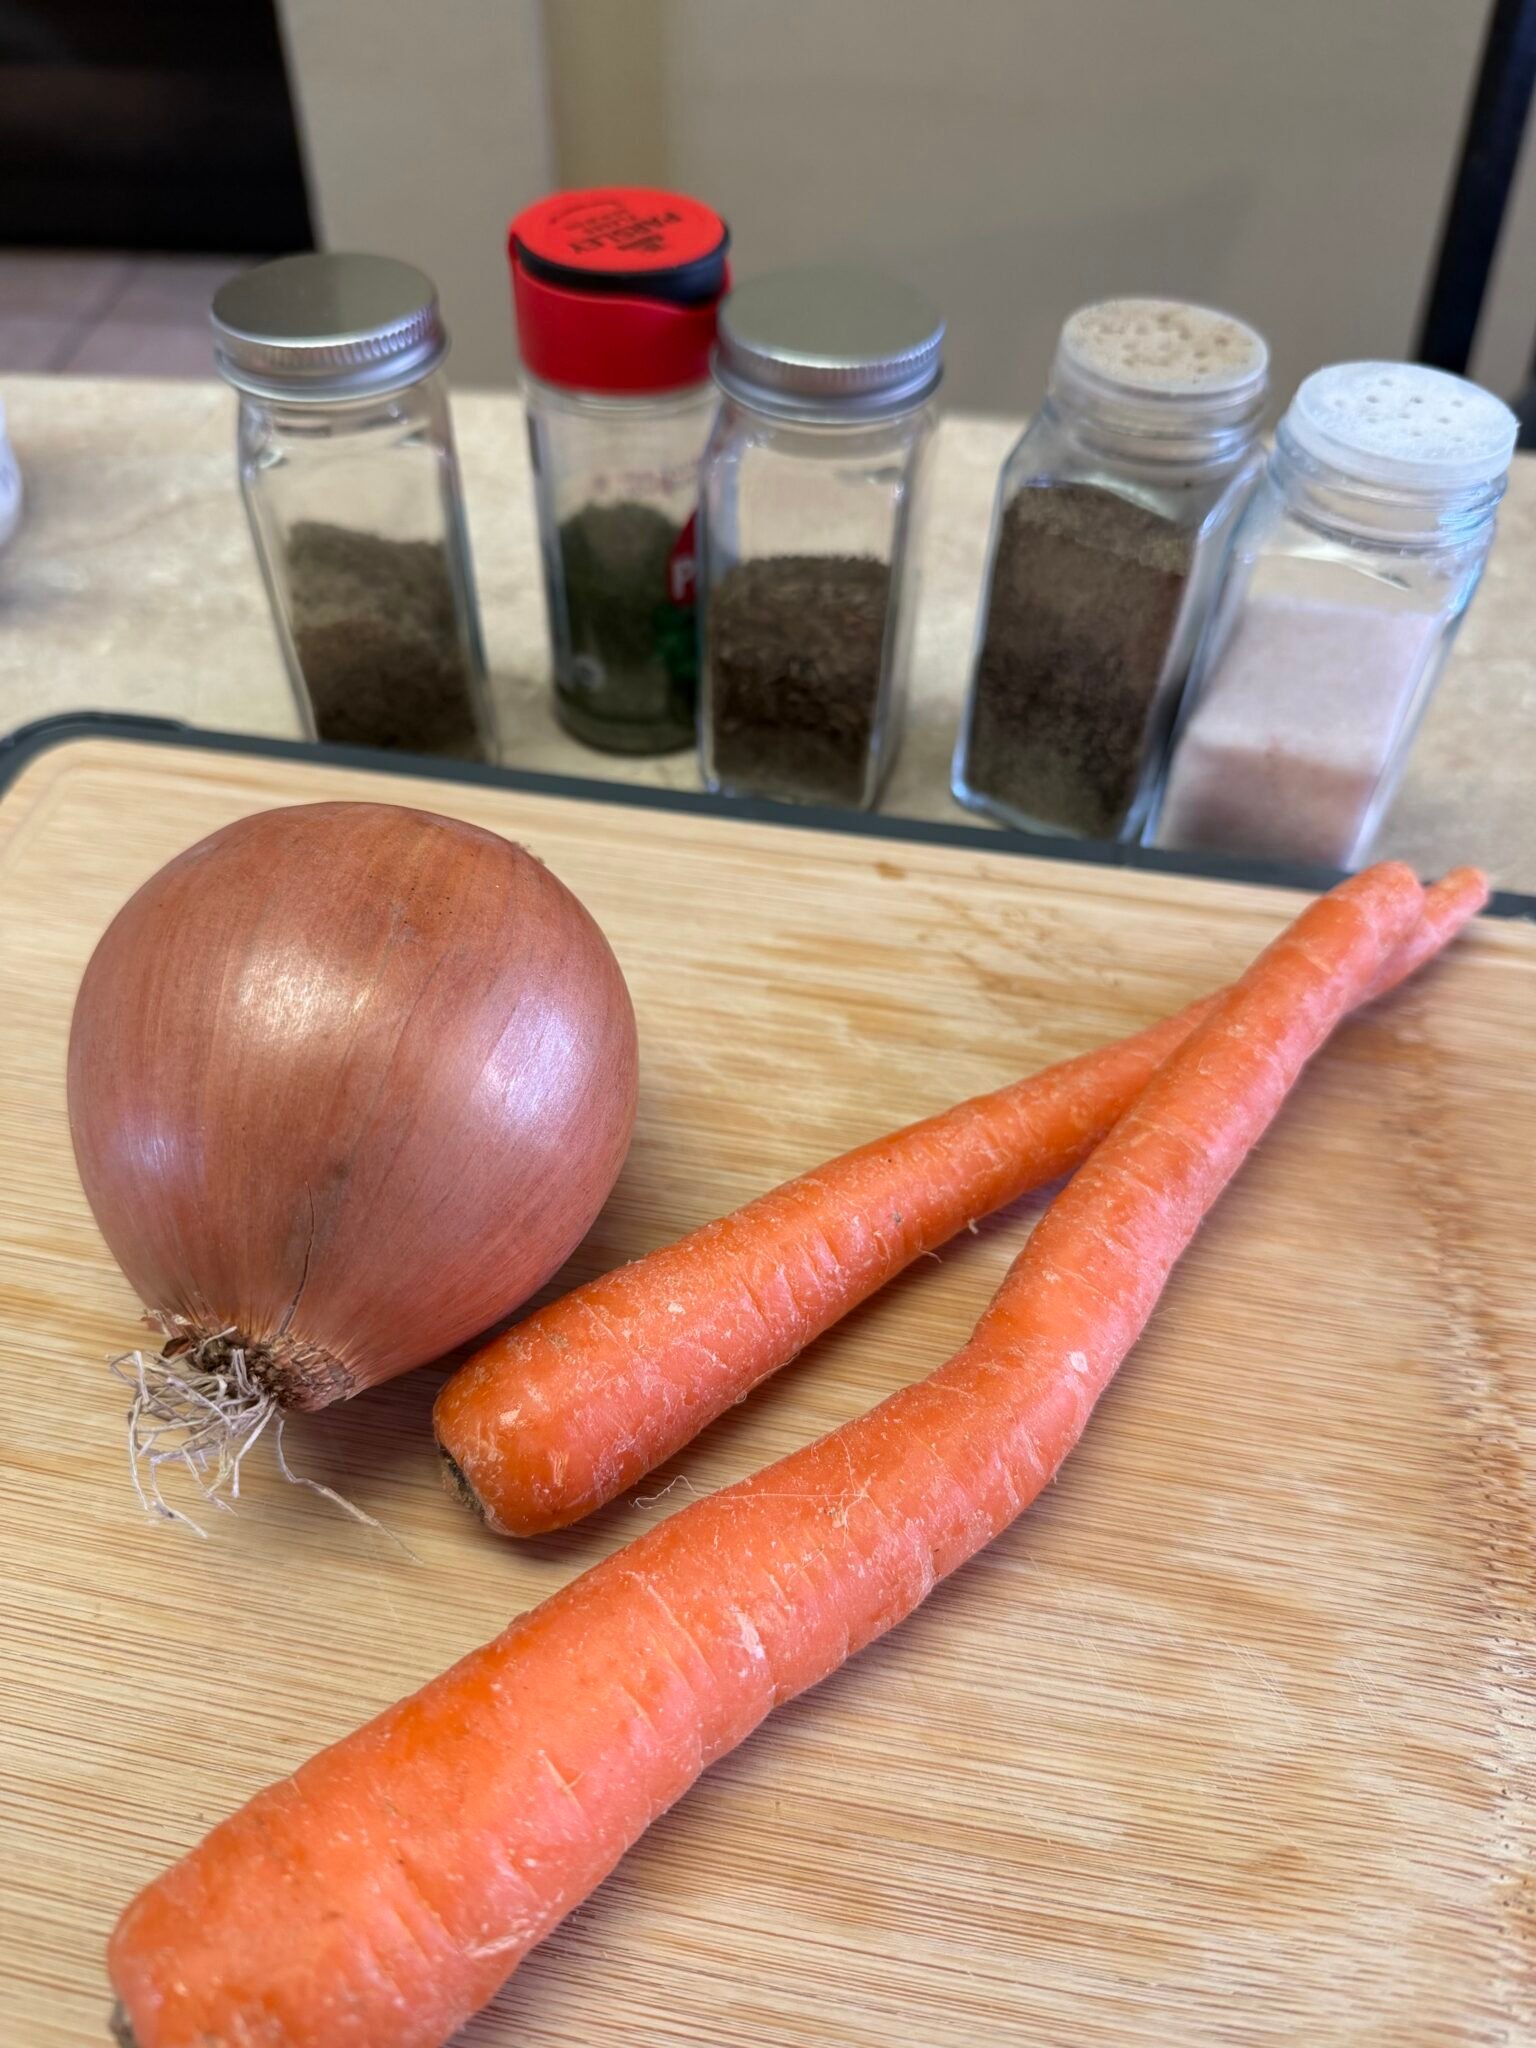
For the flavor, we’re raiding the fridge. I love a classic duo of onion and carrots, but this is where you get to be creative. I added basil, sage, and parsley from my garden, along with a good pinch of salt and pepper. Root vegetables like parsnips or celery root are fantastic here, but honestly, if you have a leek top or some slightly wilted celery, toss it in!
The only “non-negotiable” is water. You want to cover your bones and veggies completely, filling your pot up to the “fill line.” As it simmers, those ingredients will give up all their secrets—the marrow, the minerals, and the aromatics—to create a broth that is clear, flavorful, and ready to add flavor to every dish in your rotation.
Let’s Cook! Simple Steps to a Rich, Clear Stock
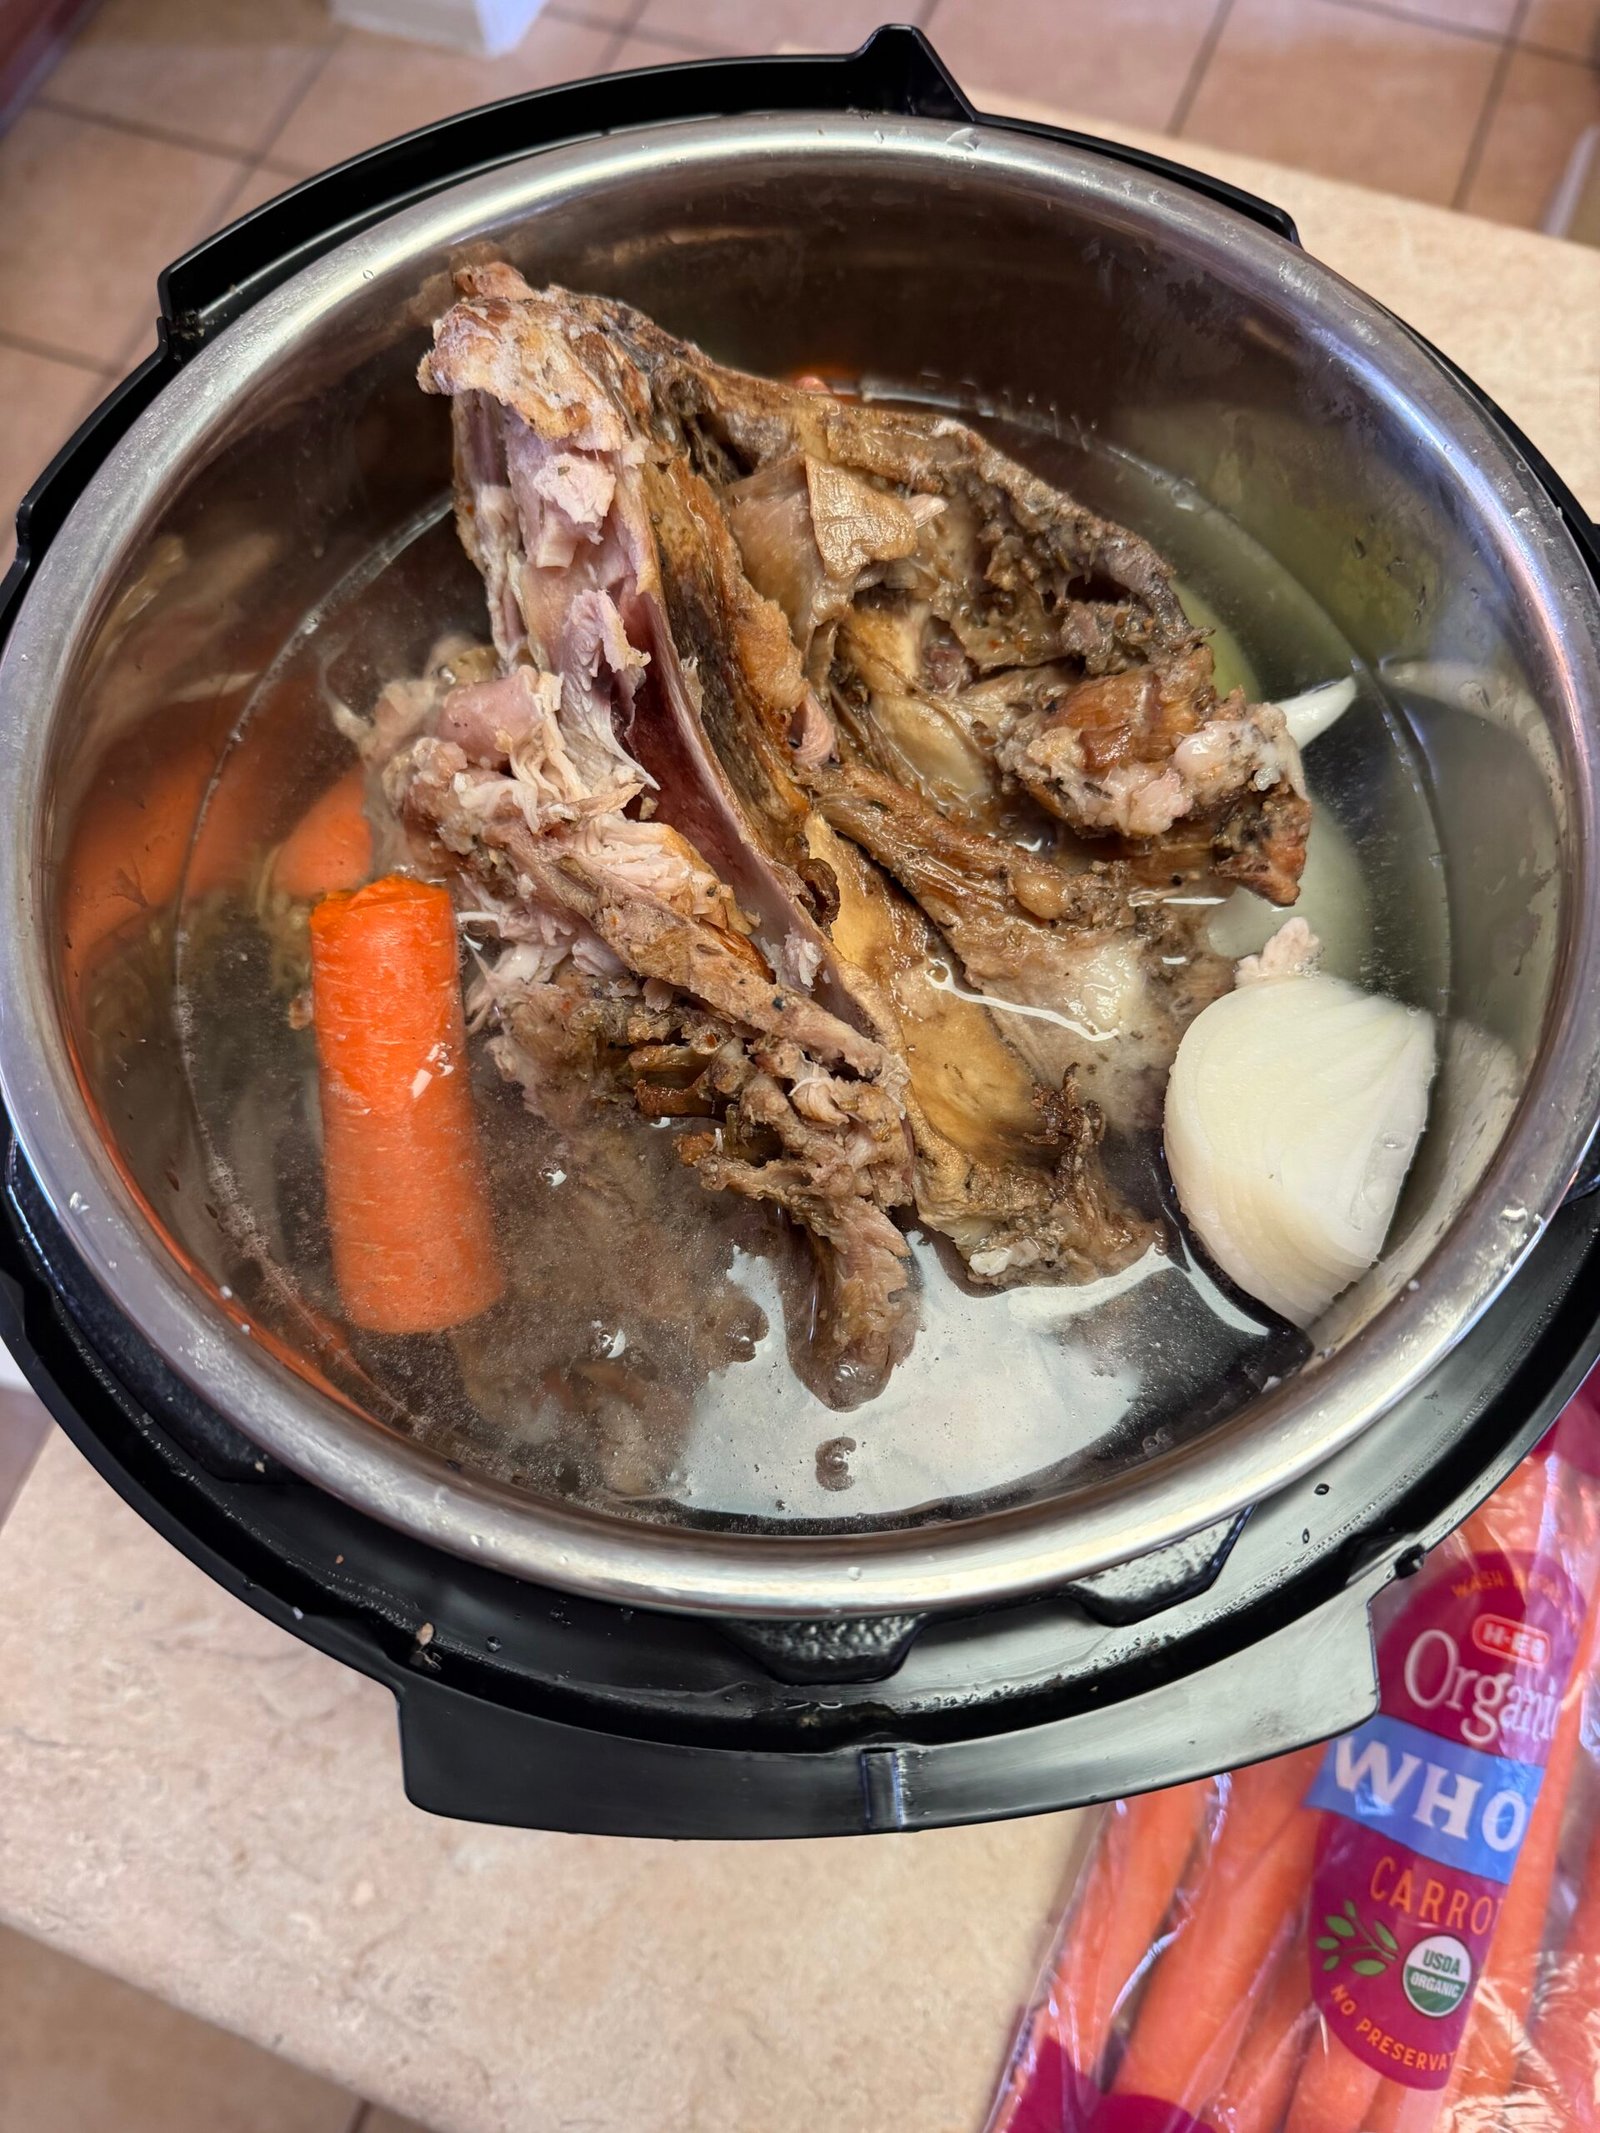
- Load the Pot: Toss your bones and your “fridge-raid” veggies into your slow cooker or pressure cooker. Don’t worry about perfect dicing here; large chunks work just fine since we’ll be straining everything out later. This is the moment to add your herbs and spices.
- The Long Simmer (or Fast Blast): Fill your pot with water until everything is submerged. Now, choose your adventure:
Slow Cooker: Set it to LOW and let it go for 12–24 hours. This is the traditional way to get that deep, dark color and maximum collagen.
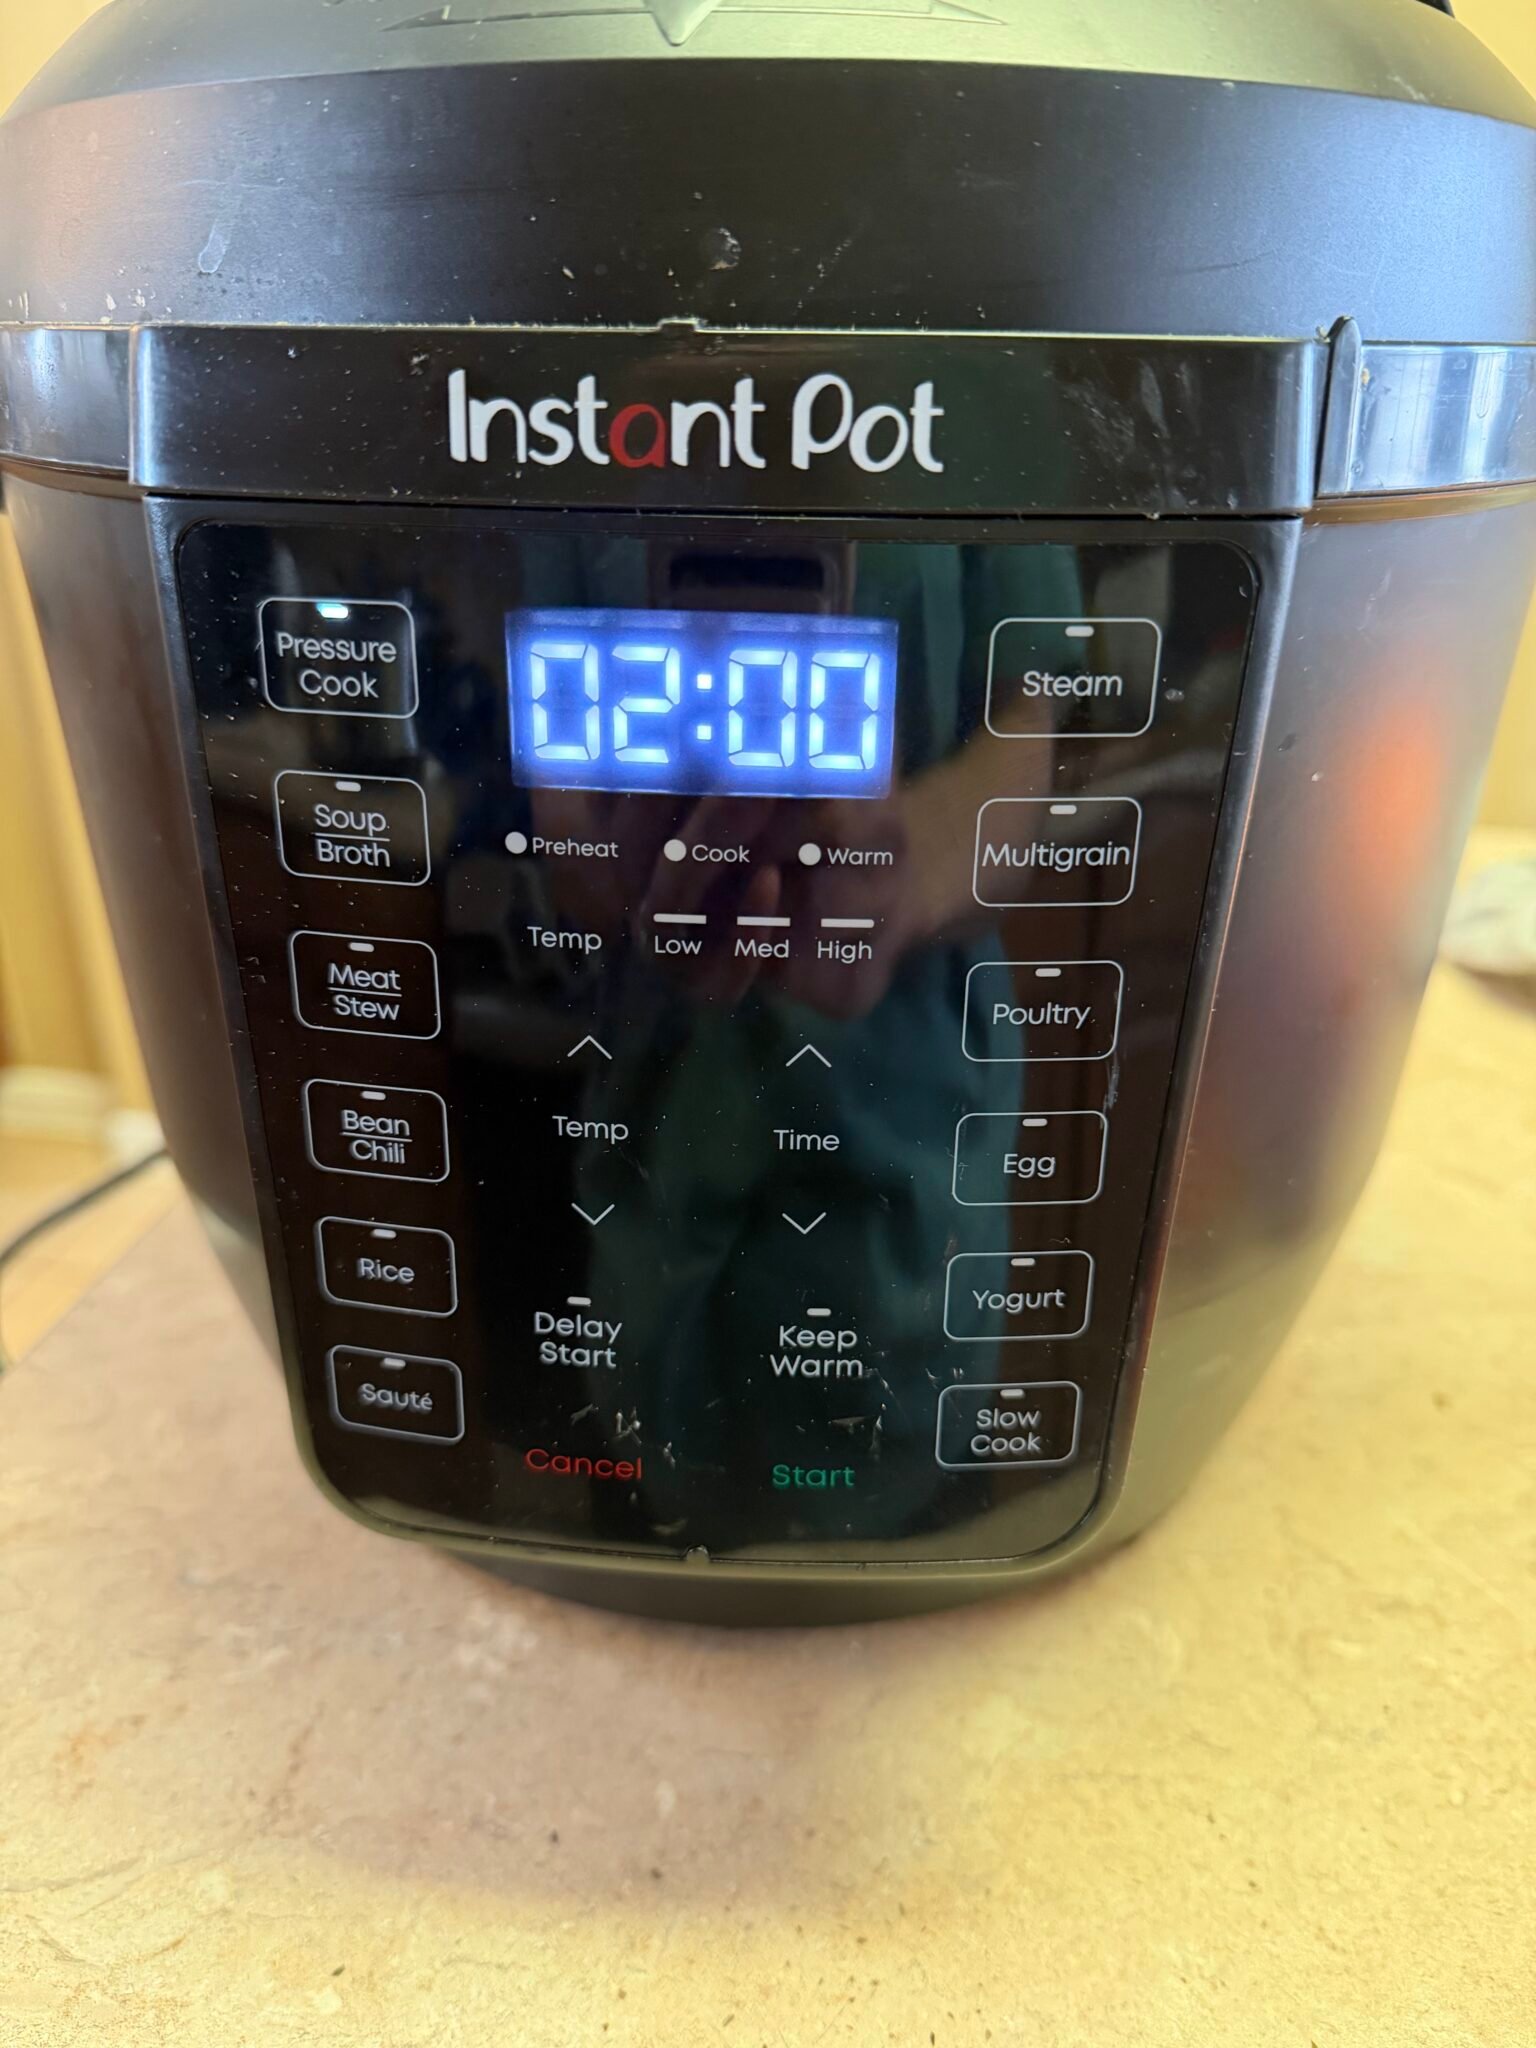
- Pressure Cooker: If you’re short on time (and who isn’t?), pressure cook on HIGH for 2 hours. It’s a modern miracle that yields a fantastic result in a fraction of the time.
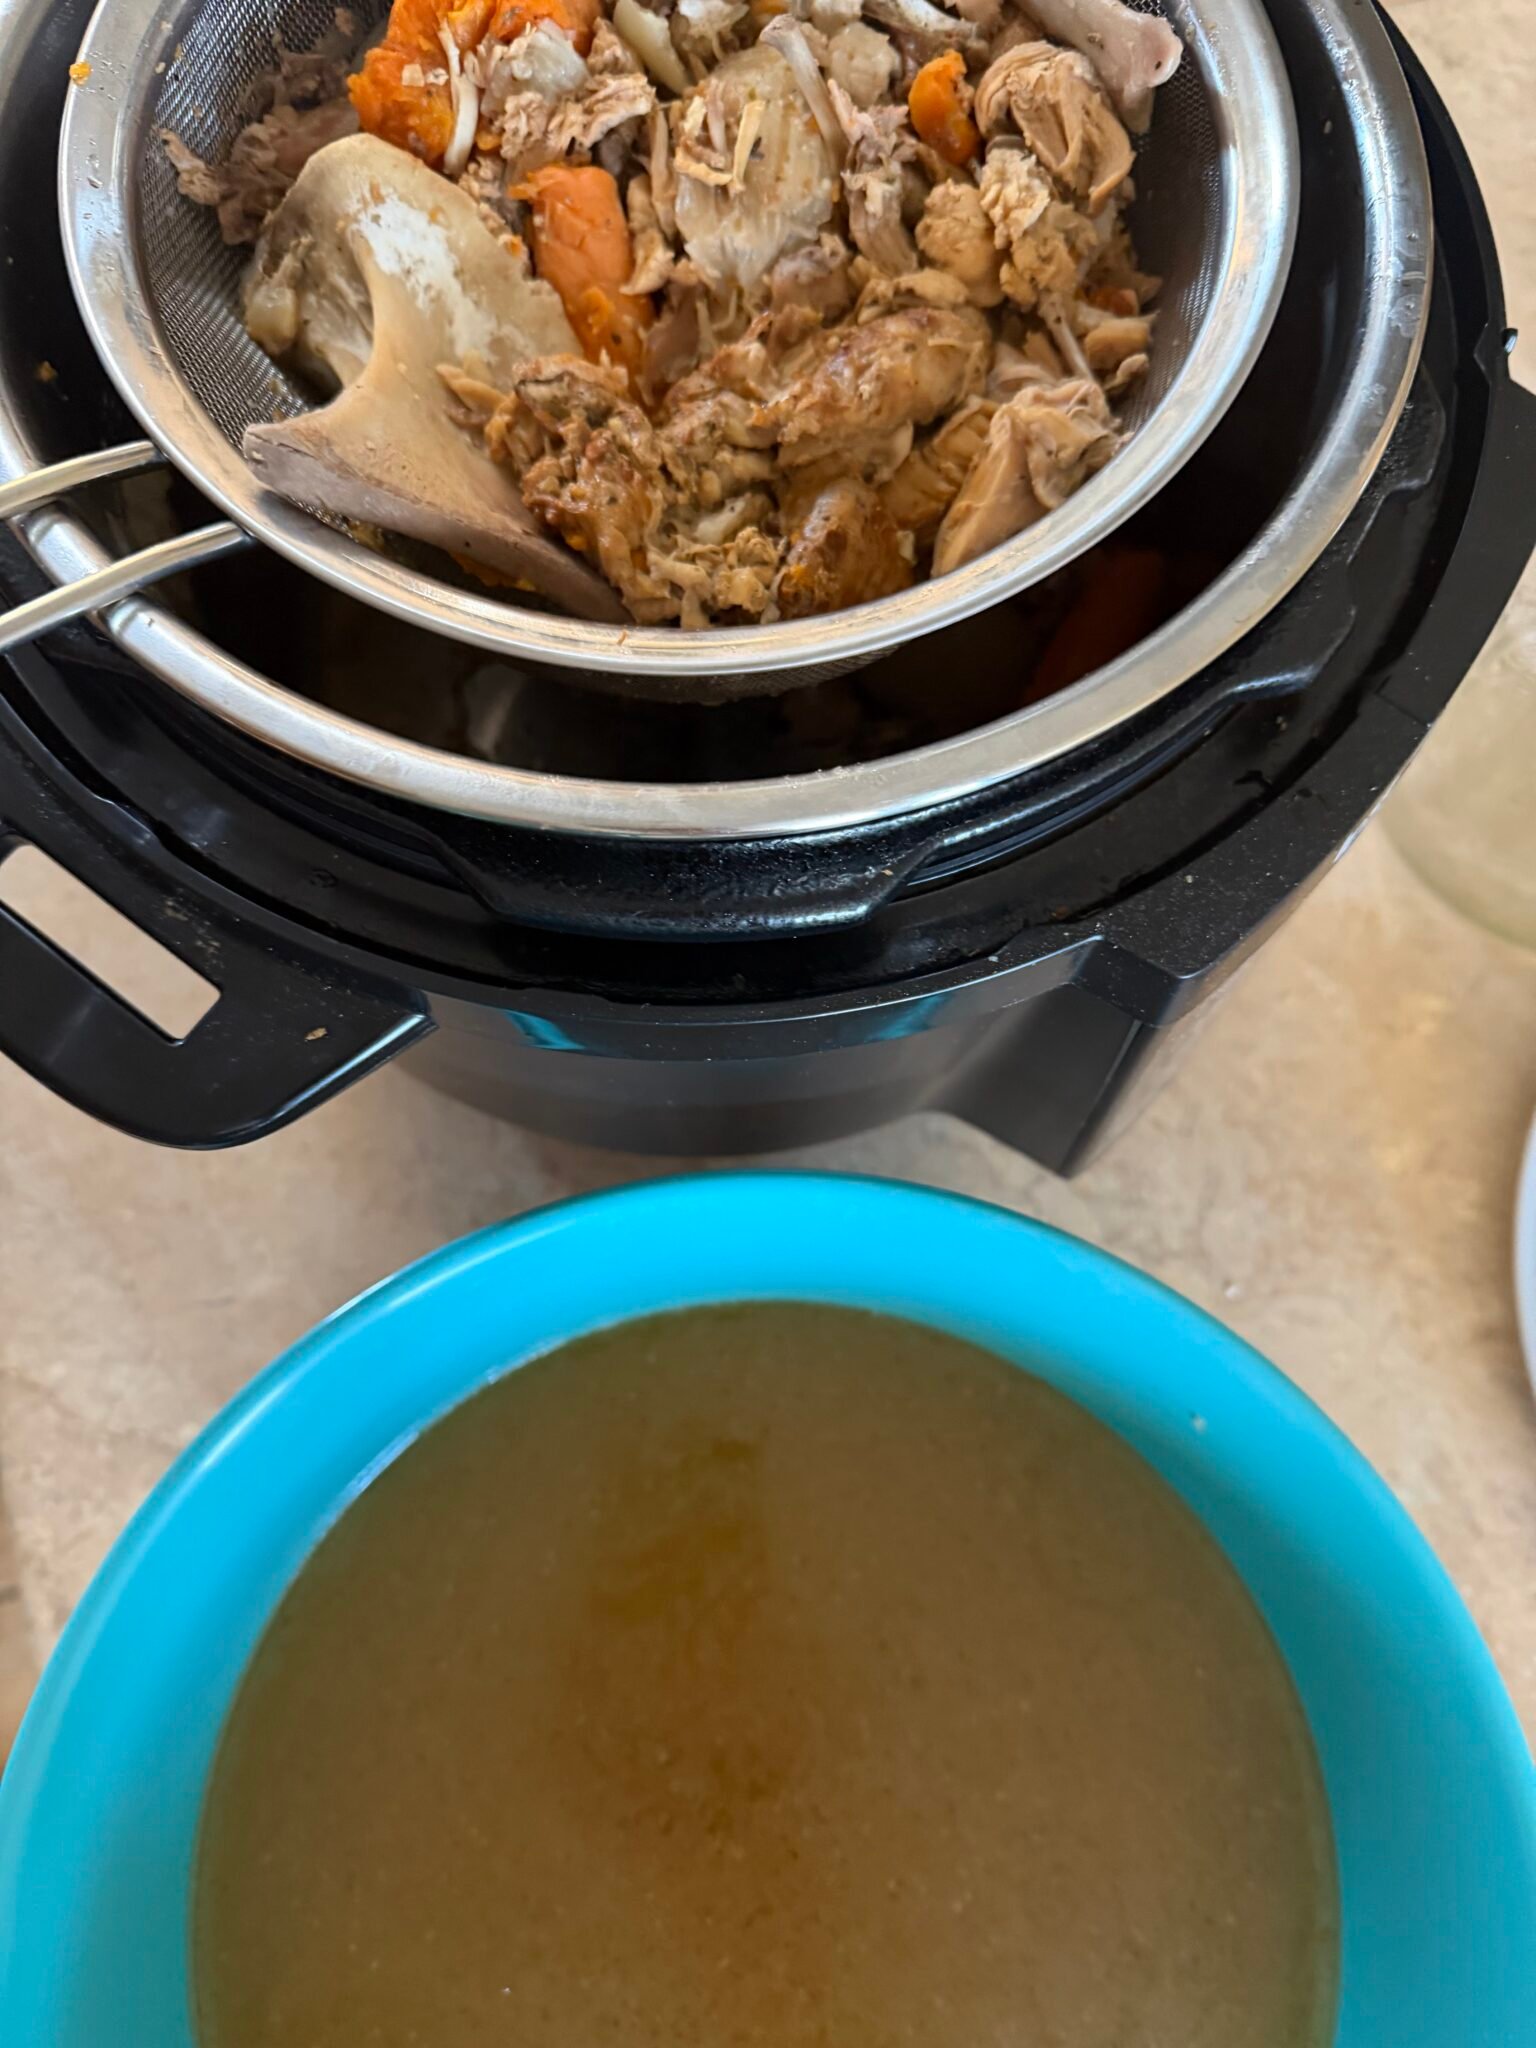
- The Strain and Cool: Once the time is up, use a fine-mesh strainer to separate the liquid from the solids. You can discard the bones and mushy veggies—they’ve given their all! Let the stock cool on the counter for a bit before moving it to the fridge.
- The Fat Seal: As the stock chills, you might notice a layer of fat forming on the top. Pro-tip: Don’t throw that away! That fat layer actually acts as a natural seal, helping your stock stay fresh in the fridge for even longer. When you’re ready to use it, you can just scrape the fat off or stir it back in for extra richness.
Ashley’s Pro-Tips: How to Master the “Imperfectly Perfect” Stock
My number one tip for a great stock is to keep it simple. You don’t need to buy “stock vegetables”—use the ends of the onions you chopped for dinner, the peels from your carrots, and the stems from your herbs. I keep a separate freezer bag for “veggie scraps” just like I do for bones. It makes this recipe feel like a total “freebie” that helps you add flavor to every dish without spending an extra dime.
If you want a darker, richer beef stock, you can roast the bones in the oven at 400°F for about 20 minutes before putting them in the pot. It adds a toasted, caramelized flavor that is incredible in French Onion soup or beef stew. For chicken stock, I find that using a mix of roasted bones (from a rotisserie chicken) and raw bones gives the best balance of flavor.
Also, don’t over-salt in the beginning! Since stock often gets reduced further in other recipes (like sauces or gravies), it’s better to keep it slightly under-salted and adjust the final dish later. You can always add salt, but you can’t take it away once it’s simmered for 24 hours!
Storage and Freezing: Building Your “Flavor Insurance”
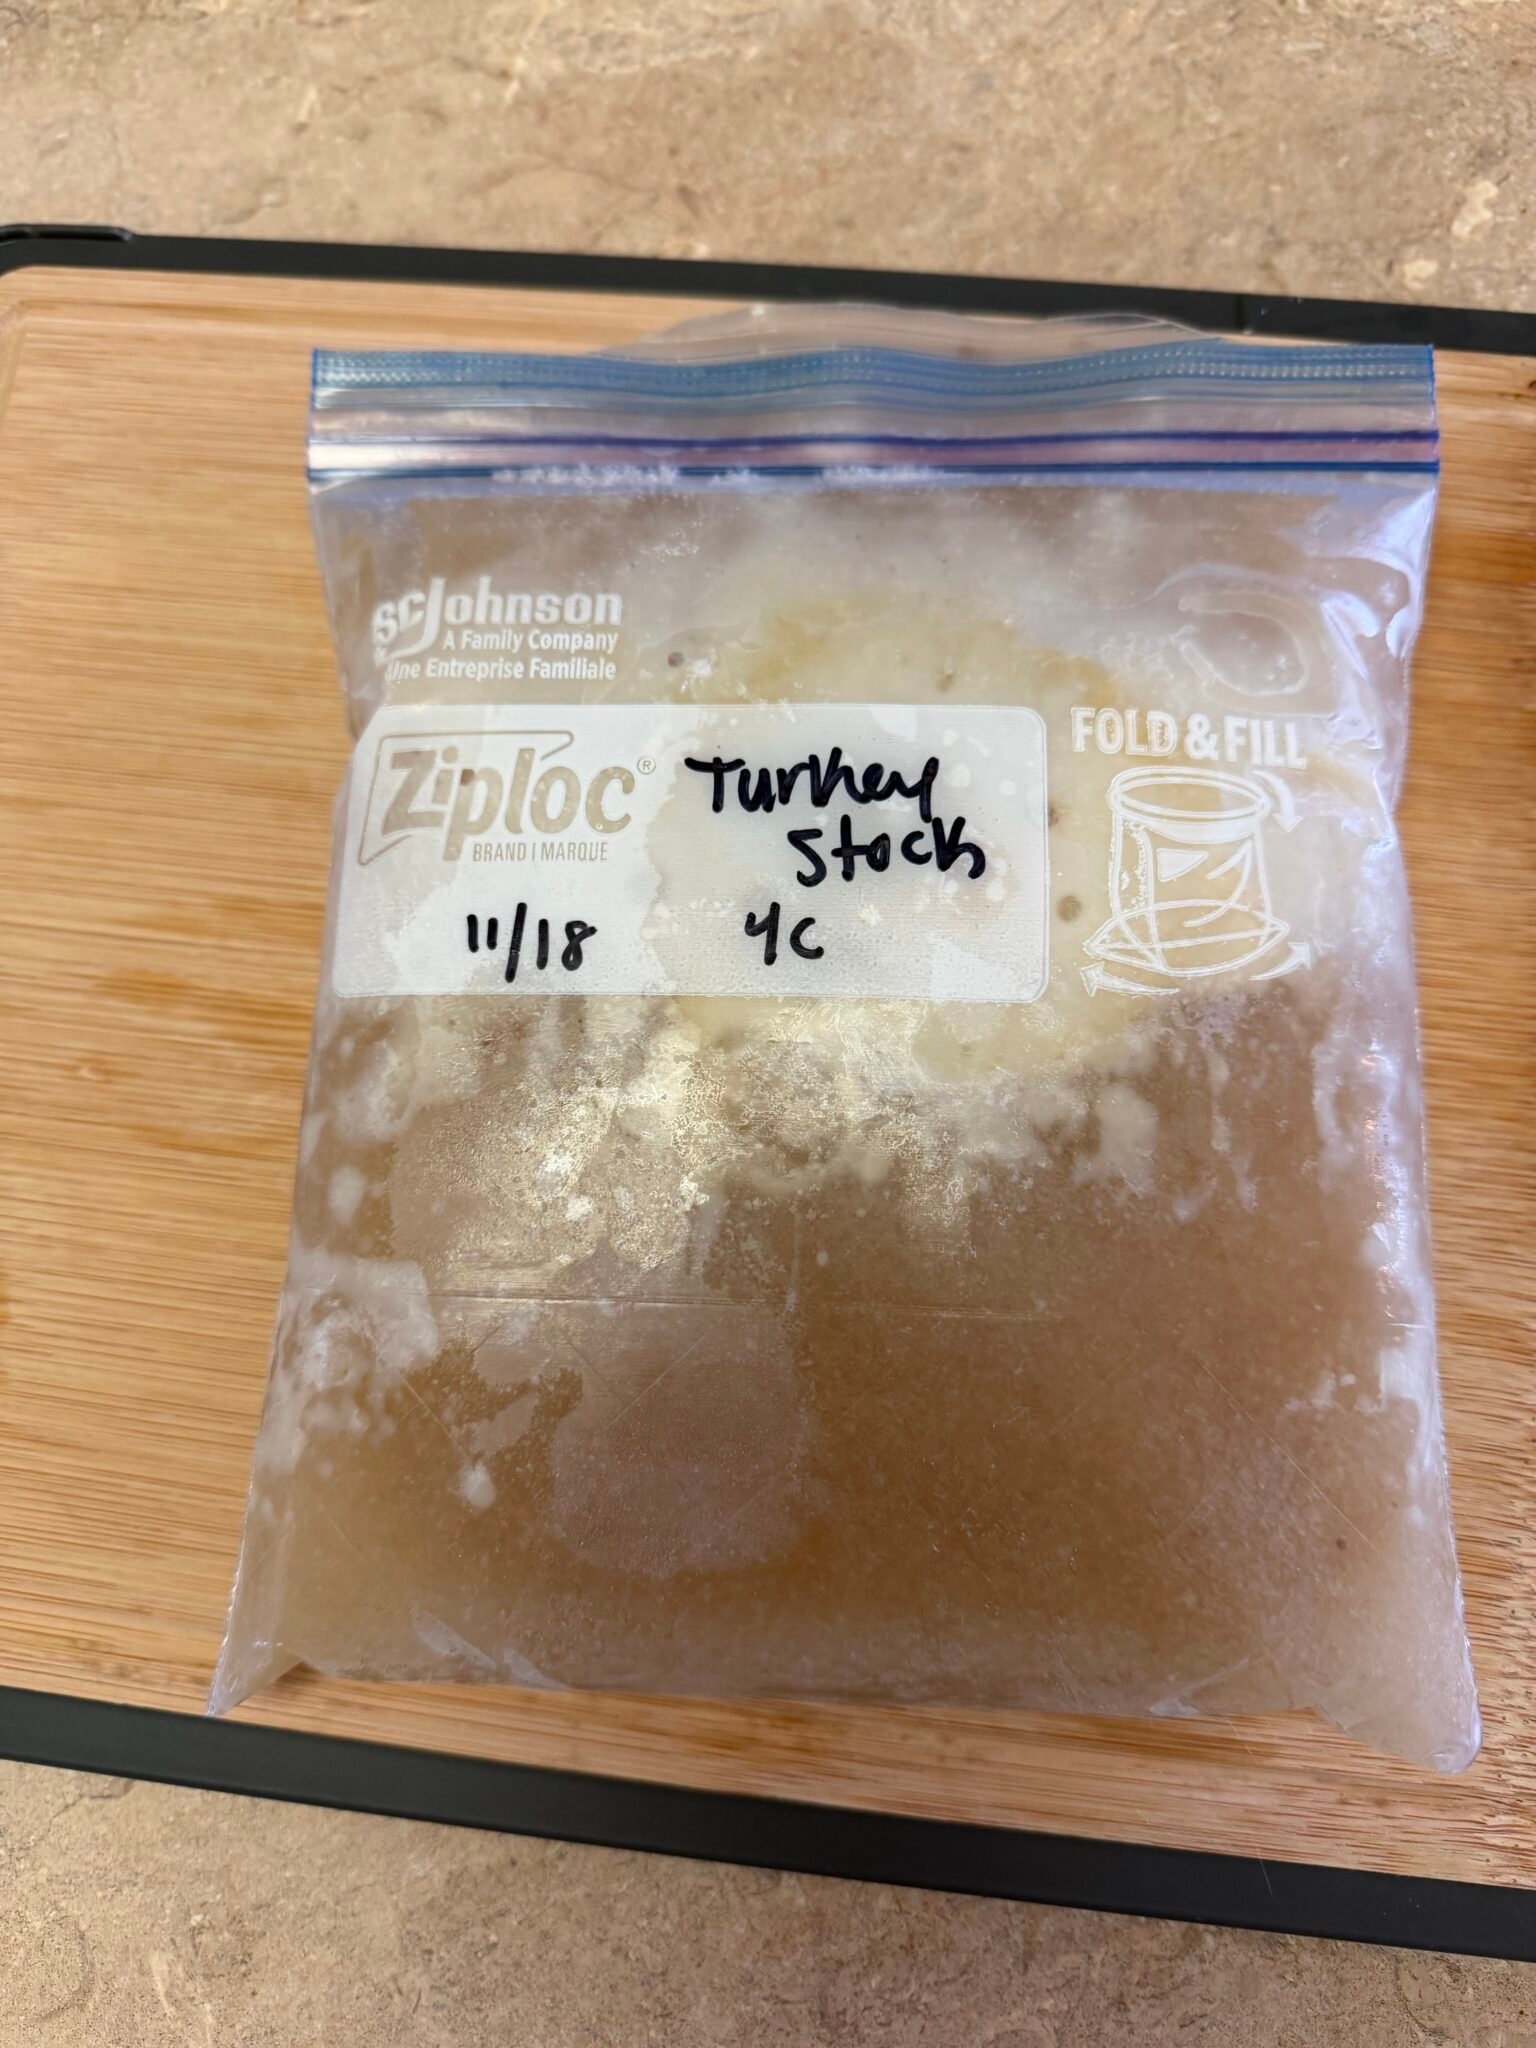
Homemade stock is like money in the bank. You can store it in the refrigerator for up to 5 days (longer if that fat cap stays intact). But for long-term success, the freezer is your best friend.
I love freezing stock in silicone large-cube trays or even muffin tins. Once they’re frozen solid, pop the “stock pucks” into a freezer bag. This way, if a recipe calls for just a splash of broth to deglaze a pan or loosen a sauce, you don’t have to thaw an entire quart. It’s the easiest way to add flavor to every dish on the fly.
If you’re freezing in glass jars, please remember to leave at least an inch of “headspace” at the top. Liquid expands as it freezes, and there is nothing “imperfectly perfect” about a broken glass jar in your freezer!
A Little Joy on Top
Making your own stock is one of those small shifts that makes you feel so much more connected to your kitchen. It’s a reminder that beauty and nourishment can come from the things we usually overlook. This recipe isn’t about perfection; it’s about taking what you have and making it count so you can add flavor to every dish you serve your family.
I truly hope this becomes a rhythm in your house like it has in mine. There is something so satisfying about a quiet slow cooker bubbling away in the corner, knowing you’re creating the foundation for a dozen future meals. If you start your first “bone bag” this week, I’d love to hear what kind of “fridge-raid” veggies you ended up using! Happy simmering, y’all!
Want to Save This Recipe?
Enter your email below, and we’ll send the link straight to your inbox.
Easy Homemade Bone Stock Recipe
Ingredients
Method
- Place bones and vegetables in your slow cooker or pressure cooker. Add herbs, salt, and pepper.
- Fill with water until bones and vegetables are fully submerged.
- Slow cooker method: Cook on LOW for 12-24 hours. Pressure cooker method: Cook on HIGH pressure for 2 hours with natural release.
- Strain the stock through a fine-mesh strainer, discarding solids. Allow to cool before refrigerating. Skim fat from the top or leave it as a natural seal.
Nutrition
Tried this recipe?
Let us know how it was!
Meet Ashleybakeseasy
Welcome to Ashley Bakes Easy! I’m Ashley, a home cook and mother who believes that delicious food doesn’t have to be complicated. My journey in the kitchen started with a simple goal: create meals that my whole family would love, we could afford on a single income, and create recipes tailored for our special needs son Winston.
LET’S CONNECT!

Hello Form Ashleybakeseasy
Welcome to Ashley Bakes Easy! I’m Ashley, a home cook and mother who believes that delicious food doesn’t have to be complicated. My journey in the kitchen started with a simple goal: create meals that my whole family would love, we could afford on a single income, and create recipes tailored for our special needs son Winston.


Leave a Reply