Easy Slow Cooker Homemade Apple Butter

Recipe ByAshley |
UpdatedFebruary 19, 2026 |
Comments
This Post May Contain Affiliate Links. Please Read Our Disclosure Policy
Hey friends! Ashley here. If there is one thing I love about the shift into cooler weather, it’s the absolute permission to make my house smell outrageously cozy. But let’s be real—we’re busy. We’re juggling school pickups, work deadlines, and the eternal struggle of figuring out what’s for dinner before everyone gets “hangry.” We don’t have time to stand over a massive pot on the stove, stirring for hours just to make sure nothing scorches. That is exactly why I am obsessed with this Slow Cooker Homemade Apple Butter recipe. It’s the definition of “imperfectly perfect” home cooking: high reward, minimal effort, and a result that makes you feel like you’ve actually got your life together.
Why This Slow Cooker Apple Butter is the Ultimate “Set It and Forget It” Treat
Life is hectic, and the last thing we need is a complicated recipe that demands constant attention. This slow cooker method is pure genius because it asks almost nothing of you after the initial 30 minutes of prep. You simply toss your apples and spices into the Crock-Pot, turn the dial to low, and walk away. While you’re out running errands, tackling that mountain of laundry, or finally catching up on a book, the slow cooker is diligently transforming simple ingredients into a deep, caramelized spread.
- Hands-Off Aromatherapy: Instead of buying expensive candles, this recipe fills every corner of your home with a warm, spiced scent that no artificial fragrance can match.
- Scorch-Free Success: The gentle, wrap-around heat of a slow cooker eliminates the need for constant stirring, allowing the sugars to caramelize without the risk of burning the bottom of the pot.
- Batch Cooking Brilliance: This recipe makes a generous amount (about 8 half-pint jars), meaning one afternoon of prep stocks your fridge for weeks or handles your holiday gifting in one go.
- Texture Control: Because the fruit breaks down so thoroughly over 10 hours, you can choose exactly how rustic or silky you want your final butter to be with almost no extra work.
- Zero-Waste Potential: This is the perfect destination for those slightly bruised or “ugly” apples that the kids won’t eat; once they’re cooked down and spiced, they become absolute gold.
The real magic here is the low, slow heat. It allows the natural moisture in the fruit to evaporate slowly while the sugars concentrate and deepen into that signature rich, dark brown color. If you tried to achieve this on the stovetop, you’d be a slave to the spoon. In the slow cooker, you get that professional-level caramelization while you sleep or go about your day.
Ingredient Spotlight: The Warm Spices That Make Your Home Smell Like a Dream
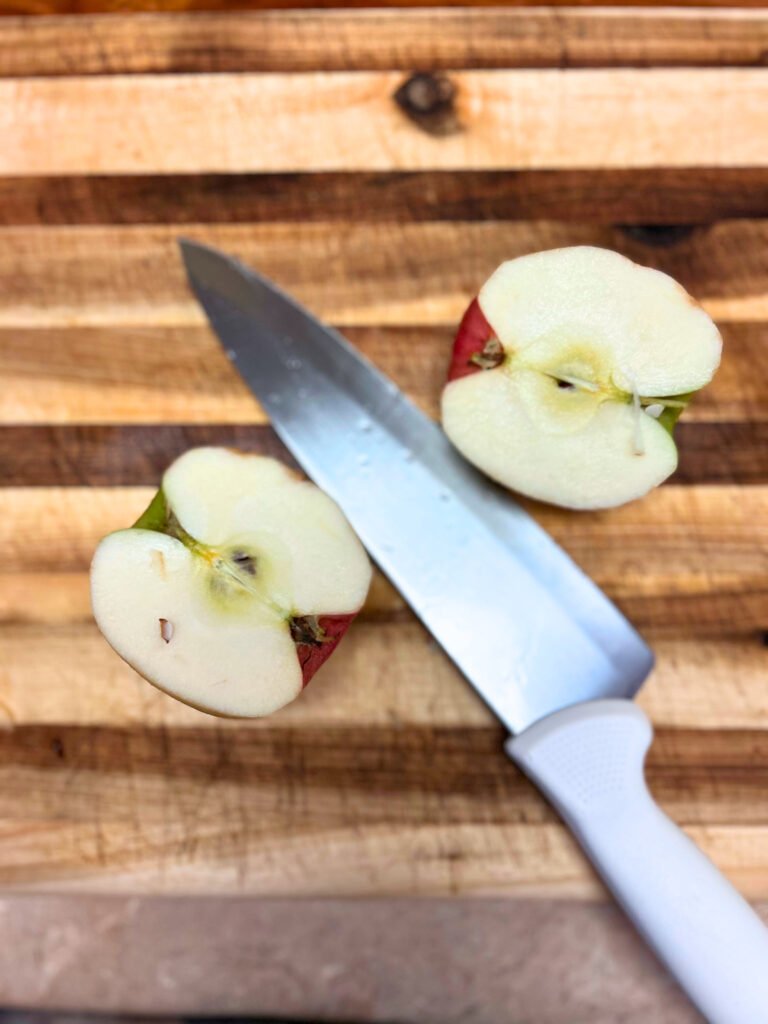
This recipe starts with a hefty 5.5 pounds of apples. I know, that sounds like a mountain of fruit when it’s sitting on your counter, but remember they cook down dramatically! Don’t stress about finding a single “perfect” variety. In fact, I think the best apple butter comes from a blend. Throw in some Granny Smiths for tartness and some Honeycrisp or Fuji for sweetness. The only rule is that you need to peel, core, and chop them well. It’s the most labor-intensive part, but once it’s done, you’re officially on easy street.
We rely on a specific sugar blend to get that “fudgy,” rich consistency. We’re using 1.75 cups each of brown sugar and white sugar. The white sugar provides that clean sweetness we all love, but the brown sugar—packed with molasses—is what gives the butter its deep, complex soul. It works alongside the heat to create that dark, glossy finish that makes homemade apple butter so much better than the pale, over-sweetened stuff you find at the grocery store.
Then, we have the spices. We use two full teaspoons of cinnamon to lead the charge, but the “secret sauce” is the quarter-teaspoon of nutmeg, cloves, and allspice. These are strong players, so a little goes a long way. They add a warmth and a “what is that delicious flavor?” quality that elevates the apples from a simple sauce to a gourmet spread. When you mix these with the sugars and toss them with the fruit, you’re basically creating a flavor infusion that will permeate every single cell of those apples over the next 10 hours.
Let’s Cook! Simple Steps to Perfectly Caramelized Apple Butter
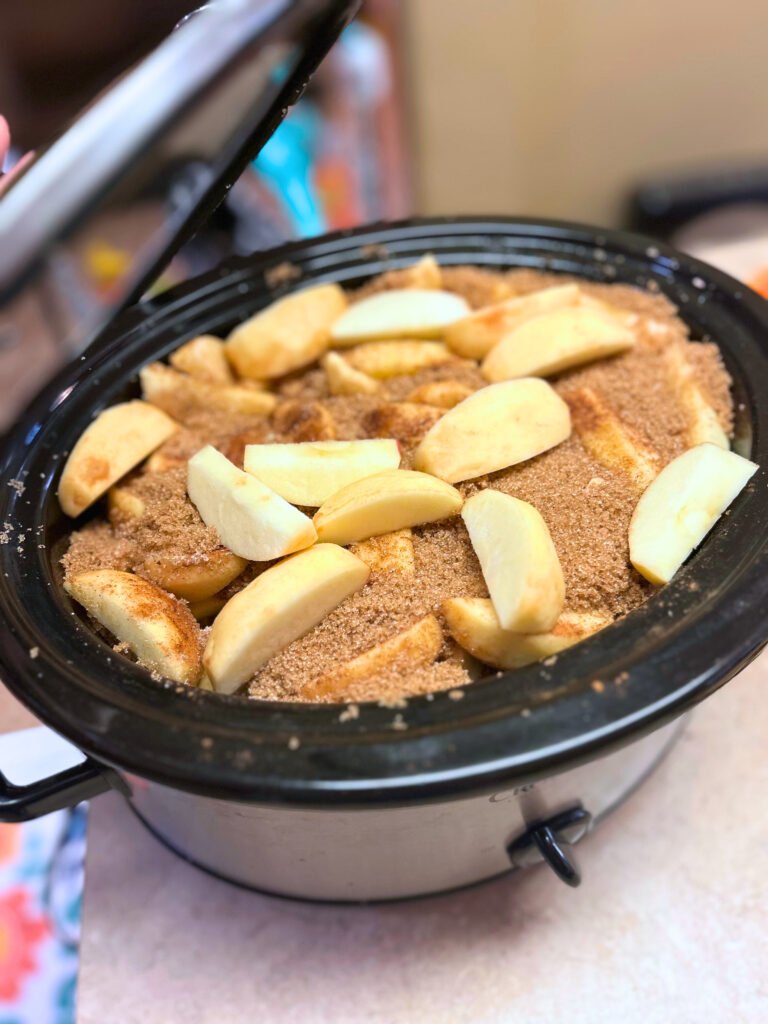
- Prep and Coat: The only real “work” happens right at the start. Peel, core, and finely chop your 5.5 pounds of apples. Once they’re in the slow cooker, whisk together your sugars and spices in a separate bowl. Pour that fragrant mixture over the apples and give it a good toss.
- The Low and Slow Simmer: Secure the lid and set your slow cooker to LOW. Now, you walk away. Let the machine do its thing for 8 to 12 hours. Resist the urge to peek! Every time you lift the lid, you’re letting out the heat and moisture. You’ll know it’s getting close when the mixture turns a dark, mahogany brown and the volume has dropped significantly.
- The Thickening Phase: Once the apples are completely mushy and dark, remove the lid entirely for the final hour of cooking. This allows the excess liquid to steam off, thickening the sauce into a spreadable masterpiece.
- The Finishing Smooth: Turn off the heat and decide on your texture. For a rustic feel, use a whisk. For that professional, silky-smooth finish, use an immersion blender right in the pot. Spoon the finished product into sterile jars and you are ready to go.
Ashley’s Pro-Tips: How to Achieve a Silky, Lump-Free Texture Every Time
I’m a big believer in “imperfectly perfect,” but when it comes to apple butter, sometimes you just want that velvet-smooth spread that glides over a piece of toast. The immersion blender is your best friend here. It allows you to pulverize any stubborn apple chunks without transferring hot liquid between containers. If you don’t have one, a strong whisk and a little elbow power will give you a lovely, rustic compote style that is just as delicious.
If you are using a traditional stand blender, please be careful! Hot liquids expand when blended, and the steam can pop the lid right off. Always blend in small batches, remove the center piece of the lid, and cover it with a folded kitchen towel to let the steam escape safely.
Also, keep in mind that the apple butter will continue to thicken as it cools. If it looks a tiny bit thinner than you expected while it’s still hot, don’t panic! Once it hits the fridge, those sugars and pectins will set up beautifully. If you find it’s too thick after it cools, you can always stir in a tiny splash of apple cider to loosen it back up.
Beyond the Jar: Creative Ways to Use and Store Your Apple Butter
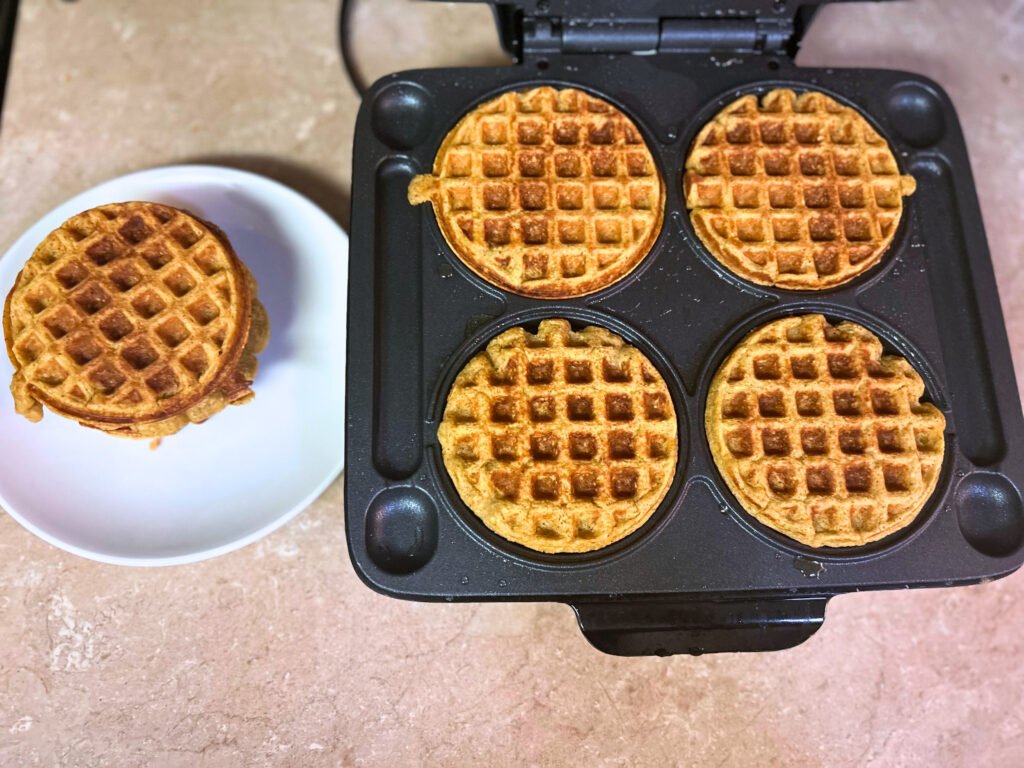
While a warm biscuit is the natural home for apple butter, there are so many ways to use this “liquid autumn.” I love swirling a big spoonful into my morning oatmeal or layering it into a yogurt parfait with some granola. And if you want a truly showstopping breakfast, spread it generously on my Easy Sweet Potato Waffles—the warm spiced apple flavor on those fluffy waffles is an absolutely unreal combination!
It also makes a fantastic glaze for roasted pork or chicken if you want to bring a little sweetness to your dinner rotation. If you’re feeling fancy, use it as a sandwich spread—it is incredible on a grilled cheese with sharp white cheddar and some crispy ham.
Storage is a breeze. Because of the high sugar content and the long cook time, this stays fresh in the refrigerator for up to three weeks. If you’ve made a massive batch (which I highly recommend), it freezes beautifully. Just leave about an inch of space at the top of your freezer-safe jars because the liquid will expand as it freezes. It’s like a gift to your future self when February rolls around and you’re craving a taste of fall.
Speaking of gifts, this is my go-to for neighbors and teachers. A cute mason jar, a bit of twine, and a handwritten note go a long way. It’s a thoughtful, handmade present that people actually use and enjoy.
A Little Joy on Top
When you finally dip a spoon into that deep, mahogany-colored spread, you’ll realize how little actual “work” went into such a massive reward. Providing something special for your family shouldn’t have to be another stressful task on your to-do list. This recipe is a gentle reminder that some of the best things in life—the coziest smells and the richest flavors—come to those who are willing to just set it and forget it.
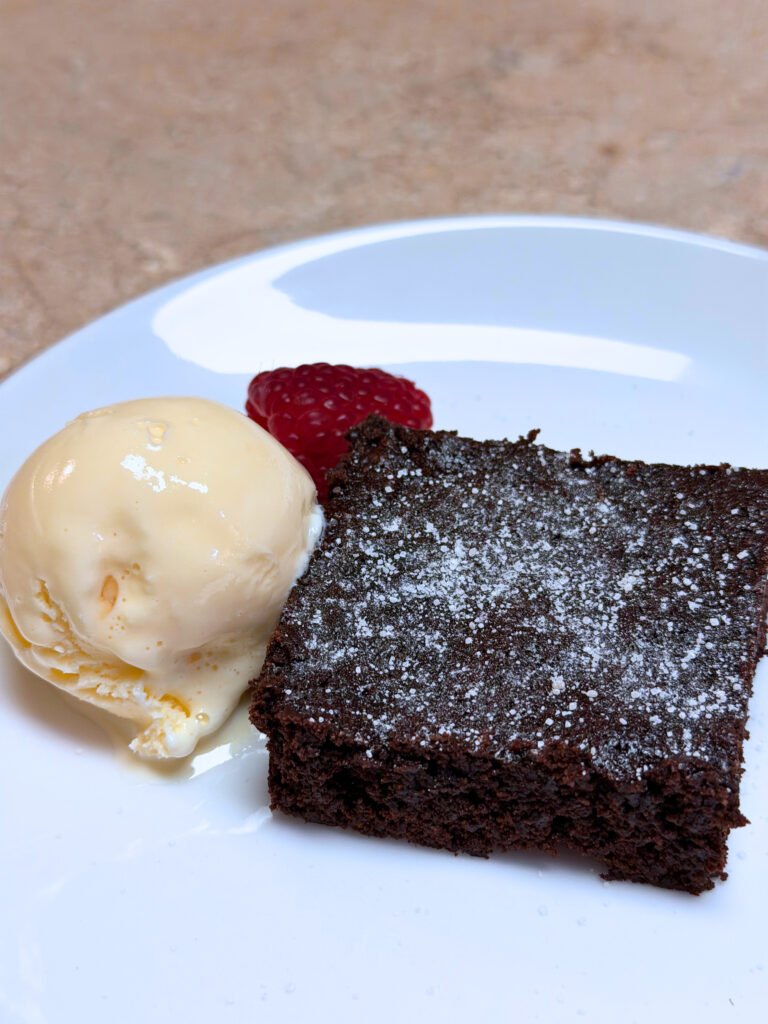
I truly hope this apple butter brings a little sense of ease and a whole lot of comfort to your kitchen this season. And if you catch the baking bug, my Easy Homemade Brownies are the perfect pantry-staple treat to have ready for when that chocolate craving hits—another one-bowl, “imperfectly perfect” classic. This apple butter is also absolutely magical spooned into the center of my Easy Fluffy Sourdough German Pancakes — it’s a weekend breakfast combo that gets requested every single week! Happy slow cooking, y’all!
Want to Save This Recipe?
Enter your email below, and we’ll send the link straight to your inbox.

Easy Slow Cooker Homemade Apple Butter Recipe
Ingredients
Equipment
Method
- Prep the Apples: Start by peeling, coring, and finely chopping your apples. It takes a little patience, but removing all the skins and seeds ensures a silky smooth finish. Toss the chopped apples directly into your slow cooker.
- Season: In a medium bowl, whisk together the sugars and spices. Pour this sugared spice mixture over the apples and give everything a good stir so the apples are evenly coated.
- The Slow Simmer: Set your slow cooker to LOW and let it work its magic for 8-12 hours. Stir it occasionally if you can, but it’s pretty forgiving. You’ll know it’s ready when the mixture has thickened into a deep, rich dark brown color and the apples are completely caramelized.
- Thicken Up: For the final hour, take the lid off the slow cooker to let the excess moisture evaporate. This is the secret to that thick, spreadable consistency. If you want it extra smooth, you can whisk it vigorously at this stage.
- Store & Enjoy: Spoon the warm apple butter into sterile jars or containers. It keeps beautifully in the fridge or freezer, or you can process the jars for shelf-stable storage.
Nutrition
Notes
Tried this recipe?
Let us know how it was!
Meet Ashleybakeseasy
Welcome to Ashley Bakes Easy! I’m Ashley, a home cook and mother who believes that delicious food doesn’t have to be complicated. My journey in the kitchen started with a simple goal: create meals that my whole family would love, we could afford on a single income, and create recipes tailored for our special needs son Winston.
LET’S CONNECT!

Hello Form Ashleybakeseasy
Welcome to Ashley Bakes Easy! I’m Ashley, a home cook and mother who believes that delicious food doesn’t have to be complicated. My journey in the kitchen started with a simple goal: create meals that my whole family would love, we could afford on a single income, and create recipes tailored for our special needs son Winston.
Leave a Reply