Easy Lentil & Veggie Cups for Picky Eaters

Recipe ByAshley |
UpdatedFebruary 19, 2026 |
Comments
This Post May Contain Affiliate Links. Please Read Our Disclosure Policy
Hey friends! Ashley here. If you’ve spent any time in the trenches of picky eater territory — hand raised right here — then these Easy Lentil & Veggie Cups are about to become your new secret weapon. I know lentils don’t exactly sound like something a toddler will dive into, but trust me on this one. Hidden inside a soft, savory little muffin-style cup? Absolute game-changer. My boys actually reach for these — and y’all, they are not easy to impress.
With just 15 minutes of prep time and one bowl to clean up, these cups are a serious weeknight win. They freeze beautifully, reheat in under a minute, and hold their shape perfectly for little hands. Once you have a batch in the freezer, you’ll find yourself reaching for them on repeat. Future-you will be very grateful.

Why You’ll Love These Lentil & Veggie Cups
Spotlight: Hidden & Balanced Nutrition
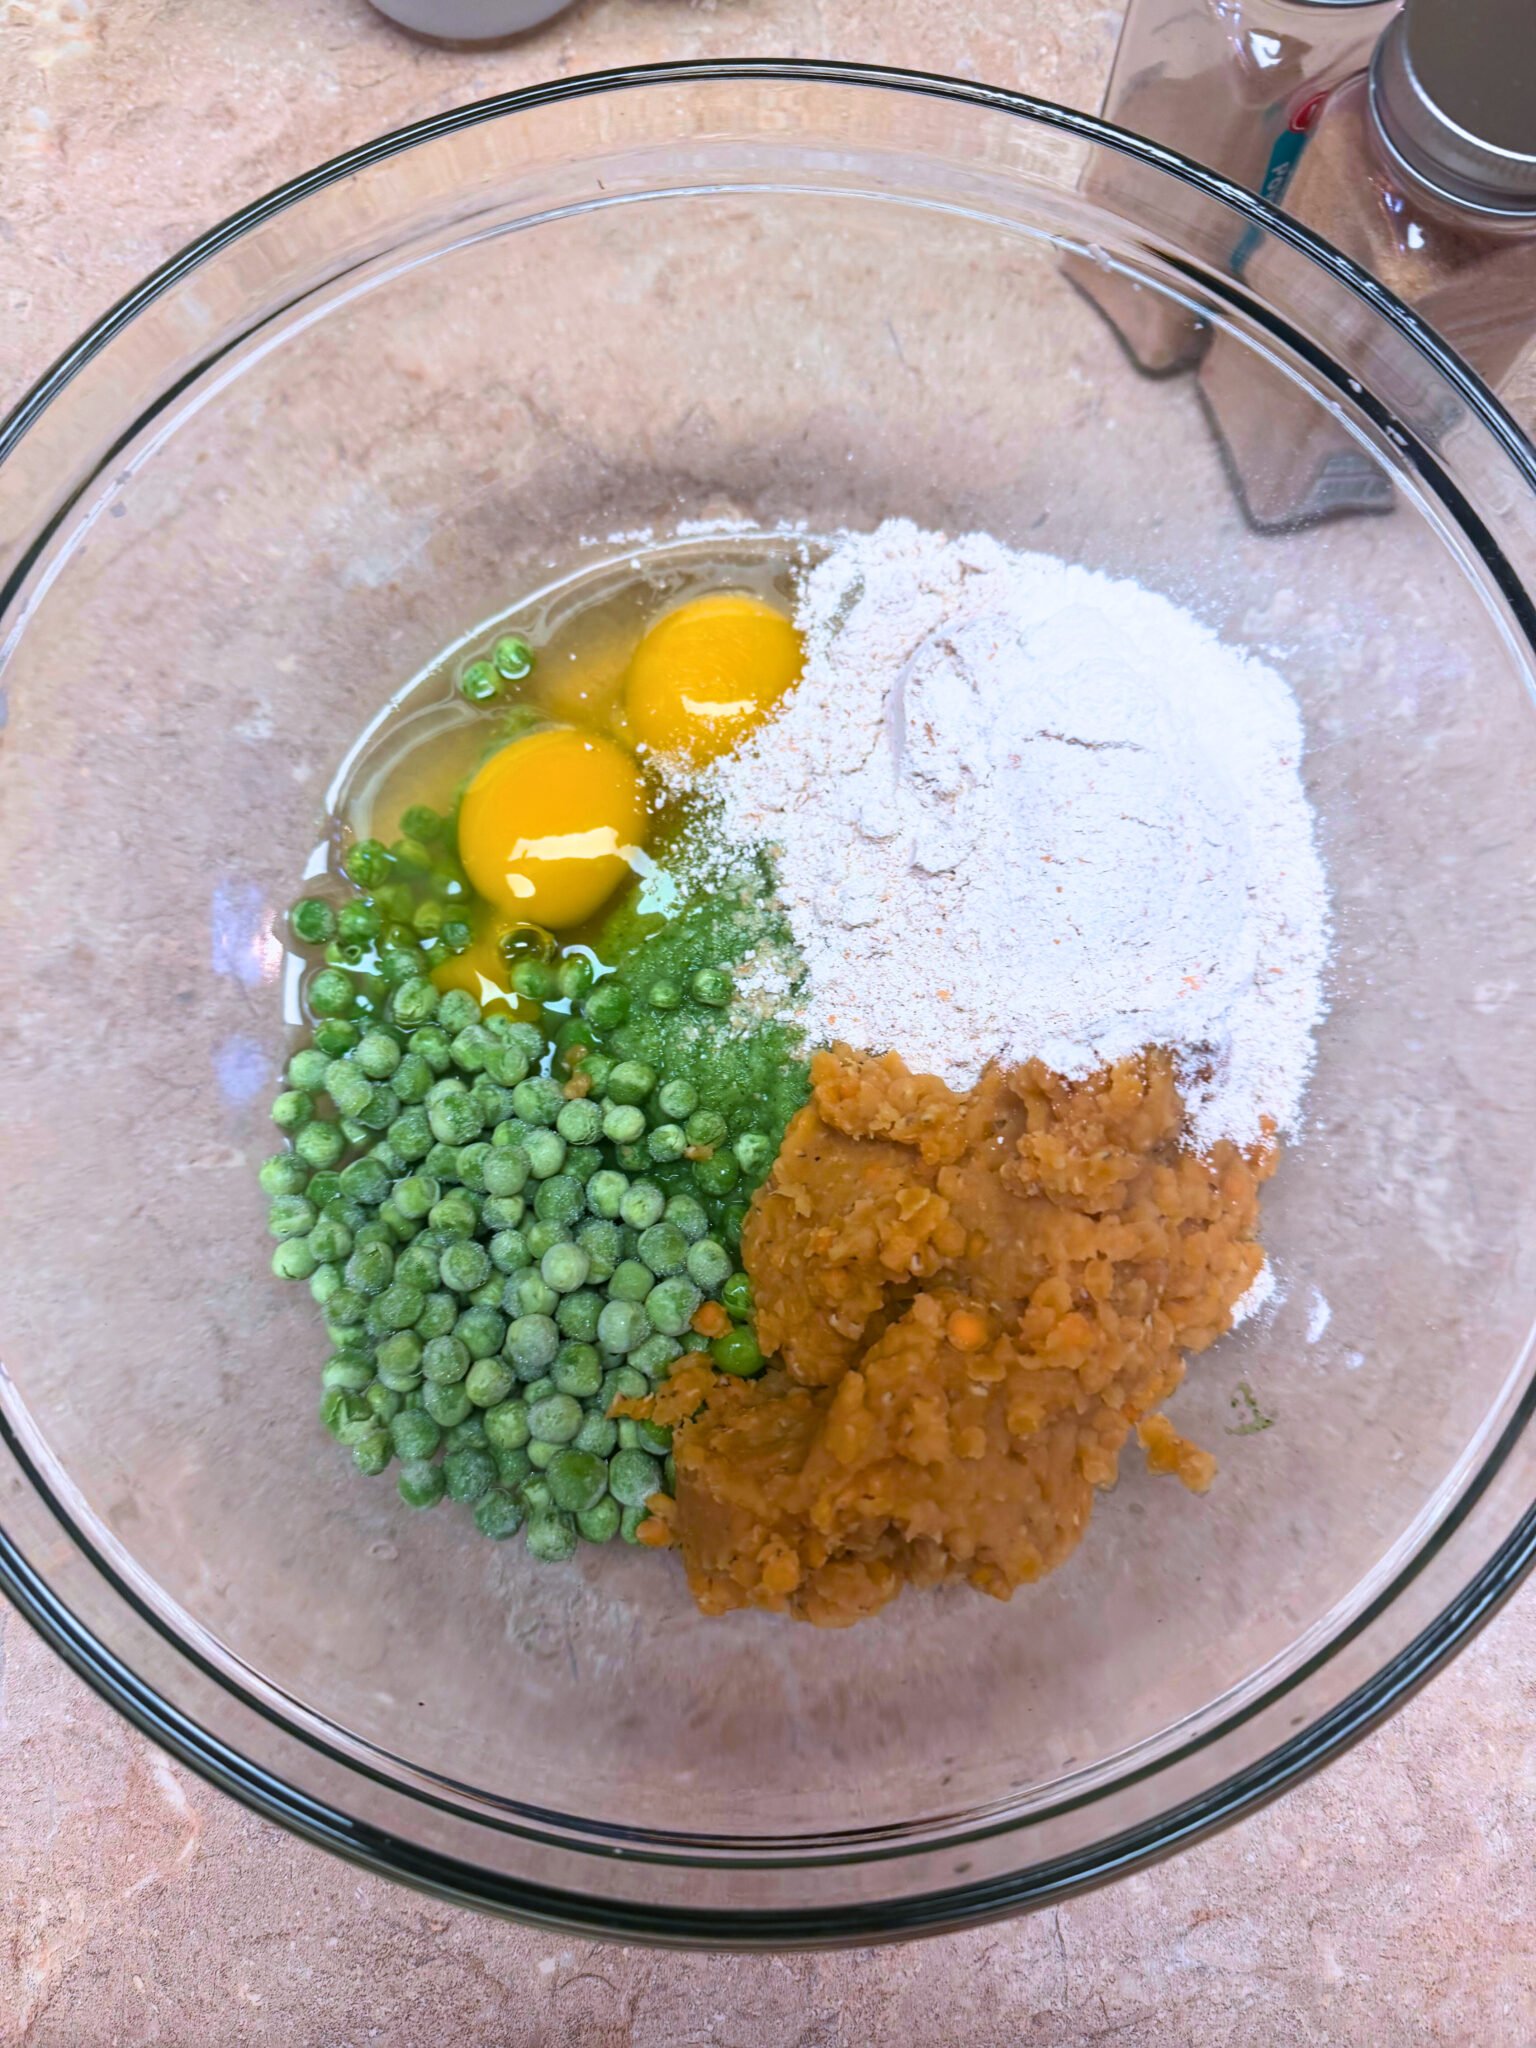
The real magic of this recipe is how it tucks nutrient-dense ingredients into a familiar, soft, muffin-like texture. Each cup contains a full cup of cooked lentils alongside peas and finely chopped broccoli. Mixed together with the binder—flour, baking powder, and eggs—those veggies become part of a uniform structure that is so much more approachable for kids who are sensitive to textures. It’s like a cozy little trojan horse of nutrition!
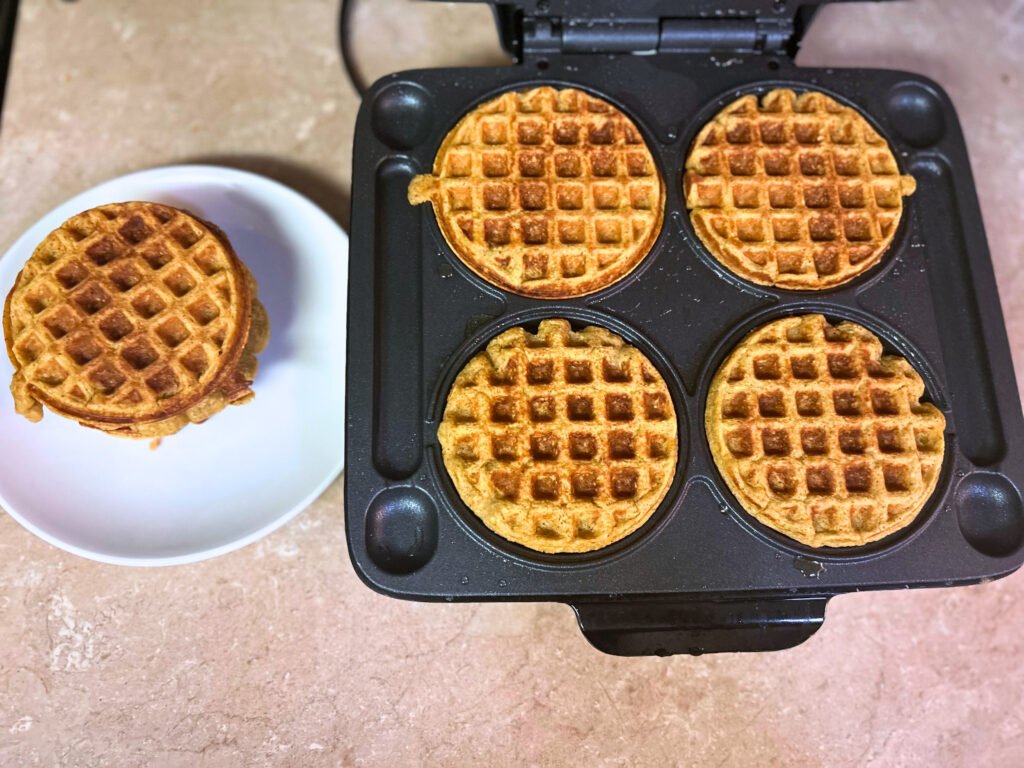
The flavor stays simple and savory on purpose. A little pepper, garlic powder, and onion powder seasons the lentils without being overwhelming. For extra moisture and that familiar cheesy flavor kids love, an optional half-cup of shredded cheese can be folded in. If you’re already a fan of sneaking veggies into your kids’ meals, you’ll also love my Easy Hidden-Veggie Sweet Potato Waffles—another toddler-approved favorite in our house!
Let’s Cook! Simple Steps for Lentil & Veggie Cups
Prep takes about 15 minutes—totally manageable even on a busy afternoon. The one thing to keep in mind: make sure your cooked lentils are completely cooled before you start. Using pre-cooked or canned lentils is a great shortcut here!
1. Preheat and Mix: Preheat your oven to 350°F. In a large mixing bowl, whisk two eggs and stir in the flour, baking powder, and seasonings.
2. Combine: Fold in the cooled lentils, peas, broccoli, and the optional cheese until the mixture is well combined.
3. Fill: Use a standard cupcake tin, either lined or lightly sprayed. Scoop the mixture into the tins, filling them about ¾ full. (Pro tip: use a silicone cupcake pan for the easiest cleanup!)
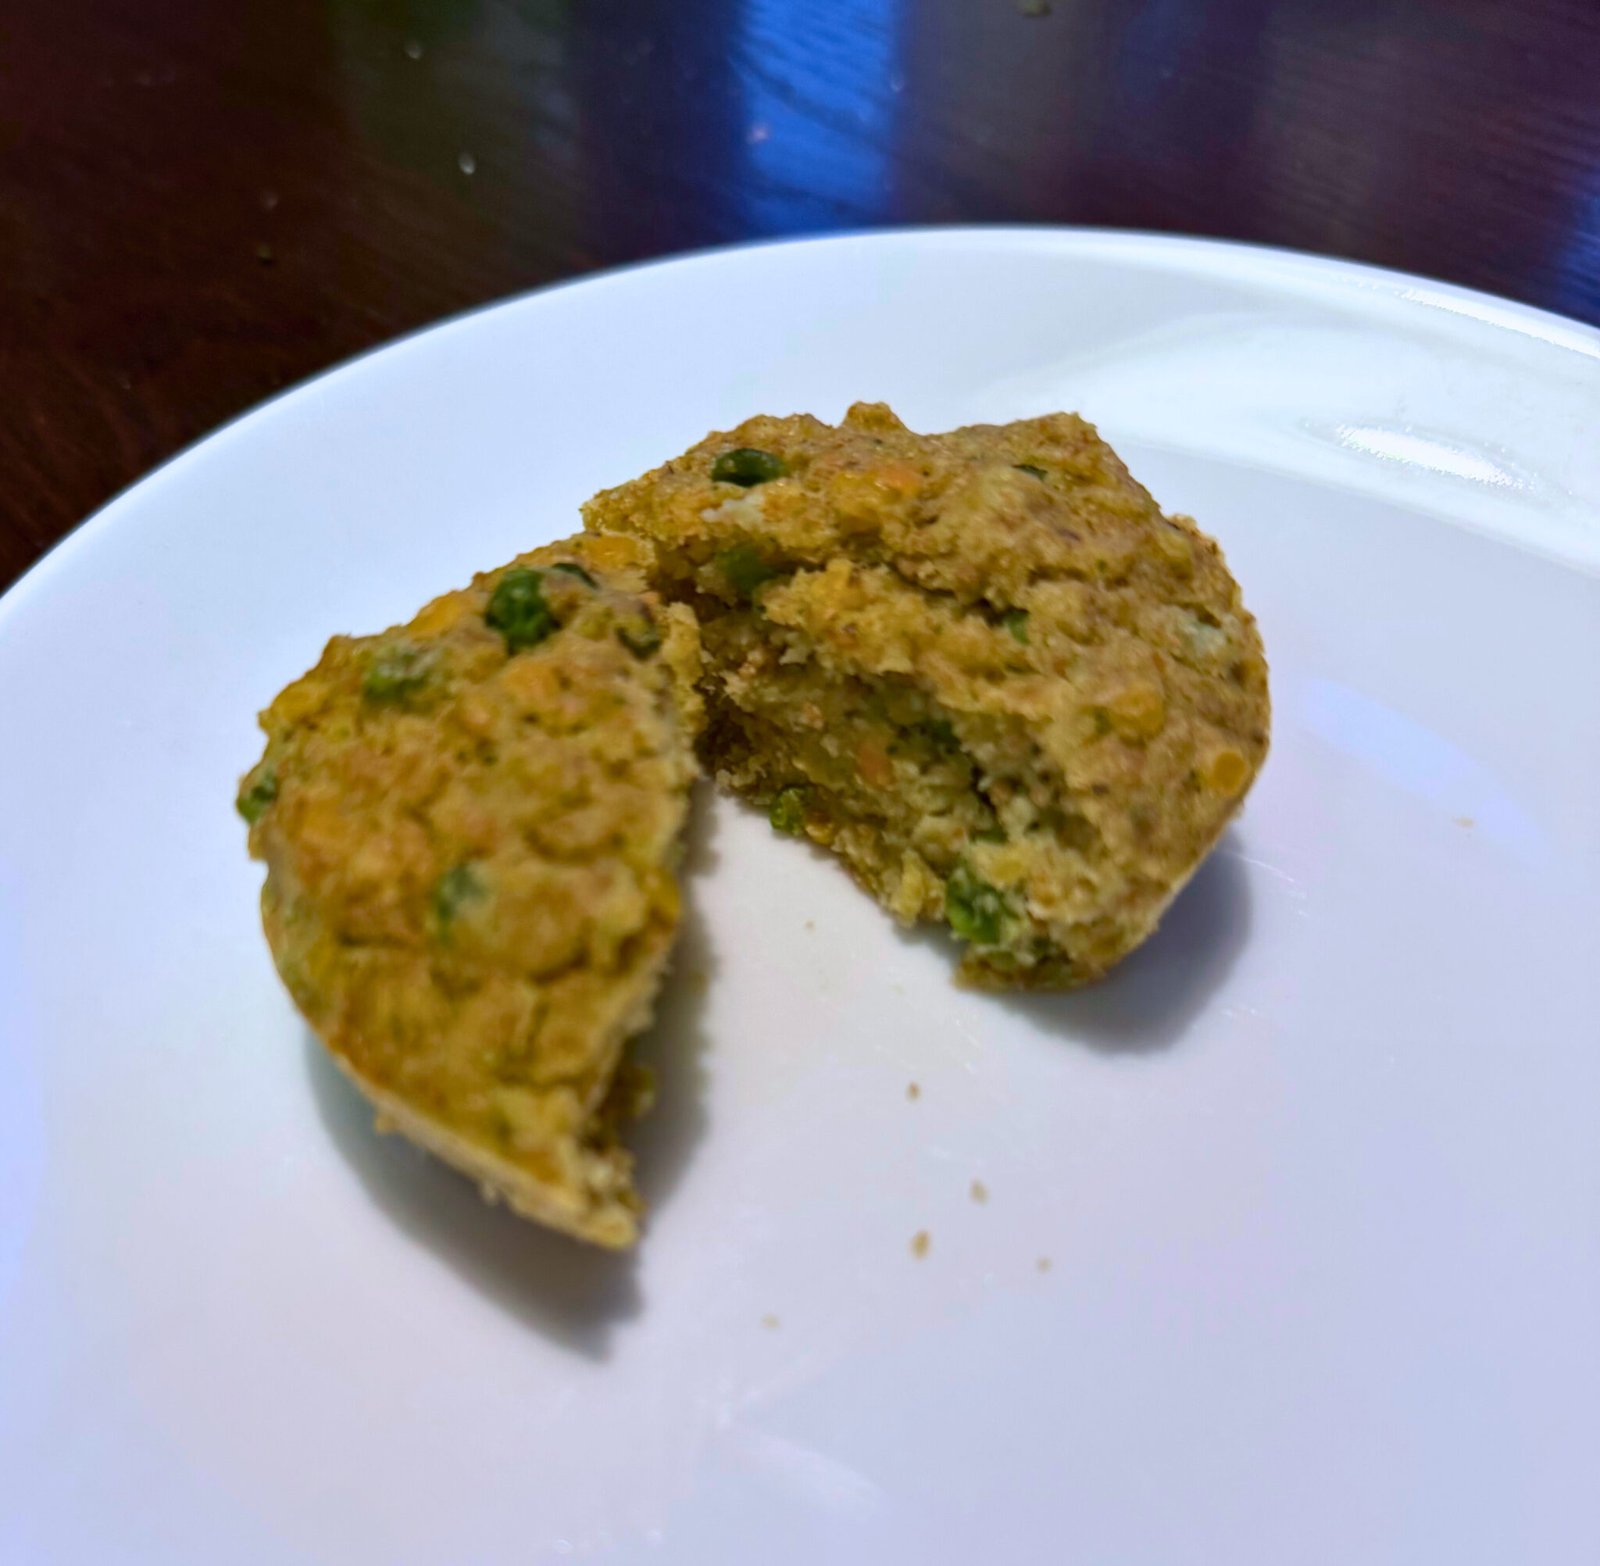
4. Bake & Cool: Bake for 20 minutes until the edges are lightly golden and the centers are firm. Let them cool in the pan for a few minutes—this helps them set and hold their shape when you pop them out.
Ashley’s Pro Tips for Success
This recipe is wonderfully forgiving, so don’t stress! No broccoli? Use shredded carrots or finely chopped zucchini instead—just make sure to squeeze any extra moisture out of watery veggies like zucchini before adding them to the batter.
If the batter looks too wet, add an extra tablespoon of flour. Too dry? A small splash of milk or an extra whisked egg will sort it right out. Lentils are naturally mild and really benefit from the garlic and onion powder, so don’t skip those! And most importantly—make sure those lentils are fully cooled before you mix them with the eggs. Hot lentils + raw eggs = scrambled eggs in your batter, and we don’t want that!
Storage & Reheating: Built for Busy Families
Once completely cooled, store the cups in an airtight container in the refrigerator for up to 4 days. They’re actually great served cold, which makes them a quick addition to a lunchbox or an on-the-go snack. For longer storage, these cups are freezer-friendly for up to 3 months. Flash-freeze them individually on a baking sheet first (about an hour), then transfer to a freezer bag so they don’t stick together.
To reheat, a frozen cup takes just 45–60 seconds in the microwave. For a slightly crispier edge, pop them in a toaster oven or air fryer for a few minutes. I also love making a double batch alongside my Easy ABC Toddler Cookies on Sundays—suddenly the whole week’s snacks are handled!
A Little Joy on Top!
Feeding our little ones well doesn’t have to be a battle at the dinner table every single night—and I hope these imperfectly perfect little cups prove exactly that! They are my go-to for the days when I need something wholesome on the table fast, without the negotiation. There is something so satisfying about watching a picky eater reach for seconds of something secretly nutritious. If your family gives them a thumbs up, I’d absolutely love to hear about it! Happy cooking, y’all!
Want to Save This Recipe?
Enter your email below, and we’ll send the link straight to your inbox.

Easy Lentil & Veggie Cups
Ingredients
Equipment
Method
- Preheat and Prep: Preheat your oven to 350°F. Line a standard 12-slot cupcake tin with paper liners or lightly grease with cooking spray.
- Whisk the Base: In a large mixing bowl, whisk the two eggs until smooth.
- Add Dry Ingredients: Stir in the flour, baking powder, garlic powder, onion powder, and black pepper until a thick batter forms.
- Fold in Veggies: Gently fold in the cooked lentils, peas, broccoli, and cheese (if using) until the ingredients are evenly distributed.
- Fill the Tins: Spoon the mixture into the prepared cupcake tins, filling each about 3/4 of the way full.
- Bake: Bake for 20 minutes, or until the edges are lightly golden and the centers are firm to the touch.
- Cool to Set: Let the cups cool in the tin for at least 5 minutes before removing. This allows them to set and hold their shape.
Nutrition
Notes
Tried this recipe?
Let us know how it was!
Meet Ashleybakeseasy
Welcome to Ashley Bakes Easy! I’m Ashley, a home cook and mother who believes that delicious food doesn’t have to be complicated. My journey in the kitchen started with a simple goal: create meals that my whole family would love, we could afford on a single income, and create recipes tailored for our special needs son Winston.
LET’S CONNECT!


Hello Form Ashleybakeseasy
Welcome to Ashley Bakes Easy! I’m Ashley, a home cook and mother who believes that delicious food doesn’t have to be complicated. My journey in the kitchen started with a simple goal: create meals that my whole family would love, we could afford on a single income, and create recipes tailored for our special needs son Winston.
Leave a Reply