
Easy Chocolate Cloud Cake Gluten Free

Comments
This Post May Contain Affiliate Links. Please Read Our Disclosure Policy
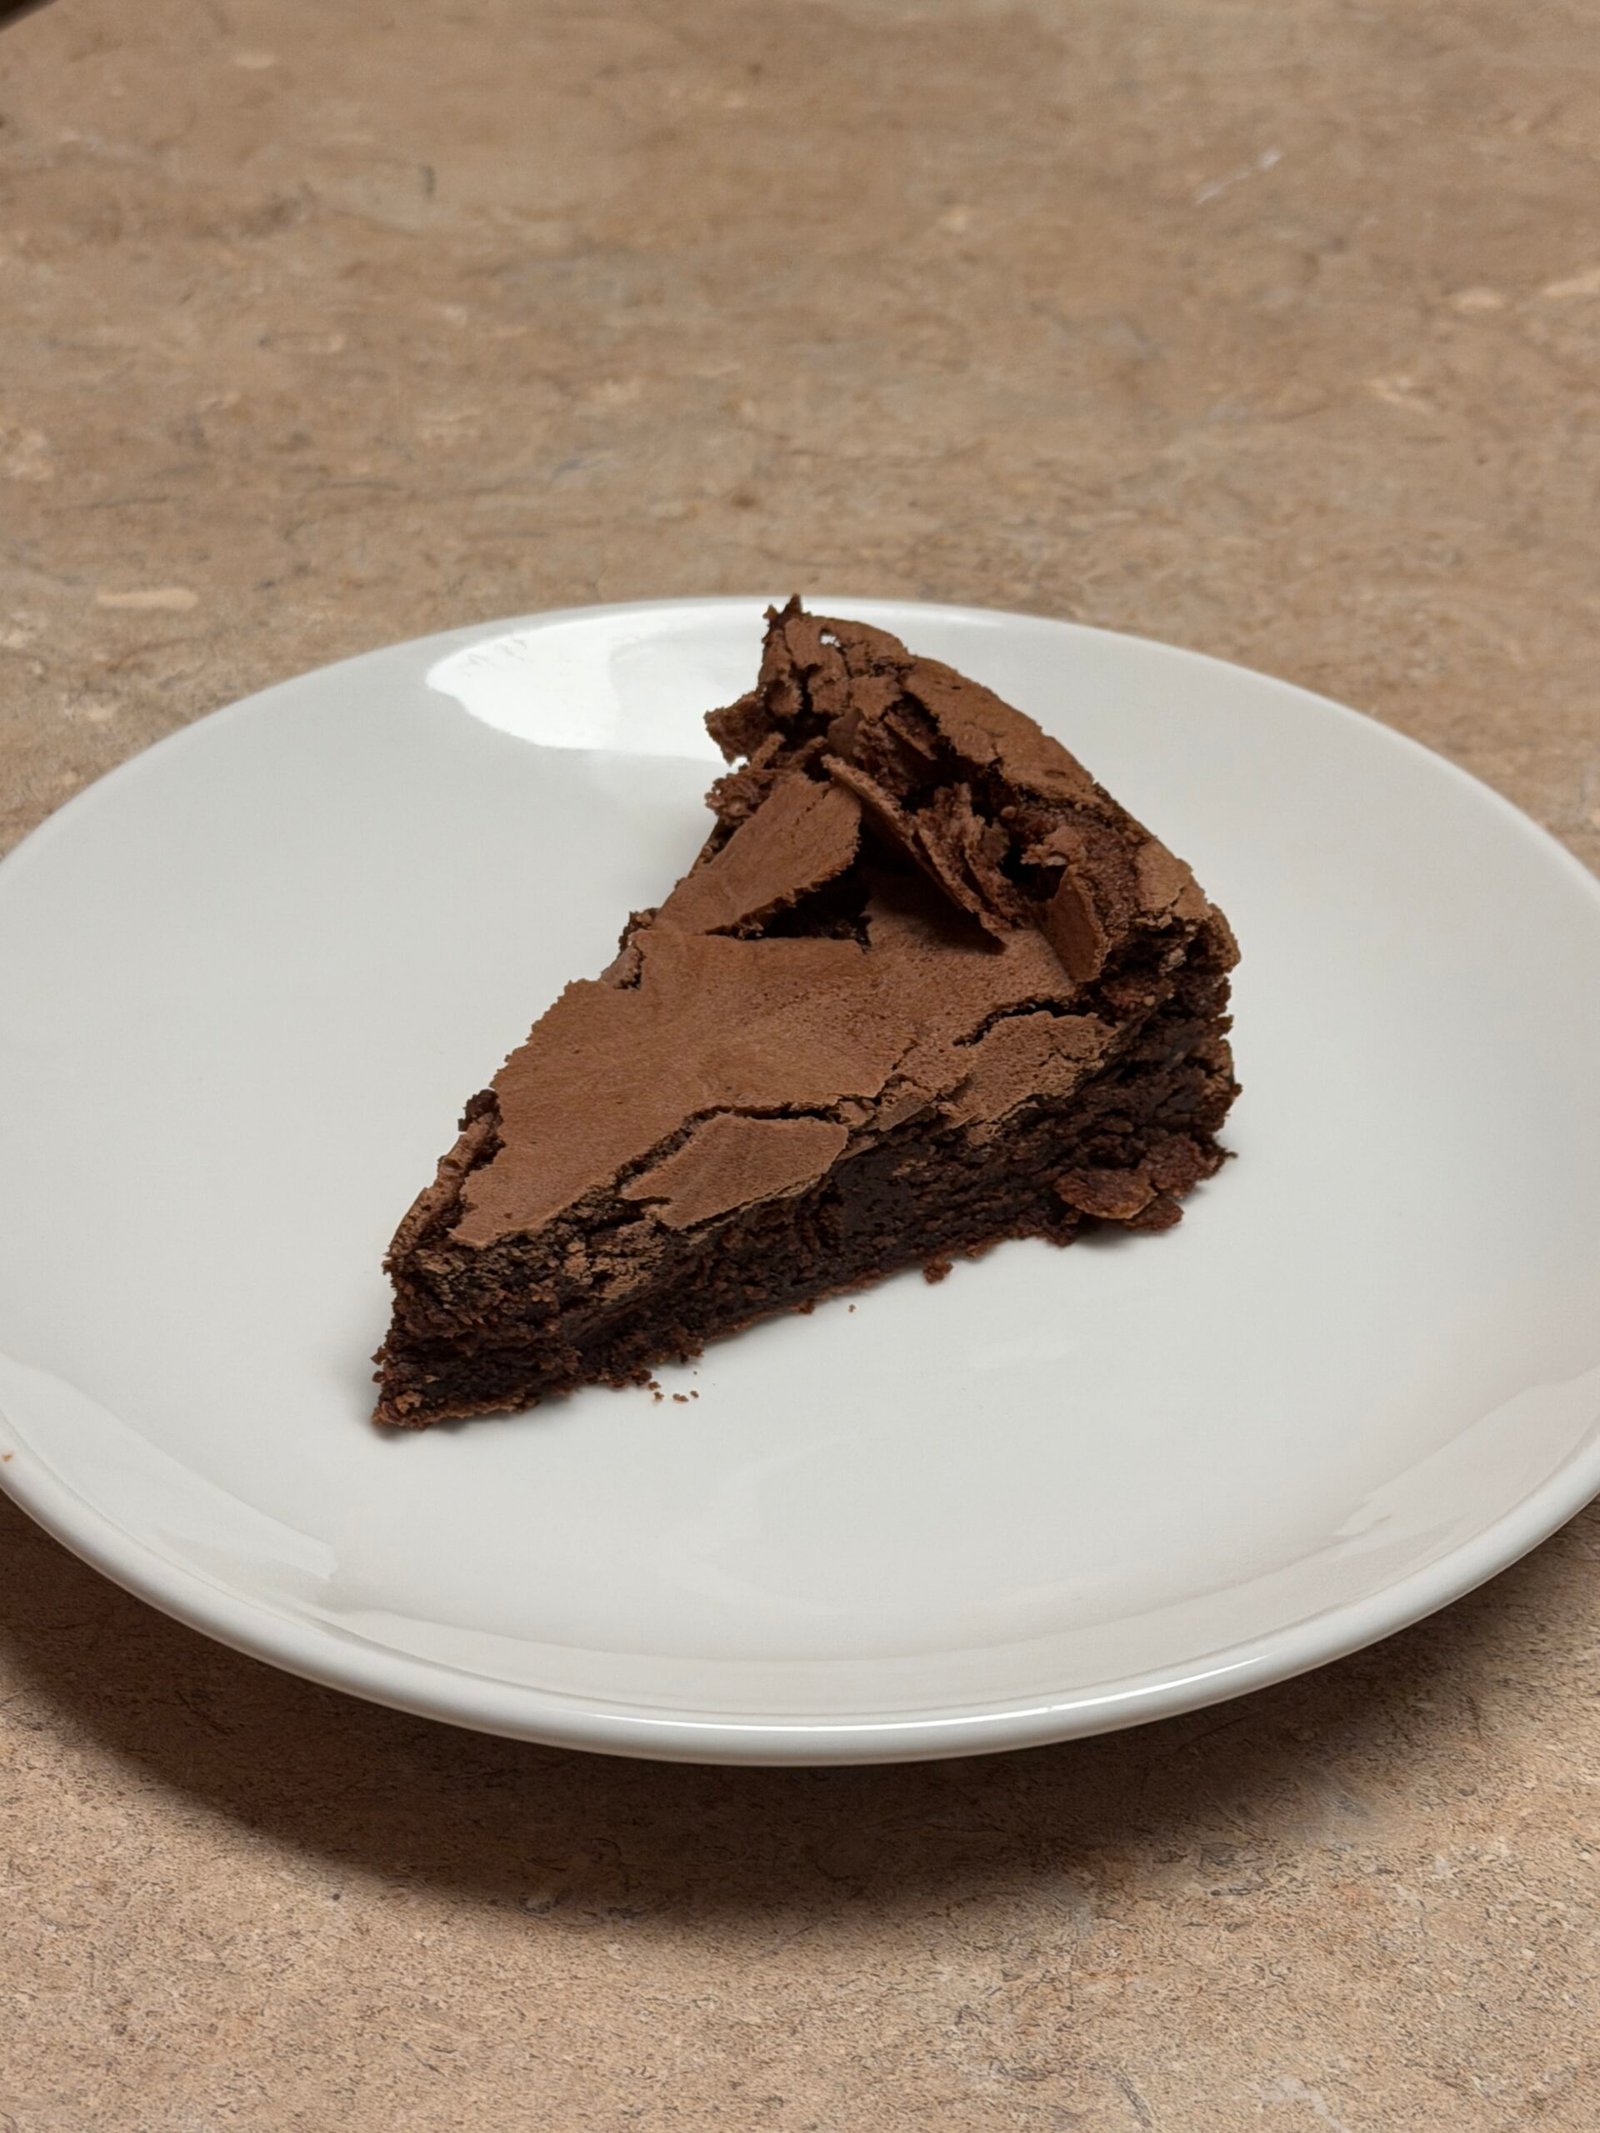
Hey friends! Ashley here. If you’ve ever wanted to make a dessert so impressive that people forget to even speak while eating it — this **Chocolate Cloud Cake** is the one. My kids spotted it cooling on the counter last time I baked it and just stared at me with the widest eyes, like I had secretly enrolled in pastry school overnight. It’s **naturally gluten free**, made with real semisweet chocolate, real butter, and the fluffiest whipped egg whites — zero flour involved, zero specialty swaps needed. Ready? Let’s go!
Why You’ll Love This Chocolate Cloud Cake Gluten Free
If you’ve been searching for a show-stopping gluten free dessert that doesn’t taste like a compromise, y’all — you just found it.
- Naturally Gluten Free — No Special Ingredients Needed: This cake gets its structure entirely from whipped egg whites — no GF flour blends, no xanthan gum, no specialty swaps required. It’s naturally wheat-free, which means you can serve it to gluten-sensitive guests without any extra planning or second-guessing at the grocery store.
- Intense, Complex Chocolate Flavor: We’re using 9 ounces of high-quality semisweet chocolate plus Dutch-process cocoa powder and a hit of espresso powder. Those three together create a deep, layered chocolate flavor that tastes like something you’d order at a restaurant — not something you threw together on a Tuesday night.
- That Dreamy Cloud-Like Texture: The whipped egg whites fold into the batter to create something impossibly light and airy going into the oven. Then, as it cools, it settles into a dense, fudgy center with a delicate crackly top. The contrast in texture is stunning — and it’s completely by design.
- Looks Fancy, Bakes Manageable: I know it sounds intimidating, but I promise the process is very doable. A stand mixer handles the egg whites, a double boiler handles the chocolate, and patient folding brings it all together. The result looks like a bakery showstopper with entirely weeknight-level effort.
- Perfect Make-Ahead Dessert: This cake actually tastes better the next day — the flavors deepen, the texture settles, and it firms up beautifully in the fridge. Bake it the night before a dinner party and you’ll have one less thing to stress about on the day. Future-you will be so grateful.
Once this cake makes an appearance at your table, y’all, it becomes the dessert everyone requests for every single special occasion — trust me on that.
Ingredient Spotlight: Semisweet Chocolate & Egg Whites
High-quality semisweet chocolate is the absolute backbone of this gluten free chocolate cloud cake — and this is genuinely not the place to reach for the bargain bag of chips. We’re talking about a 9-ounce block of something you’d happily eat on its own: Guittard, Valrhona, Ghirardelli, or similar. Chopping the chocolate yourself (rather than using chips) helps it melt more evenly, because chips contain stabilizers that can affect the final texture. The higher cocoa butter content in good baking chocolate also gives you that gorgeous glossy, smooth melt.
Dutch-process cocoa powder and espresso powder might look like tiny supporting additions, but they do enormous work here. Dutch-process cocoa is less acidic than natural cocoa, which gives it a darker color and a smoother, more rounded chocolate flavor. The espresso powder doesn’t make the cake taste like coffee — it amplifies the chocolate and adds real depth. You can skip it in a pinch, but I promise that one teaspoon is absolutely worth adding.
The eggs are where the real magic happens in this recipe. You’ll separate them: yolks go into the chocolate mixture for richness and body, while the whites get whipped to stiff, glossy peaks to lift the entire cake. Room temperature eggs are essential here — cold whites take much longer to whip and don’t achieve the same volume or stability. Set your eggs out at least 30 minutes before you start baking, and you’ll be in great shape.
Cream of tartar is your egg white’s best friend and stabilizer. It lowers the pH of the whites, helping them whip faster, reach a higher volume, and hold their peaks longer without collapsing. Even just half a teaspoon makes a genuine, noticeable difference in the final texture of the cake. In a pinch, a small squeeze of fresh lemon juice — about 1/2 teaspoon — can work as a substitute.
Let’s Make Chocolate Cloud Cake Step-by-Step
- Preheat & Prep Your Pan: Adjust the oven rack to the lower third of the oven and preheat to 350°F. Spray the bottom only of your 9-inch round springform pan with non-stick baking spray — do not spray the sides, as the batter needs to cling to them as it rises. Set the pan aside.
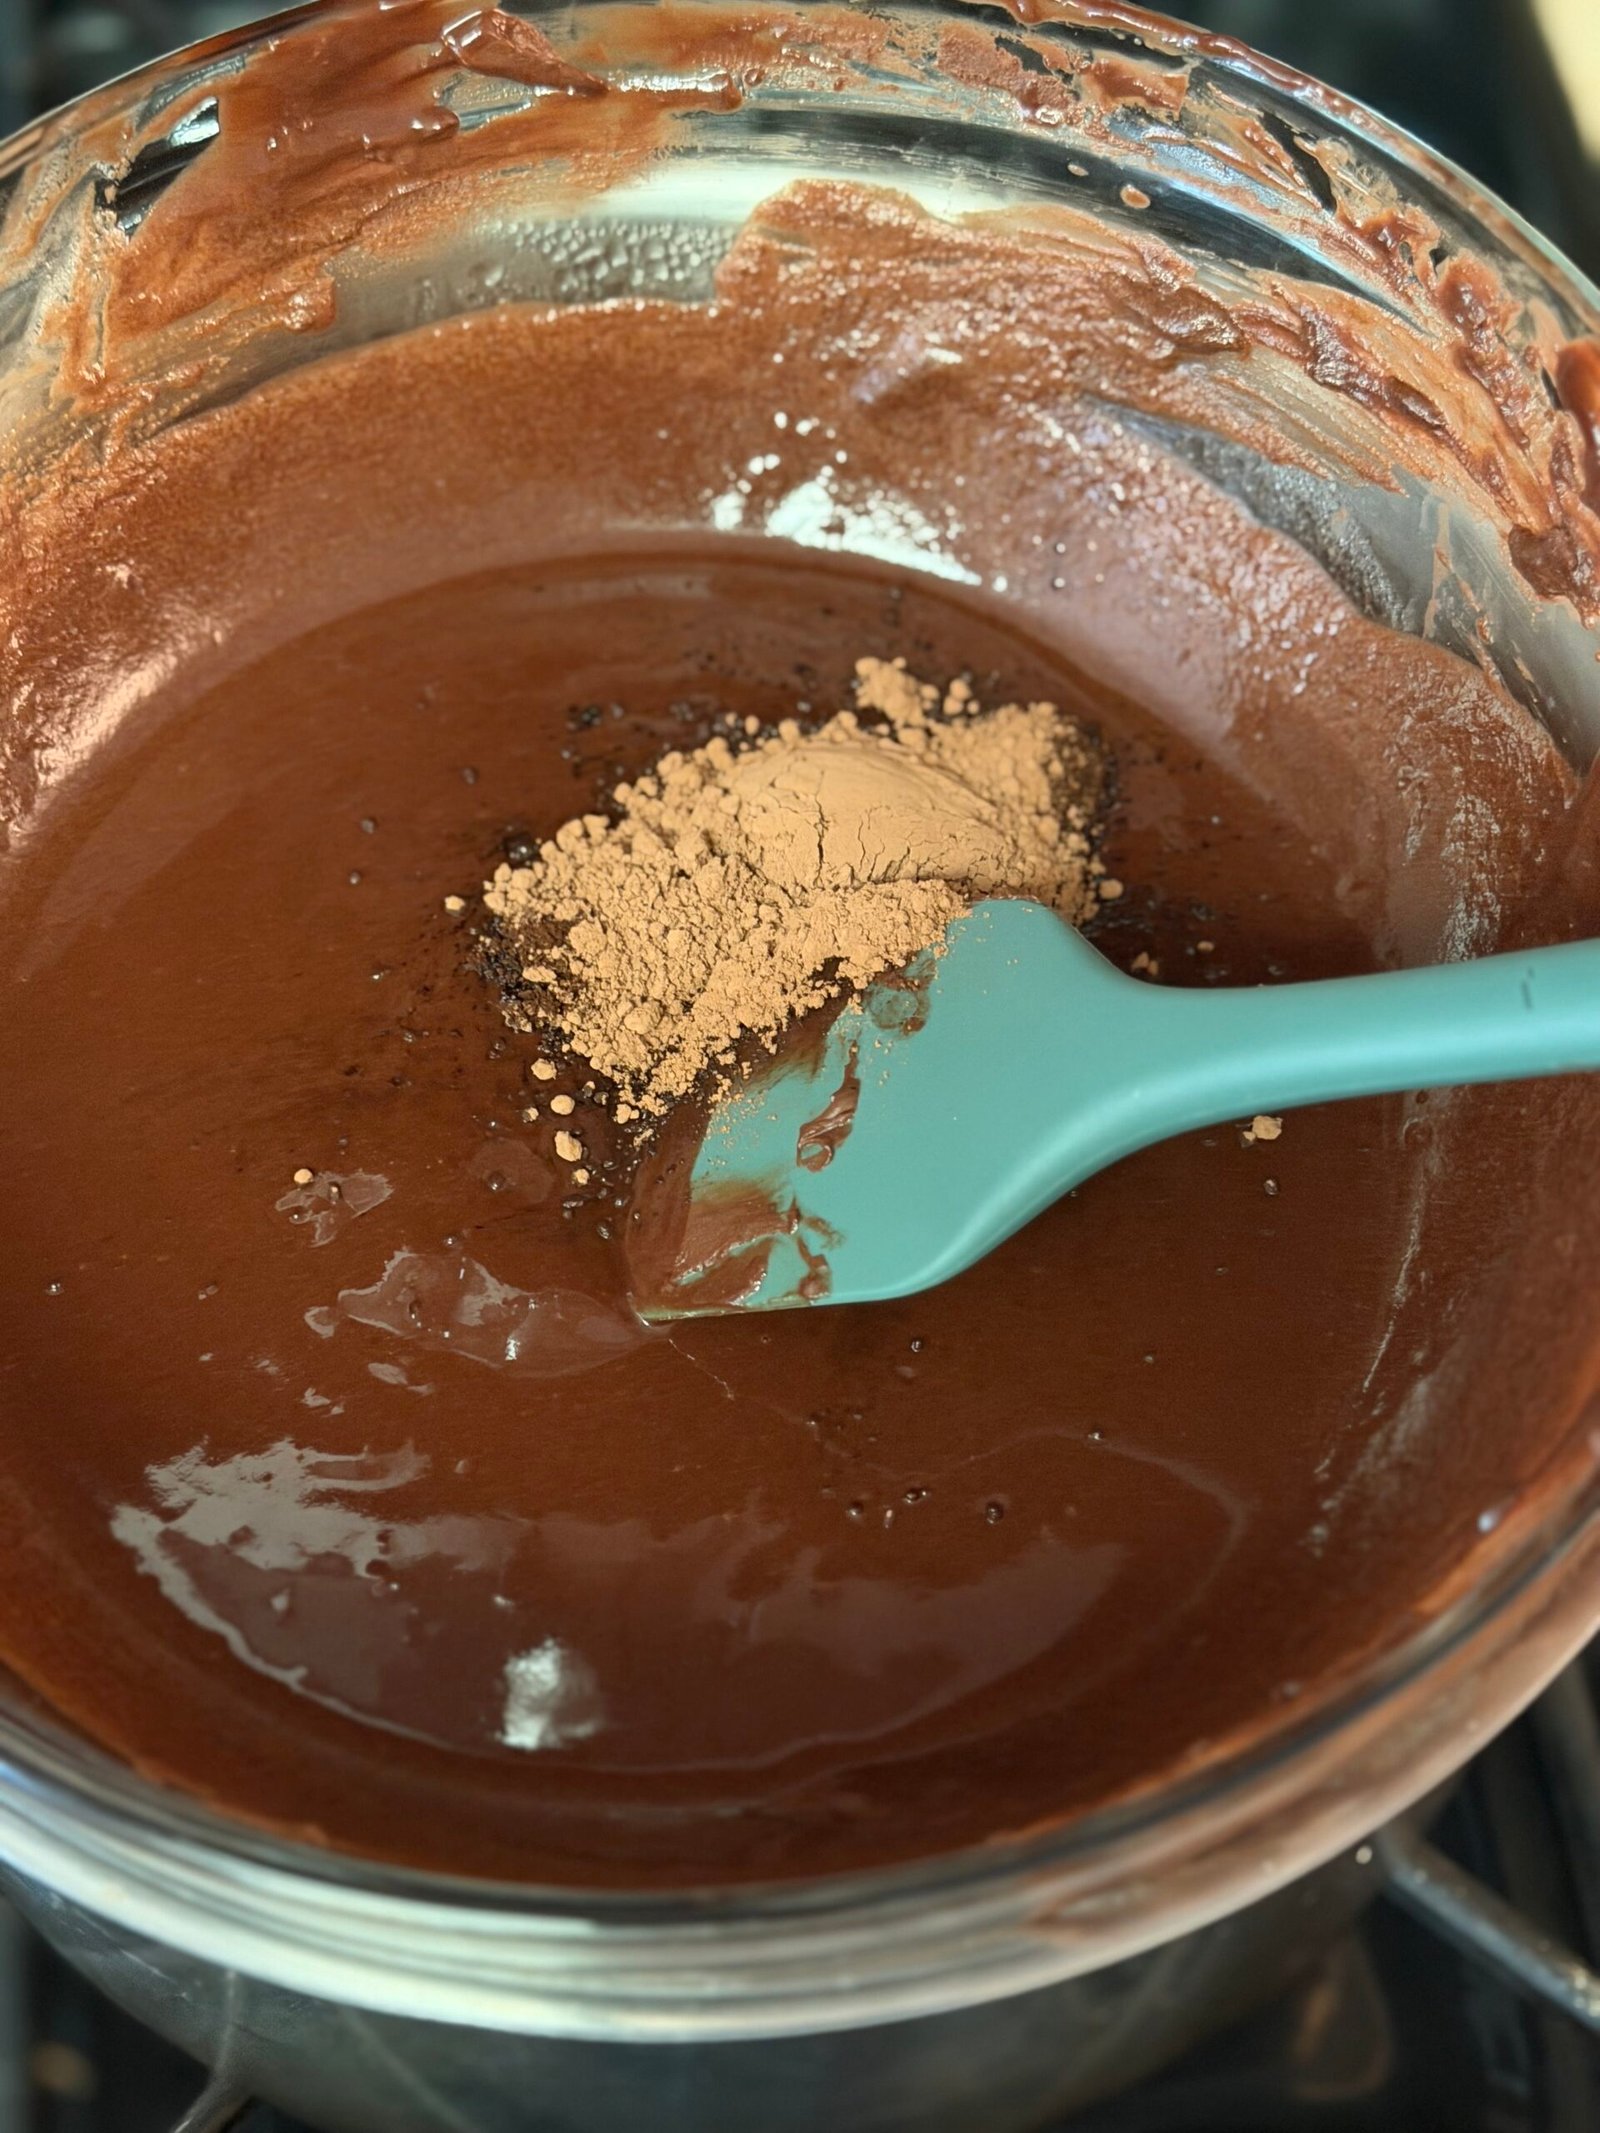
- Melt the Chocolate & Butter: Fill a saucepan with 2-3 inches of water and place a heat-safe bowl on top — the bowl should not touch the water. Over medium-low heat, melt the butter and chopped chocolate together, stirring often until completely smooth and shiny. Add the sifted Dutch-process cocoa powder and espresso powder and whisk to combine. Remove from heat and set aside to cool slightly.
- Prep the Eggs: Separate your eggs, adding the yolks to a medium bowl with the vanilla extract. Whisk together and set aside. Add the egg whites to the bowl of your stand mixer fitted with the whisk attachment. It’s critical that the bowl is completely clean and grease-free — even a tiny trace of egg yolk or fat will prevent the whites from whipping properly.
- Whip the Egg Whites to Stiff Peaks: Add the cream of tartar to the egg whites. Start whipping on medium-low until bubbles form, then slowly increase speed to medium-high until soft peaks form. With the mixer still running, add the granulated sugar one tablespoon at a time. Continue whipping until stiff, glossy peaks form — the whites should stand straight up without falling over when you lift the whisk.
- Begin Combining: Fold about one-third of the whipped egg whites into the yolk mixture to loosen it — this makes it easier to incorporate everything without deflating the whites too much. Then fold in the melted chocolate-butter mixture until just combined and smooth.
- Fold in the Remaining Whites: Add the remaining whipped egg whites in three additions, folding gently with a large spatula from the bottom of the bowl up and over, rotating the bowl as you go. Fold just until no streaks of chocolate or white remain. The moment it’s combined — put down the spatula. Over-mixing deflates those beautiful egg whites and compromises the texture.
- Pour & Smooth: Pour the batter into the prepared springform pan. Use an offset spatula to smooth the top evenly. The batter will be thick but pillowy and light.
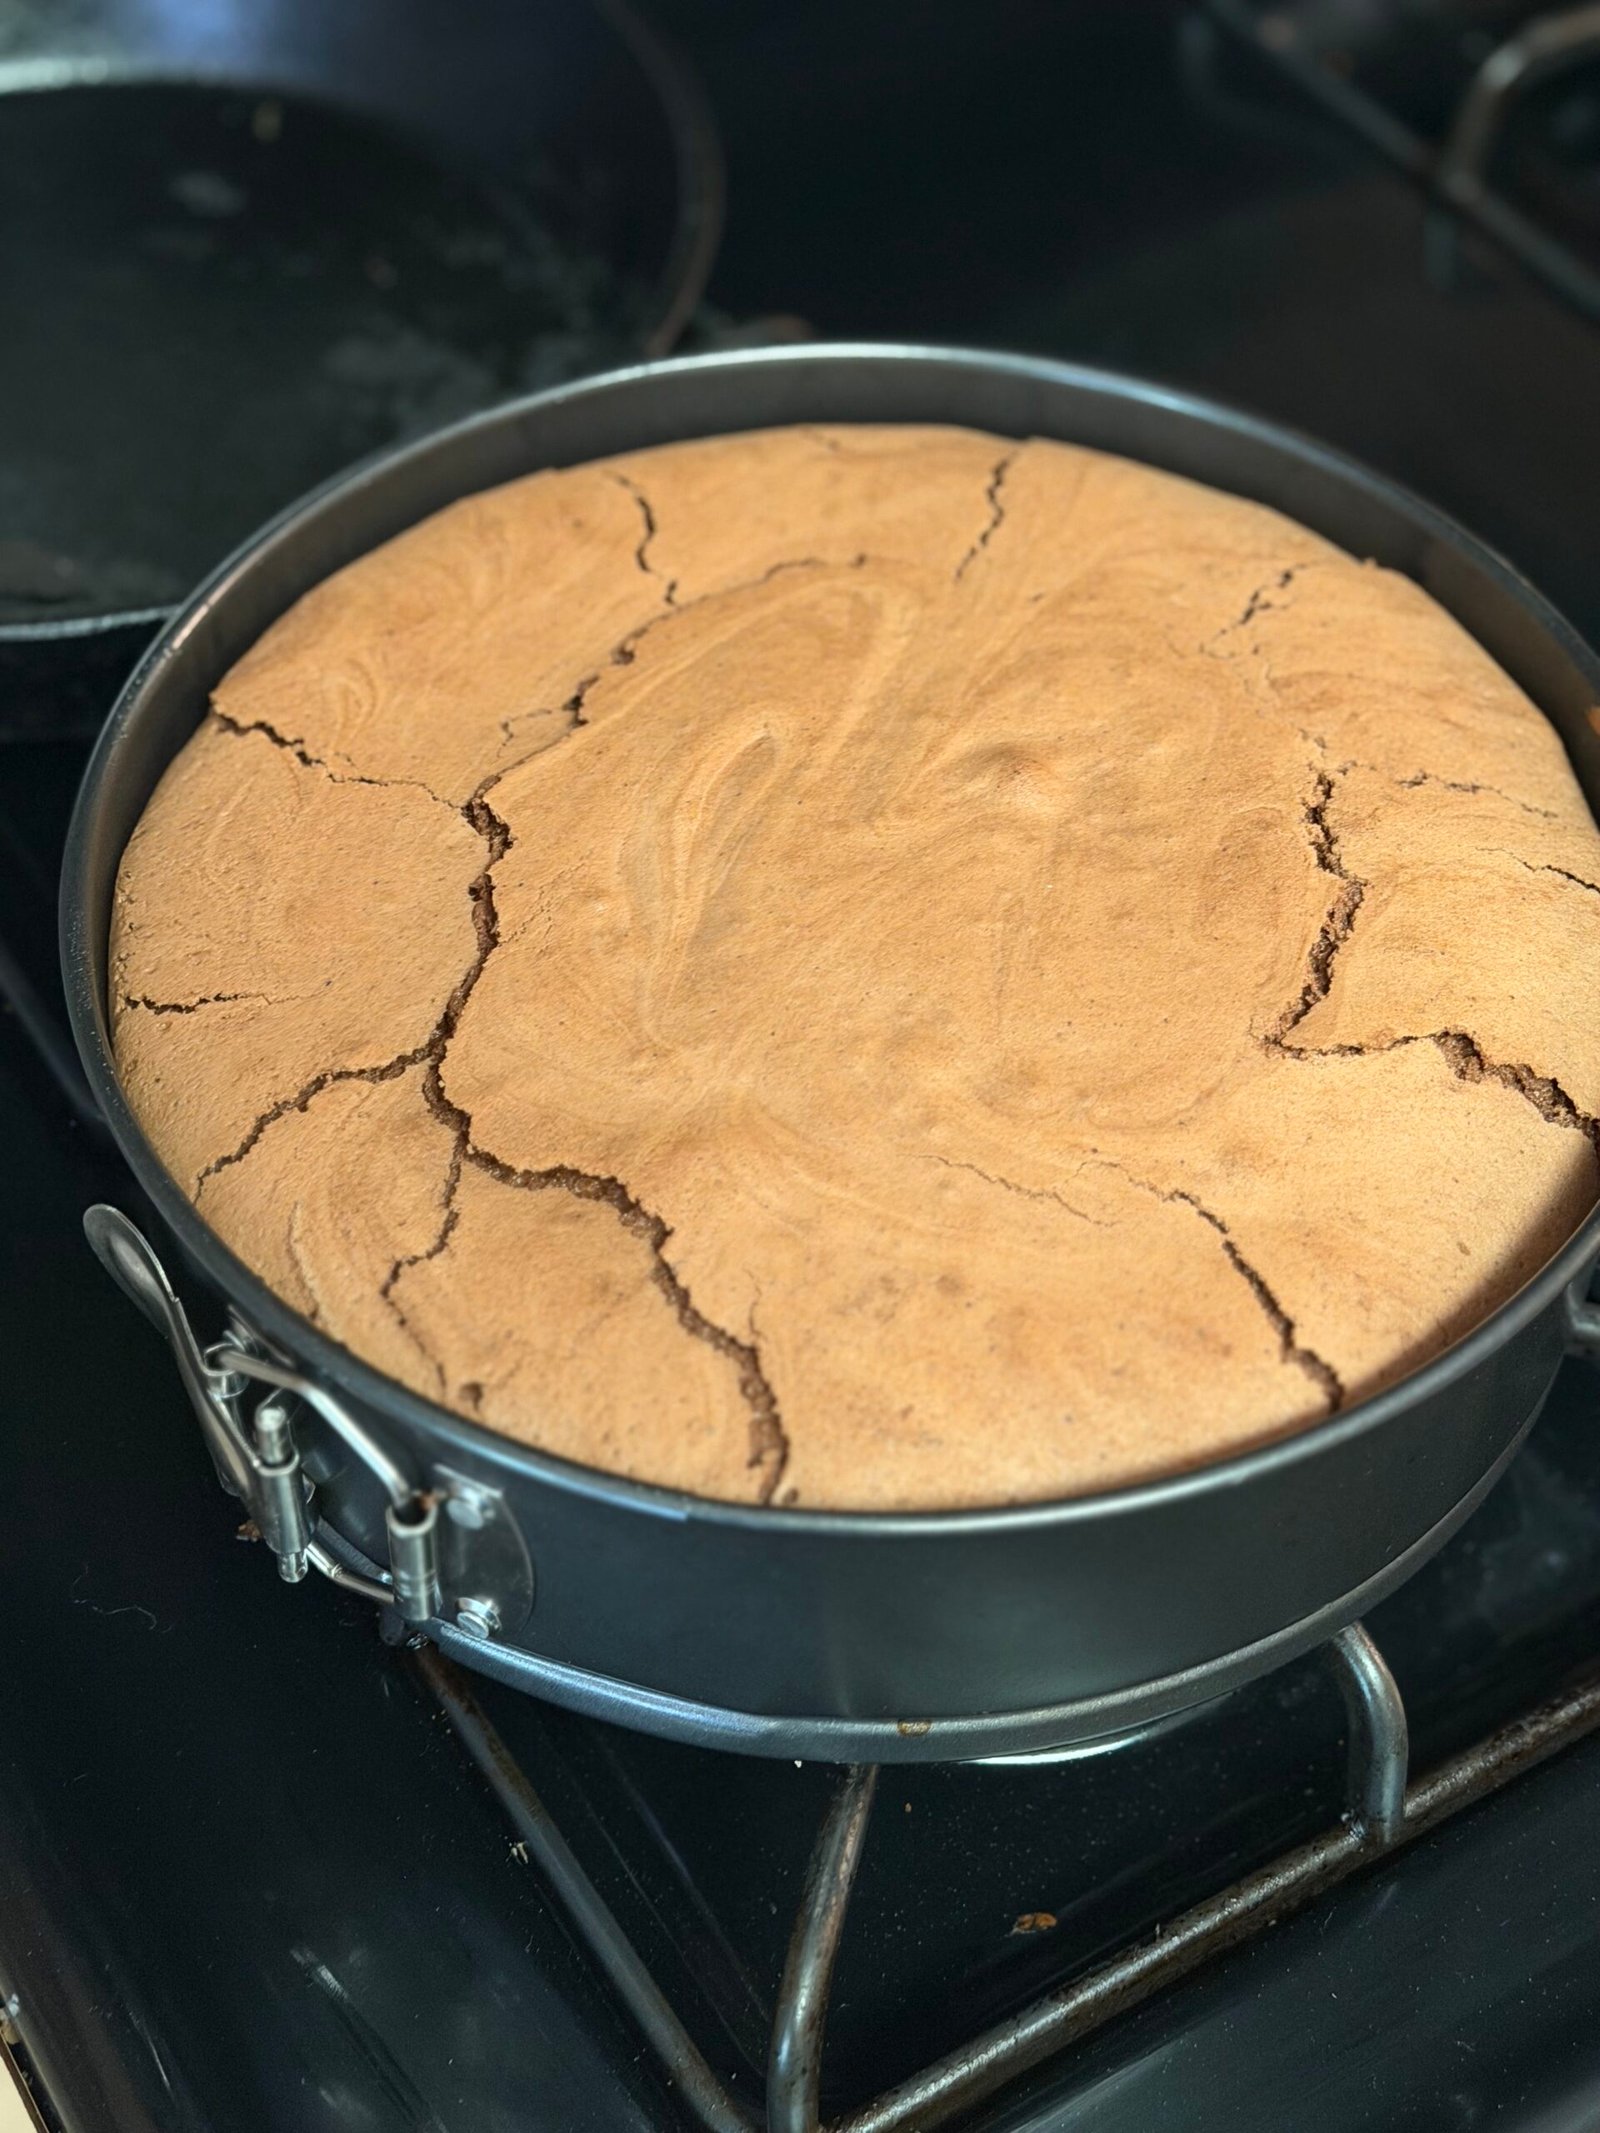
- Bake: Bake for 30-35 minutes. The cake is done when the top has puffed up, cracked, and has a smooth matte finish. Beneath the cracks, it should still look moist — this is exactly right. Don’t wait for it to look fully set or dry.
- Cool & Unmold: Allow the cake to cool in the pan for 20 minutes. Run a thin knife carefully along the edge to release the sides, then unhinge the springform ring. The cake will deflate as it cools — this is completely normal and is what gives it that gorgeous dense, fudgy center. Let it cool fully before slicing and serving.
Ashley’s Pro-Tips for the Perfect Chocolate Cloud Cake
Use the best semisweet chocolate you can comfortably afford — the quality of the chocolate is nearly everything in this recipe. I’ve made this with a standard store brand before and it was good. I’ve made it with Guittard 61% semisweet baking bar, and it was on a completely different level. The better the chocolate, the more complex and rich the final cake. Chop it into small, even pieces so it melts quickly and evenly without scorching.
Room temperature eggs are absolutely essential — this step is non-negotiable! Cold egg whites simply won’t reach the volume you need, and the resulting cake can be dense and flat without that signature lift. Pull your eggs from the fridge at least 30 minutes before you start. In a pinch, place the whole uncracked eggs in a bowl of warm (not hot) water for 10 minutes — works perfectly every time.
Make sure your stand mixer bowl and whisk are completely spotless when it’s time to whip the egg whites. I wipe mine down with a paper towel dipped in white vinegar before every bake — it cuts through any hidden grease. Even a single drop of egg yolk or fat will prevent the whites from whipping up, and there’s no recovering from that mid-recipe.
Fold — never stir — when combining the egg whites with the chocolate mixture. Use a large, flexible spatula and move in slow, sweeping motions from the bottom of the bowl up and over, rotating the bowl as you go. You’re trying to preserve every bit of air in those whipped whites. As soon as the last streaks disappear, step away from the bowl.
Don’t be alarmed when the cake deflates dramatically as it cools — I promise it’s supposed to! The center will sink beautifully, and the edges may pull away slightly from the pan. That imperfectly perfect sunken top is what makes this cake so unique and charming. A generous dusting of powdered sugar or a pile of fresh raspberries will make it look absolutely intentional and stunning.
Storage & Make-Ahead Tips
Store leftover Chocolate Cloud Cake loosely covered at room temperature for up to 2 days. For longer storage, refrigerate it for up to 5 days — press plastic wrap gently against any cut edges to keep it from drying out. Honestly, I think this cake tastes even better the day after baking. It gets more dense and fudgy overnight, and the chocolate flavor deepens in a really wonderful way.
This cake freezes beautifully! Slice it into individual portions and wrap each slice tightly in plastic wrap, then store in a freezer-safe bag or airtight container for up to 2 months. Thaw slices overnight in the refrigerator, or at room temperature for about an hour before serving. A fresh dusting of powdered sugar right before serving makes each slice look just-baked.
For entertaining, this make-ahead dessert is practically ideal. Bake the cake the day before your dinner party, let it cool completely at room temperature, then cover and refrigerate overnight. The flavors deepen and the texture settles into something even more luscious. Pull it out about 30 minutes before dessert so it’s not ice-cold, add your toppings right before guests arrive, and take all the credit. Future-you will thank you every single time.
A Little Joy on Top
This Chocolate Cloud Cake absolutely deserves a moment of ceremony when it hits the table. Dust that sunken, crackly top generously with powdered sugar right before serving — it settles into all the little crevices and looks like something from a French patisserie window. Add a cloud of freshly whipped cream and a handful of plump, fresh raspberries or sliced strawberries alongside, and you have a dessert that will make your guests audibly gasp.
For serving, I love pairing a slice with a scoop of good vanilla bean ice cream — the cold, creamy contrast against the dense, rich chocolate is absolutely dreamy. It also pairs beautifully with a drizzle of raspberry sauce, a spoonful of salted caramel, or even just a light dusting of flaky sea salt right on top. For the grown-ups at the table? A strong cup of dark roast coffee or a shot of espresso alongside is completely unbeatable.
If you love rich, chocolatey desserts that are worth every single bite, my Easy Homemade Brownies use pantry staples and deliver the most incredible fudgy texture — ready in under 40 minutes and always a crowd-pleaser. And for something truly over-the-top, my Fudge Peanut Butter Brownies are decadent, chocolatey, and also naturally gluten free — the combination is seriously irresistible.
As always, friends — if you make this Chocolate Cloud Cake, I genuinely want to see it! Tag me on Instagram and show me your beautiful crackly, powdered-sugar-dusted tops. Y’all have no idea how much joy it brings me to see these recipes come to life in your kitchens. Happy baking! 🍫
Want to Save This Recipe?
Enter your email below, and we’ll send the link straight to your inbox.
Easy Chocolate Cloud Cake Gluten Free Recipe
Ingredients
Method
- Adjust the oven rack to the lower third of the oven and preheat to 350°F. Spray the bottom only of a 9-inch round springform pan with non-stick baking spray. Set aside.
- Set up a double boiler: fill a saucepan with 2-3 inches of water and place a heat-safe bowl over it — the bowl should not touch the water. Over medium-low heat, melt the butter and chopped chocolate together, stirring often until completely smooth and shiny. Add the sifted cocoa powder and espresso powder and whisk to combine. Remove from heat and set aside to cool slightly.
- Separate the eggs, adding the yolks to a medium bowl with the vanilla extract. Whisk together and set aside. Add the egg whites to the bowl of a stand mixer fitted with the whisk attachment. Ensure the bowl is completely clean and grease-free.
- Add the cream of tartar to the egg whites. Whip on medium-low until bubbles form, then slowly increase speed to medium-high until soft peaks form. With the mixer running on medium-high, slowly add the granulated sugar one tablespoon at a time until stiff, glossy peaks form.
- Fold about one-third of the whipped egg whites into the yolk mixture to loosen it. Then fold in the melted chocolate-butter mixture until just combined.
- Add the remaining whipped egg whites in three additions, folding gently with a large spatula until no streaks of chocolate or white remain. Do not over-mix — this will deflate the egg whites and compromise the texture.
- Pour the batter into the prepared springform pan. Use an offset spatula to smooth the top evenly.
- Bake for 30-35 minutes, until the top has puffed, cracked, and has a smooth matte finish. Beneath the cracks it should still look moist — this is correct.
- Allow the cake to cool in the pan for 20 minutes. Run a knife along the edge to release the sides, then unhinge the springform. The cake will deflate as it cools — this is normal and gives it its signature dense, fudgy center.
Nutrition
Tried this recipe?
Let us know how it was!
Meet Ashleybakeseasy
Welcome to Ashley Bakes Easy! I’m Ashley, a home cook and mother who believes that delicious food doesn’t have to be complicated. My journey in the kitchen started with a simple goal: create meals that my whole family would love, we could afford on a single income, and create recipes tailored for our special needs son Winston.
LET’S CONNECT!

Hello Form Ashleybakeseasy
Welcome to Ashley Bakes Easy! I’m Ashley, a home cook and mother who believes that delicious food doesn’t have to be complicated. My journey in the kitchen started with a simple goal: create meals that my whole family would love, we could afford on a single income, and create recipes tailored for our special needs son Winston.
Leave a Reply