Easy Gluten-Free PB Oatmeal Cookies

Ashley

0

Comments

This Post May Contain Affiliate Links. Please Read Our  Disclosure Policy
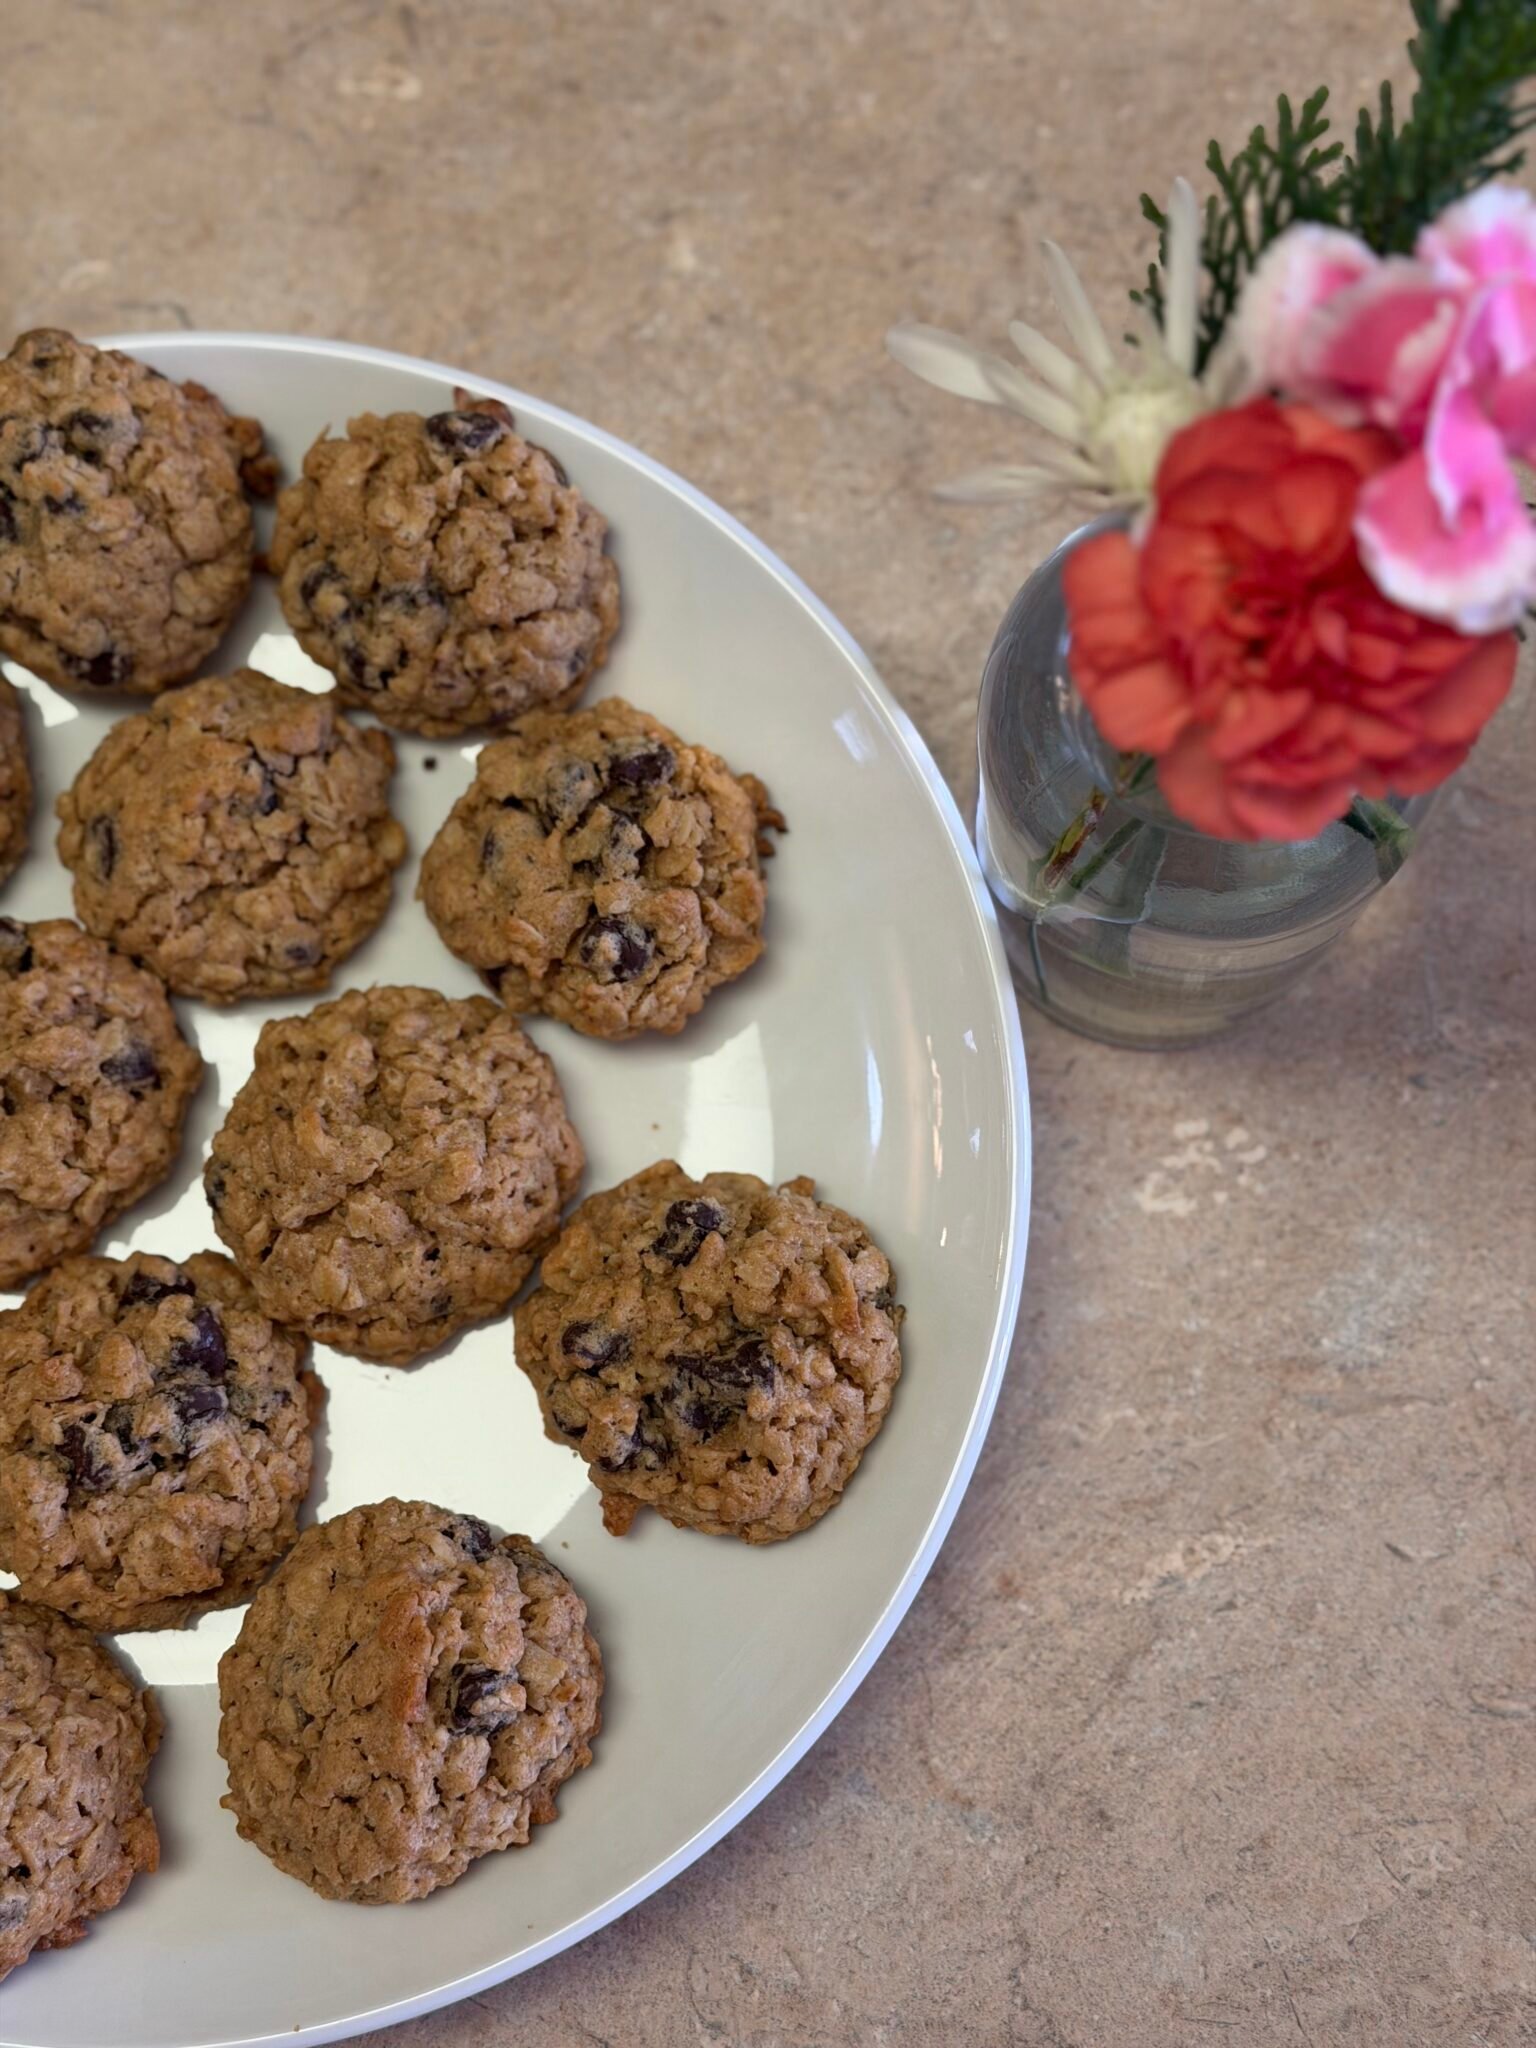
Hey friends! Ashley here. Can we talk about how hard it is to find a truly amazing gluten-free cookie? So many gluten-free baked goods end up dry, crumbly, or just… disappointing. But these Gluten-Free Chocolate Chip Peanut Butter Oatmeal Cookies are different. They’re soft, chewy, loaded with peanut butter flavor, and packed with chocolate chips and hearty oats. The best part? They’re naturally gluten-free thanks to oats instead of flour, which means they’re just as delicious as any traditional cookie—if not better. Whether you’re avoiding gluten or just love a good cookie, these are about to become your new obsession. This is “imperfectly perfect” baking at its finest: simple ingredients, big flavor, and cookies that disappear faster than you can say “just one more.”

Ingredient Spotlight: What Makes These Cookies Special

Let’s talk about the star ingredients that make these cookies so incredible. First up: 3 cups of gluten-free rolled oats. Make sure to use certified gluten-free oats like Trader Joe’s or Bob’s Red Mill—regular oats can be cross-contaminated with gluten during processing. The oats give these cookies a hearty, satisfying texture and act as the “flour” in this recipe. They’re the reason these cookies are naturally gluten-free without needing any weird substitutes.

The peanut butter is crucial here. We’re using ¾ cup of creamy peanut butter, and it needs to be the commercial kind like Jif or Skippy—not natural peanut butter. Natural peanut butter (the kind that separates and has oil on top) can make the dough too oily and mess with the texture. The commercial stuff has stabilizers that help the cookies hold their shape and creates that perfect chewy texture we’re after.
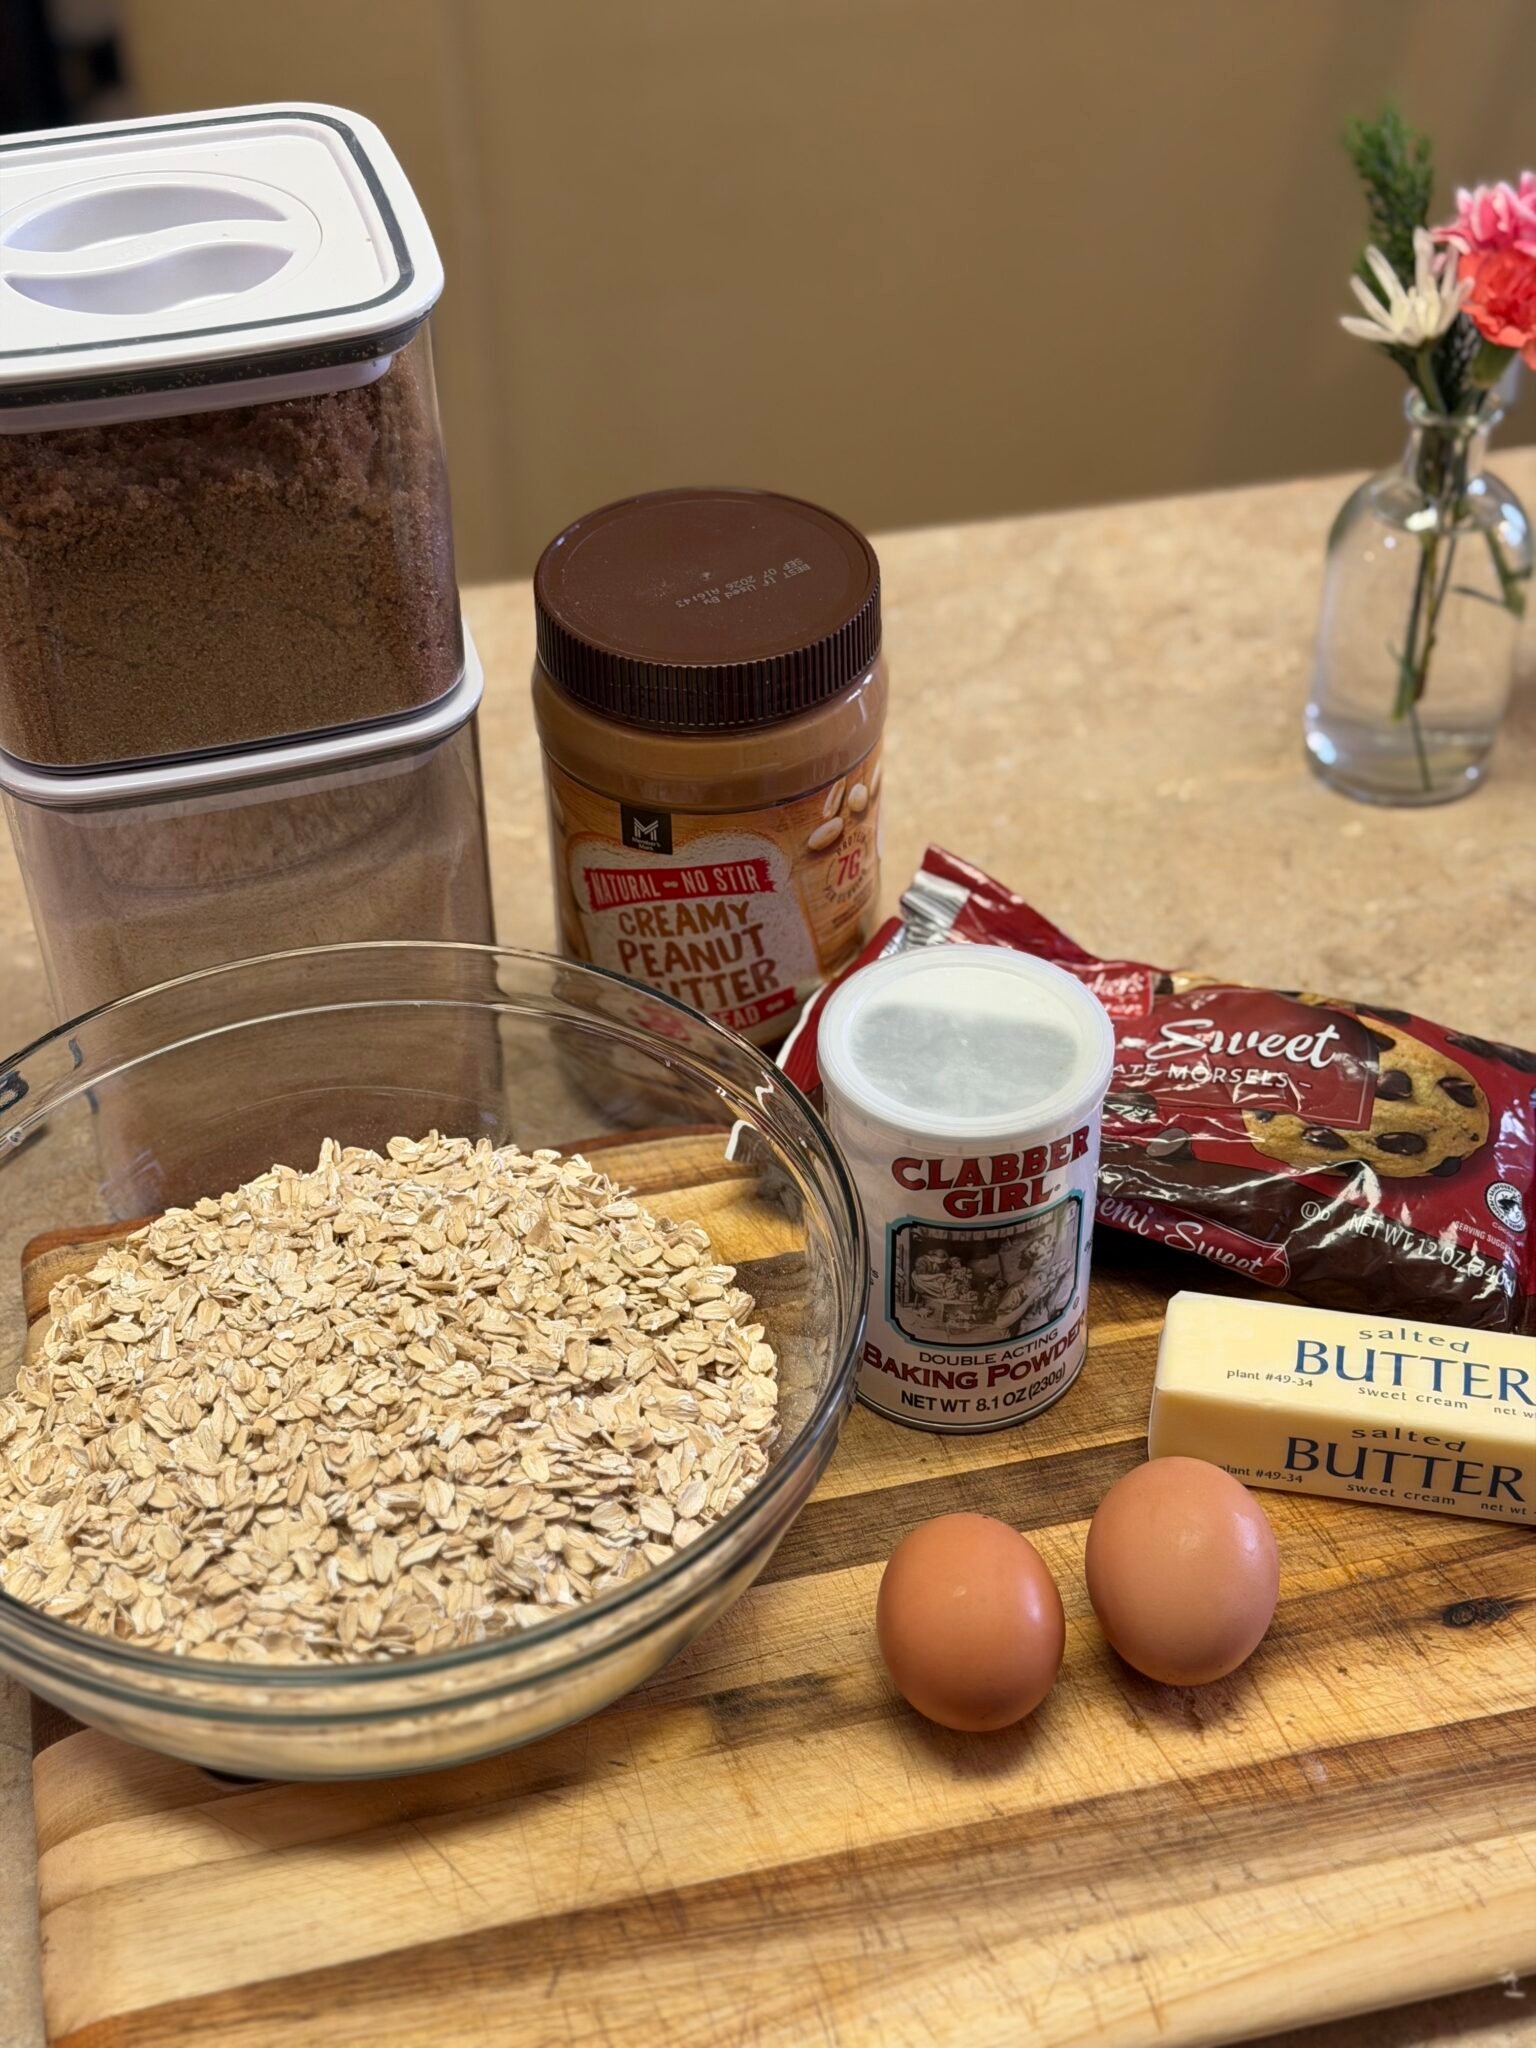
For the sweetness, we’re using a combination of ¾ cup brown sugar and ¾ cup granulated sugar. The brown sugar adds moisture and creates that soft, chewy texture, while the granulated sugar helps the cookies spread just enough and adds a slight crispness to the edges. Together, they create the perfect balance. We also add ½ cup of softened butter, which adds richness and helps bind everything together.

The chocolate is where you can really shine. We’re using 12 ounces (about 2 cups) of milk chocolate chips. I love Ghirardelli or Guittard milk chocolate chips for the best flavor, but you can also use semi-sweet or dark chocolate if you prefer. That’s a generous amount of chocolate—these cookies are seriously loaded! Finally, 2 large eggs, 1 teaspoon vanilla extract, 1¼ teaspoon baking soda, and ½ teaspoon salt round out the dough and bring all the flavors together.
Let’s Bake! Simple Steps for Perfect Cookies

  1. Cream the Butter and Sugars: In a large mixing bowl or stand mixer, cream together the softened butter, brown sugar, and granulated sugar for 3 to 4 minutes until the mixture is light and fluffy. This step is important—it incorporates air into the dough and creates a lighter texture. Scrape down the sides of the bowl, then add the peanut butter and mix for another minute until everything is smooth and well combined.
  2. Add Eggs and Vanilla: Add the eggs one at a time, mixing well after each addition. This ensures the eggs are fully incorporated and creates a smooth, cohesive dough. Add the vanilla extract and mix until combined.
  3. Mix in Dry Ingredients: Stir in the gluten-free rolled oats, baking soda, and salt. Mix until everything is evenly distributed throughout the dough. The dough will be thick and hearty. Finally, fold in the milk chocolate chips, making sure they’re evenly distributed.
  4. Chill the Dough (Don’t Skip This!): This is the secret to perfect cookies! Cover the bowl tightly with plastic wrap and refrigerate the dough for at least 30 minutes. For even better results, chill it overnight (or up to 24 hours). Chilling the dough prevents the cookies from spreading too much and gives them more loft and a better texture. Trust me on this one!
  5. Preheat and Prepare: When you’re ready to bake, preheat your oven to 350°F. Line a light-colored baking sheet with parchment paper or a Silpat mat. Light-colored pans prevent the bottoms from browning too quickly.
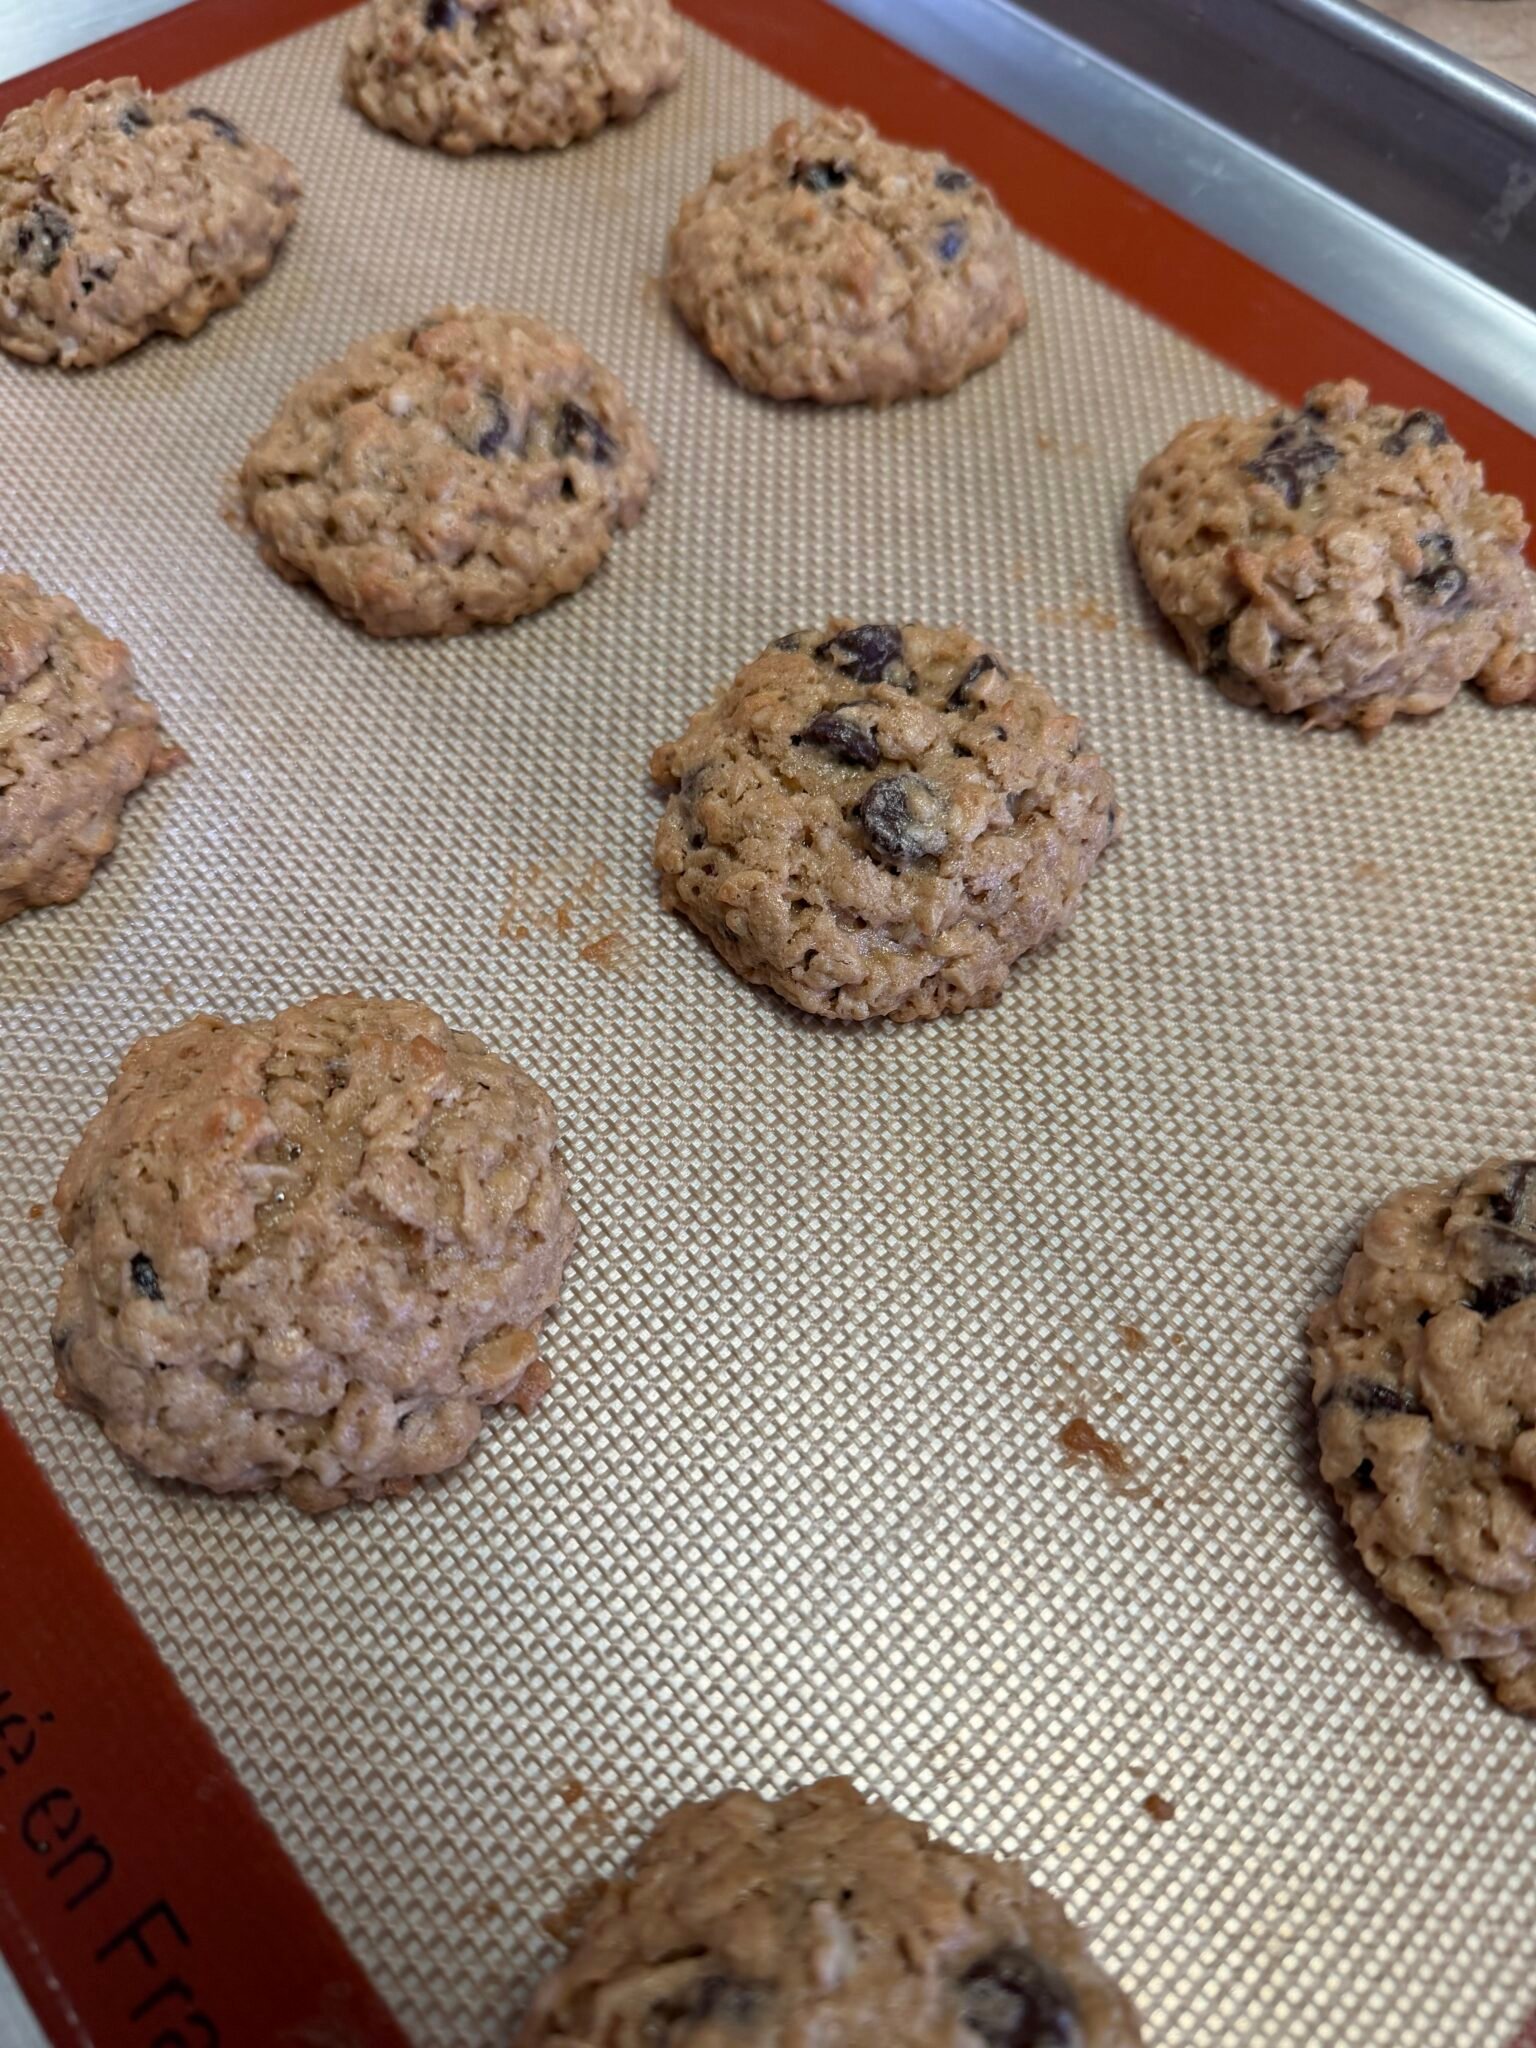
  6. Scoop and Bake: Use a cookie scoop (I love a 2-tablespoon scoop for perfectly sized cookies) to drop balls of dough onto the prepared baking sheet, spacing them about 2 inches apart. Bake for 10 to 12 minutes until the edges are golden brown but the centers still look slightly underdone. They might look a little puffy and soft, but that’s exactly what you want!
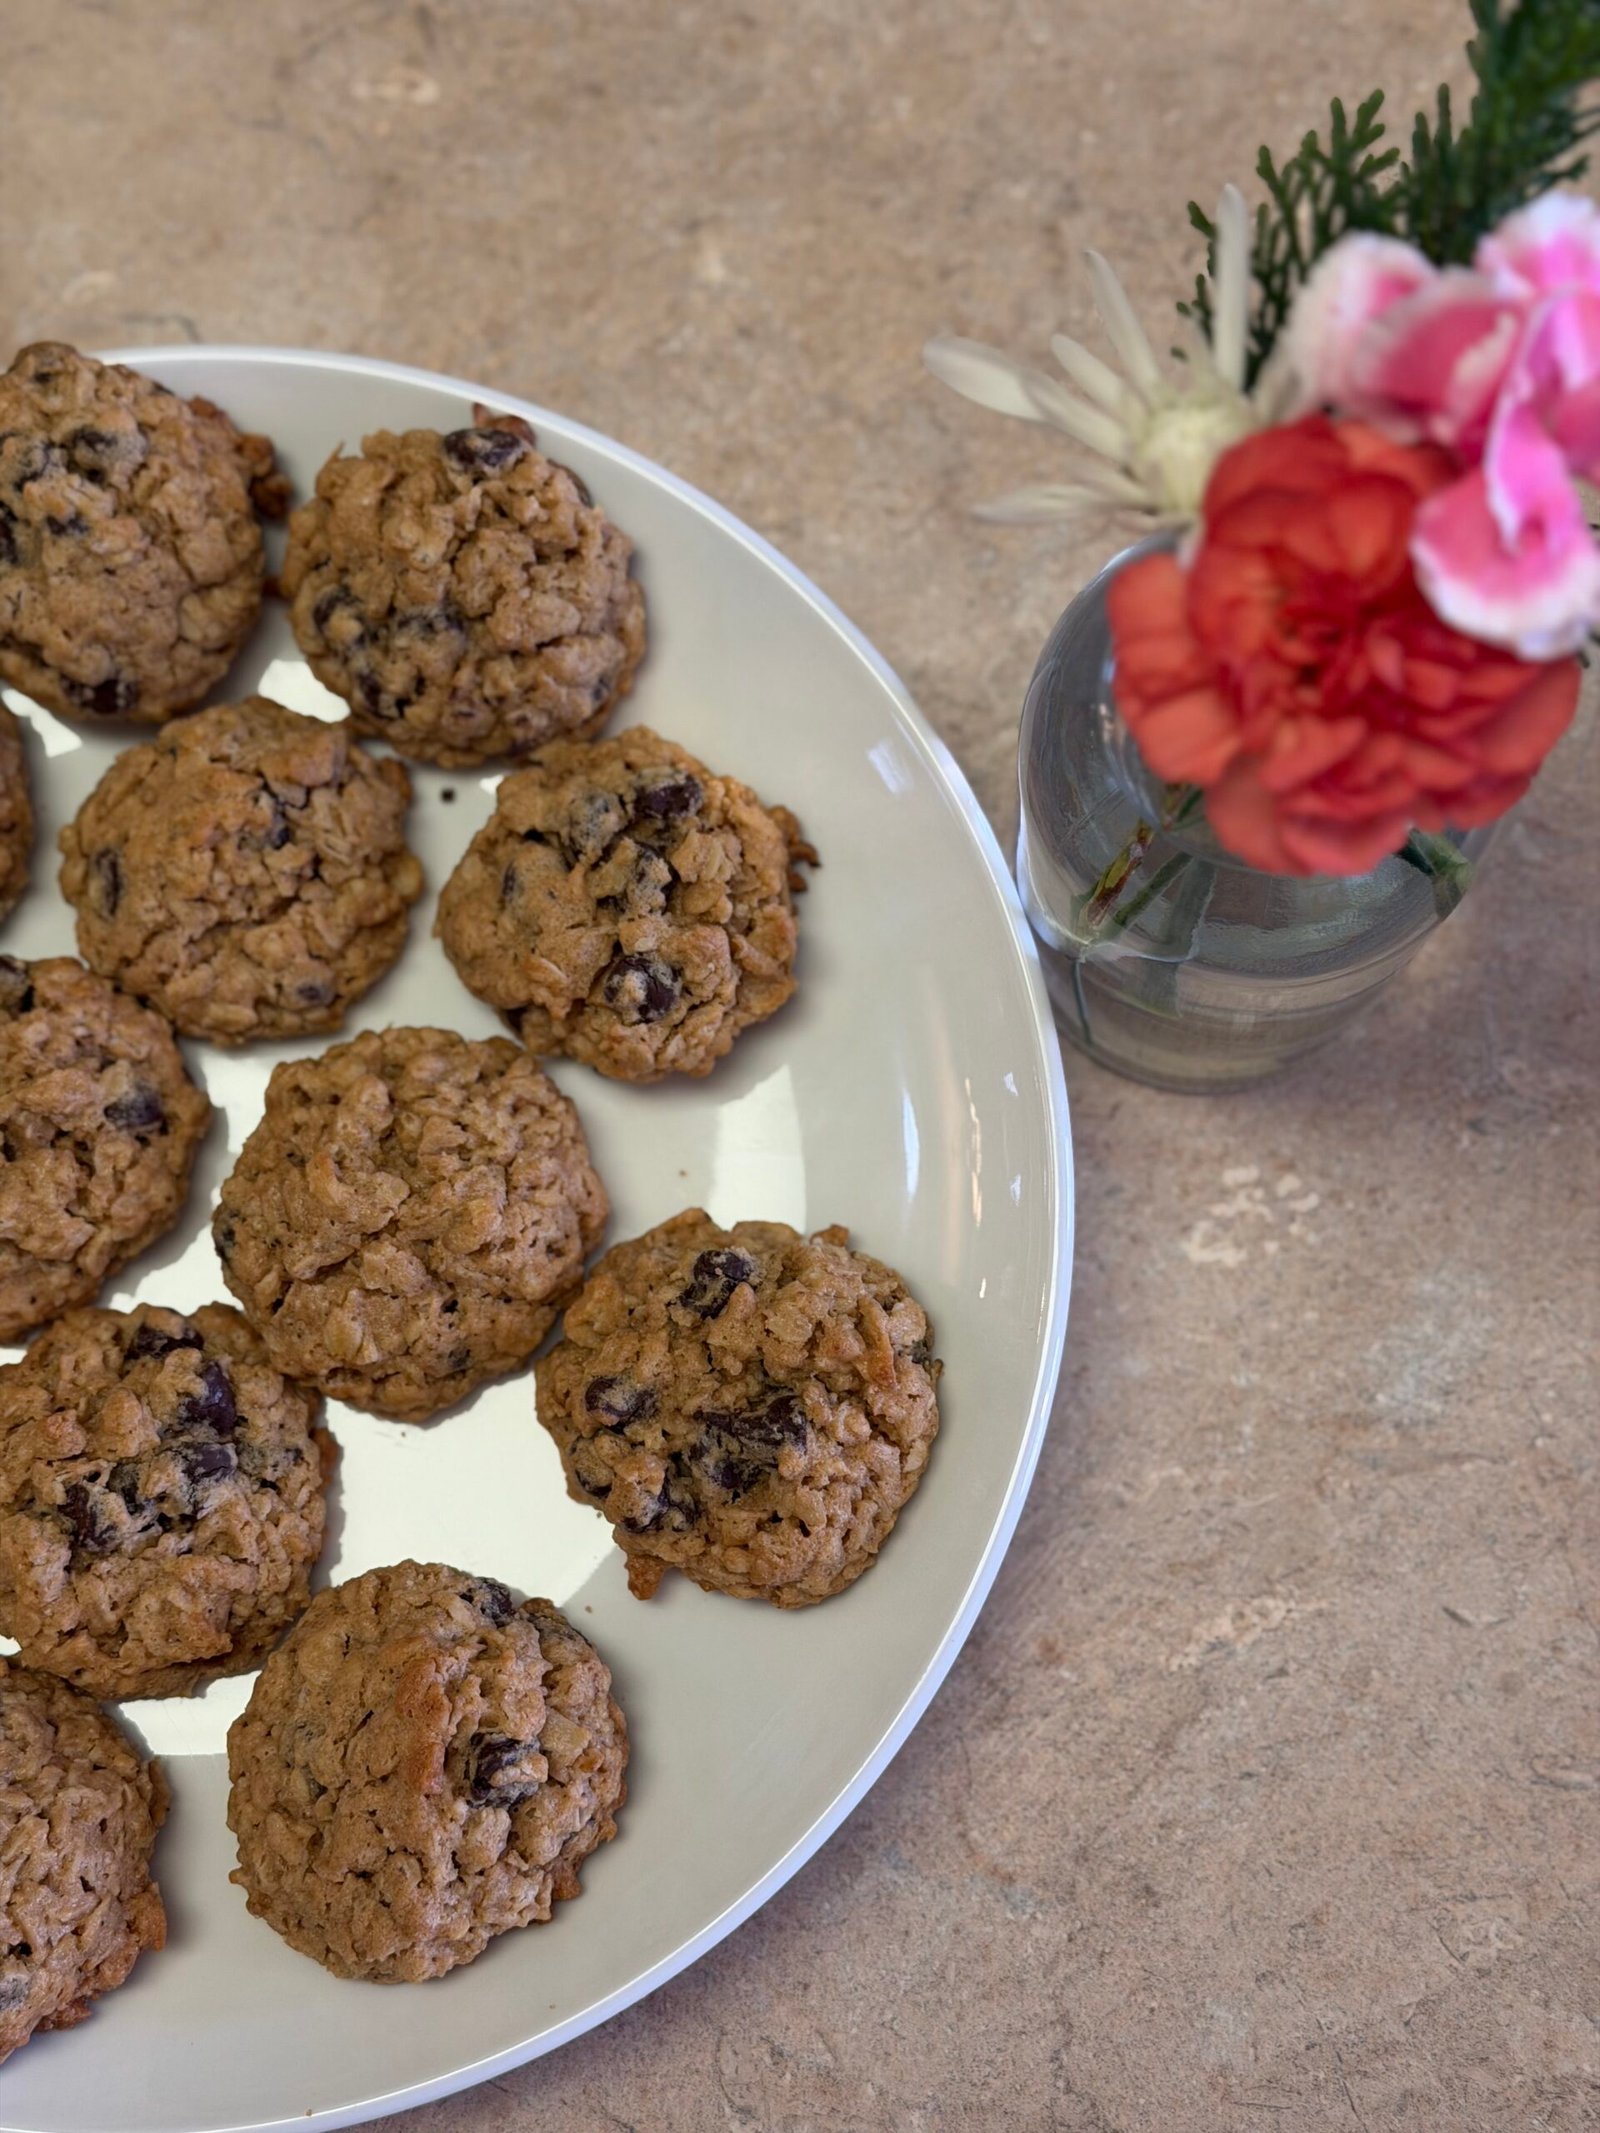
  7. Cool and Enjoy: Let the cookies sit on the baking sheet for 5 minutes to set up before transferring them to a wire rack. This step is crucial—the cookies will continue to cook slightly as they cool and will firm up without breaking apart. Once cooled, dive in and enjoy the most amazing gluten-free cookies you’ve ever had!

Ashley’s Pro-Tips: Making These Cookies Work for You

Chilling the dough is absolutely essential for these cookies. I know it’s tempting to skip this step and bake them right away, but trust me—the difference is huge. Chilled dough spreads less, which means your cookies will be thicker and chewier with a better texture. If you can chill the dough overnight, you’ll get even better results. The flavors meld together and the cookies bake up perfectly.

Make sure your butter is softened but not melted. It should be soft enough to press your finger into easily, but it shouldn’t be greasy or melted. If your butter is too soft, the cookies will spread too much. If it’s too cold, it won’t cream properly with the sugars.

Don’t overbake these cookies! They might look slightly underdone when you pull them from the oven, but they’ll continue to cook as they cool on the baking sheet. If you bake them until they look completely done, they’ll end up dry and crunchy instead of soft and chewy.

Want to make these cookies even more special? Try adding a sprinkle of flaky sea salt on top right after they come out of the oven. The sweet-salty combination is incredible! You can also swap some of the chocolate chips for peanut butter chips, white chocolate chips, or even butterscotch chips for a fun twist.

Storage and Make-Ahead: Cookies Whenever You Want

These cookies store beautifully in an airtight container at room temperature for up to 5 days. To keep them extra soft, I like to tuck a piece of bread into the container with them—the cookies absorb moisture from the bread and stay perfectly chewy.

You can absolutely freeze baked cookies for up to 3 months. Let them cool completely, then stack them in a freezer-safe container with parchment paper between the layers. When you’re ready to enjoy them, just thaw them at room temperature or warm them in the microwave for 10-15 seconds.

But here’s my favorite trick: freeze the cookie dough! After scooping the dough into balls, place them on a baking sheet and freeze until solid (about 2 hours). Then transfer the frozen dough balls to a freezer bag and store for up to 3 months. When you want fresh-baked cookies, just bake them straight from the freezer—no thawing needed! Just add 1 to 2 extra minutes to the baking time. This way you can have warm, freshly baked cookies anytime the craving hits.

A Little Joy on Top

There’s something really special about a cookie recipe that works perfectly every single time. These Gluten-Free Chocolate Chip Peanut Butter Oatmeal Cookies are proof that you don’t need fancy ingredients or complicated techniques to create something absolutely delicious. Whether you’re baking for someone with celiac disease, avoiding gluten for health reasons, or just love a really good cookie, these are guaranteed to become a staple in your recipe collection. They’re the kind of cookies that make you realize gluten-free baking doesn’t have to be a compromise—it can be just as amazing as the original.

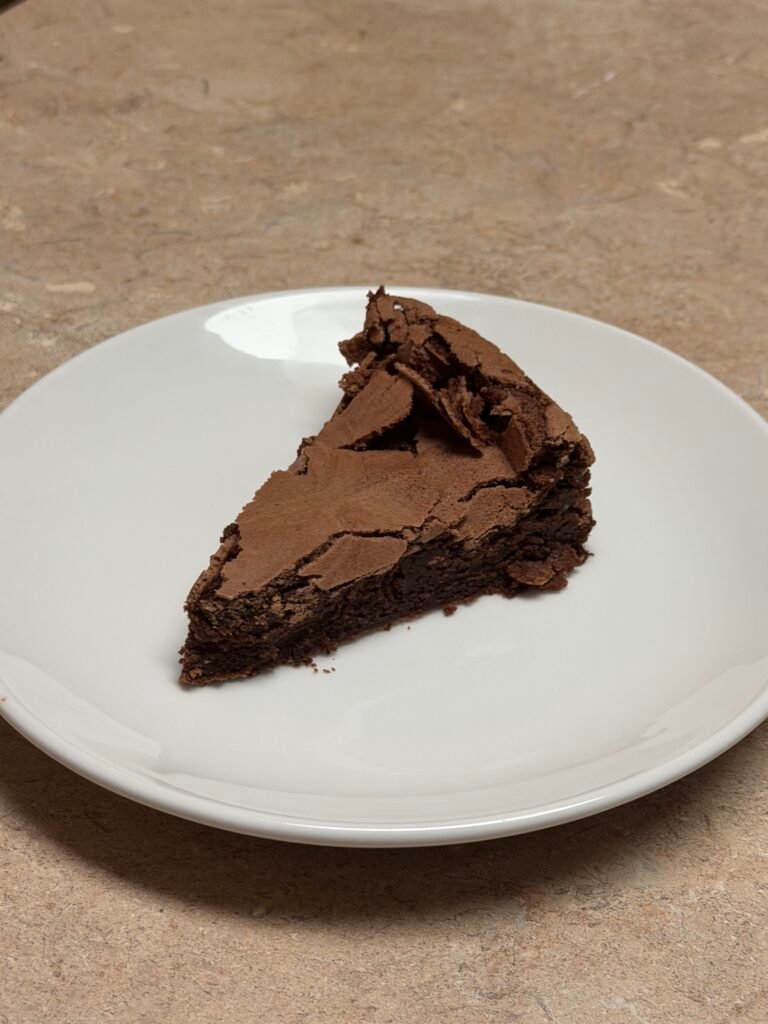
If you love easy, from-scratch baking, my Easy Homemade Brownies are another can’t-fail classic that everyone goes back for seconds on! And for a nutritious cookie perfect for little ones, my Easy ABC Toddler Cookies are made with wholesome ingredients the whole family will love.

I hope these cookies bring as much joy to your kitchen as they have to mine! If you give them a try, I’d love to hear how they turned out. Happy baking, y’all!

Want to Save This Recipe?

Enter your email below, and we’ll send the link straight to your inbox.

Easy GF PB Oatmeal Cookies Recipe

Soft, chewy chocolate chip peanut butter oatmeal cookies. The best gluten-free chocolate chip oatmeal cookies you’ll ever make!
Prep Time 10 minutes
Cook Time 10 minutes
Total Time 20 minutes
Servings: 24 cookies
Course: Dessert
Cuisine: American
Calories: 185

Ingredients
  

  • 1/2 cup butter softened
  • 3/4 cup brown sugar
  • 3/4 cup granulated sugar
  • 3/4 cup creamy peanut butter such as Jif or Skippy
  • 2 large eggs
  • 1 teaspoon vanilla extract
  • 3 cups gluten-free rolled oats
  • 1 1/4 teaspoon baking soda
  • 1/2 teaspoon salt
  • 12 ounces milk chocolate chips about 2 cups

Method
 

  1. Cream the Butter and Sugars: In a large mixing bowl or stand mixer, cream together the softened butter, brown sugar, and granulated sugar for 3-4 minutes until light and fluffy. Scrape down the sides of the bowl. Add the peanut butter and mix for 1 minute longer until fully incorporated.
  2. Add Eggs and Vanilla: Add the eggs one at a time, mixing well after each addition. This ensures the eggs are fully incorporated and creates a smooth dough. Add the vanilla extract and mix until combined.
  3. Mix in Dry Ingredients: Stir in the gluten-free rolled oats, baking soda, and salt. Mix until everything is evenly distributed throughout the dough. Fold in the milk chocolate chips.
  4. Chill the Dough (Important!): I highly recommend chilling the dough for at least 30 minutes. For best results, chill it overnight (or for 24 hours) wrapped tightly in plastic wrap. Chilling the dough gives the cookies more loft and prevents them from spreading too thin while baking.
  5. Preheat and Prepare: Preheat your oven to 350°F. Line a light-colored baking sheet with parchment paper or a Silpat mat for easier removal and even baking.
  6. Scoop and Bake: Use a cookie scoop to drop cookie dough onto the prepared baking sheet, spacing them about 2 inches apart. Bake for 10-12 minutes until the edges are golden brown but the centers still look slightly underdone.
  7. Cool and Enjoy: Let the cookies set up on the baking sheet for 5 minutes before transferring them to a wire rack. This allows them to finish cooking and prevents them from breaking apart. Enjoy warm or at room temperature!

Nutrition

Calories: 185kcal

Notes

Ashley’s Pro-Tips:

Gluten-Free Oats: Make sure to use certified gluten-free rolled oats like Trader Joe’s or Bob’s Red Mill. Regular oats can be cross-contaminated with gluten during processing.
Peanut Butter Matters: Use a creamy, commercial peanut butter like Jif or Skippy. Natural peanut butter (the kind that separates) can make the dough too oily and affect the texture.
Chill Time is Key: Don’t skip chilling the dough! It makes a huge difference in the texture and prevents the cookies from spreading too much. Overnight chilling is even better if you have the time.
Chocolate Chips: I love Ghirardelli or Guittard milk chocolate chips for the best flavor. You can also use semi-sweet or dark chocolate if you prefer less sweetness.
Storage: Store cookies in an airtight container at room temperature for up to 5 days. They also freeze beautifully for up to 3 months!
Make-Ahead: You can freeze the cookie dough balls on a baking sheet, then transfer to a freezer bag. Bake from frozen, adding 1-2 extra minutes to the bake time.

Tried this recipe?

Let us know how it was!

Meet Ashleybakeseasy

Welcome to Ashley Bakes Easy! I’m Ashley, a home cook and mother who believes that delicious food doesn’t have to be complicated. My journey in the kitchen started with a simple goal: create meals that my whole family would love, we could afford on a single income, and create recipes tailored for our special needs son Winston.

LET’S CONNECT!
Leave a Reply

Your email address will not be published. Required fields are marked *

Recipe Rating


Hello Form Ashleybakeseasy

Welcome to Ashley Bakes Easy! I’m Ashley, a home cook and mother who believes that delicious food doesn’t have to be complicated. My journey in the kitchen started with a simple goal: create meals that my whole family would love, we could afford on a single income, and create recipes tailored for our special needs son Winston.
LET’S CONNECT!