
Easy Chocolate Raspberry Tart

Comments
This Post May Contain Affiliate Links. Please Read Our Disclosure Policy
Hey friends! Ashley here. Can we talk about how intimidating fancy desserts can feel? I used to think tarts were reserved for professional pastry chefs with marble countertops and fancy equipment. But then I discovered this Easy Chocolate Raspberry Tart, and it completely changed my perspective. This stunning dessert looks like it came straight from a French bakery window, but here’s the secret: it only requires 6 simple ingredients and about 30 minutes of actual hands-on time. The Oreo crust means no fussy pastry dough, the chocolate ganache filling is practically foolproof, and those gorgeous fresh raspberries on top? They do all the decorating work for you. This is the kind of “imperfectly perfect” dessert that makes you look like a baking genius without the stress.
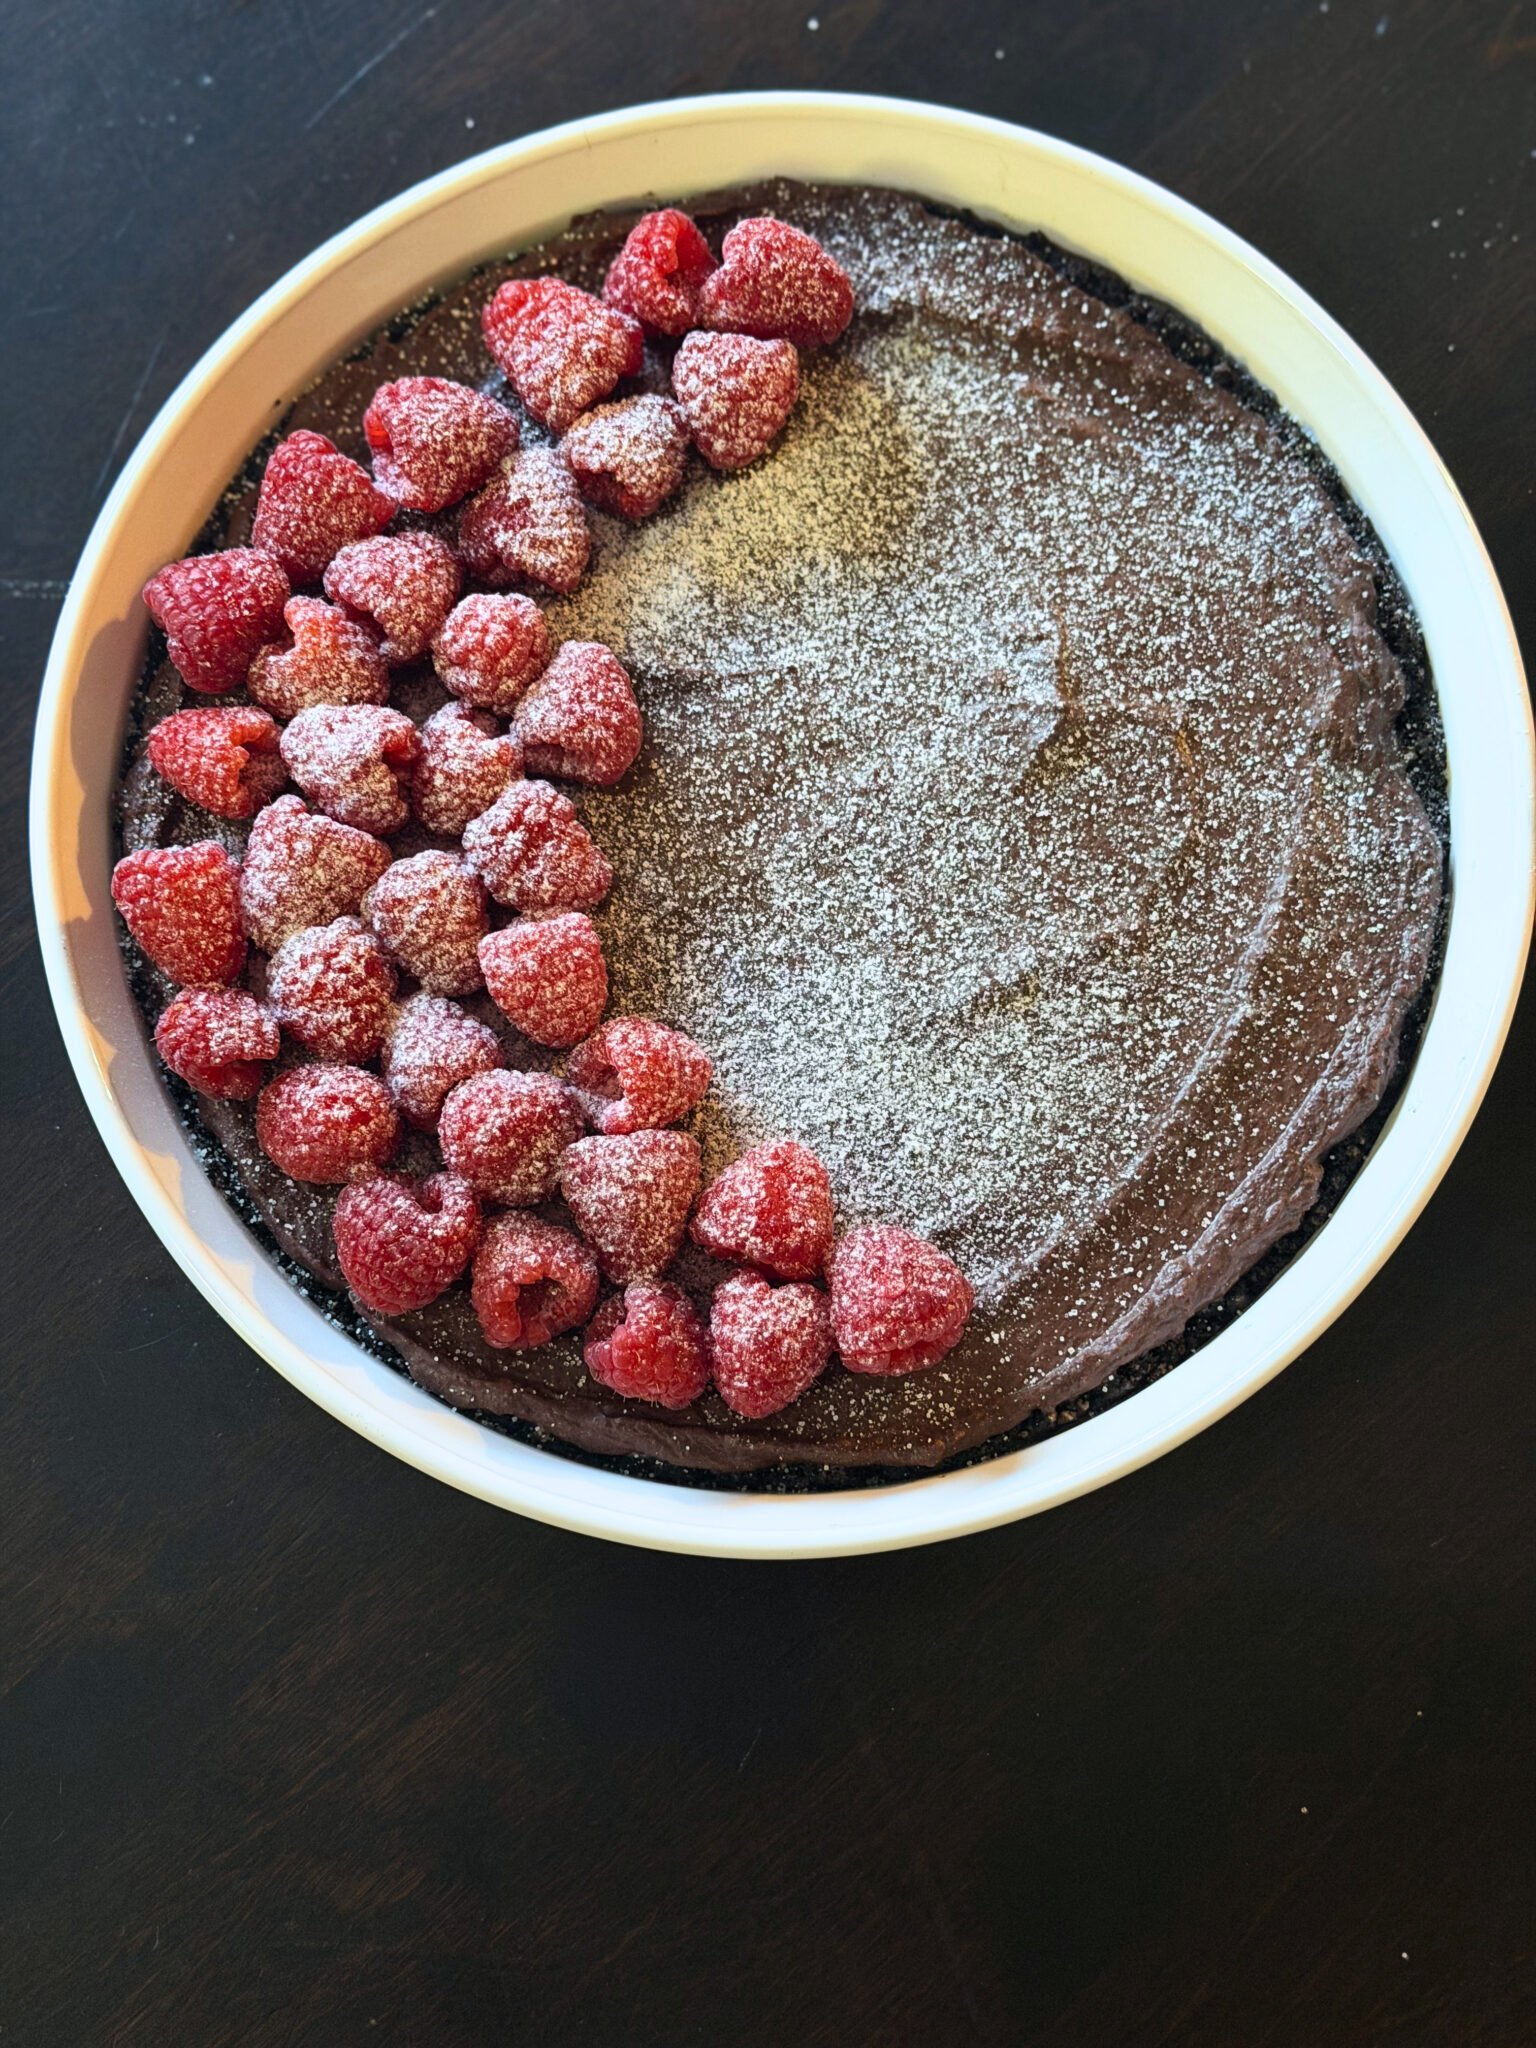
Why This Chocolate Raspberry Tart Is Your New Showstopper Dessert
I used to save tarts for special occasions when I had hours to spend in the kitchen. But this recipe proved me so wrong. It’s elegant enough for a dinner party, yet simple enough for a random Tuesday when you just want something sweet and beautiful.
The best part? You get all the elegance and “wow factor” of a fancy French dessert without spending hours in the kitchen or needing professional skills. That’s the kind of baking I can get behind.
Ingredient Spotlight: Building the Perfect Chocolate Tart
Let’s talk about what makes this tart so incredibly delicious. We start with the crust: 1½ cups of Oreo cookie crumbs (that’s about 24 cookies) mixed with 6 tablespoons of melted butter. The Oreos already have the perfect balance of chocolate flavor and sweetness, so you don’t need to add sugar or cocoa powder. Just pulse them in a food processor until they’re fine crumbs, stir in the melted butter, and press the mixture into your tart pan. It’s the easiest crust you’ll ever make, and it tastes absolutely incredible.
The filling is where the magic happens. It’s a classic chocolate ganache made with just three ingredients: 1¼ cups of heavy cream, 2 cups (12 ounces) of good-quality bittersweet chocolate, and 1 teaspoon of pure vanilla extract. The key here is using quality chocolate—I love Ghirardelli bittersweet chocolate chips or a good dark chocolate bar chopped into pieces. The chocolate should be around 60% cacao for that perfect balance of rich chocolate flavor without being too bitter. When you pour hot cream over the chopped chocolate and let it sit, it melts into the silkiest, most luxurious ganache that sets up beautifully as it chills.
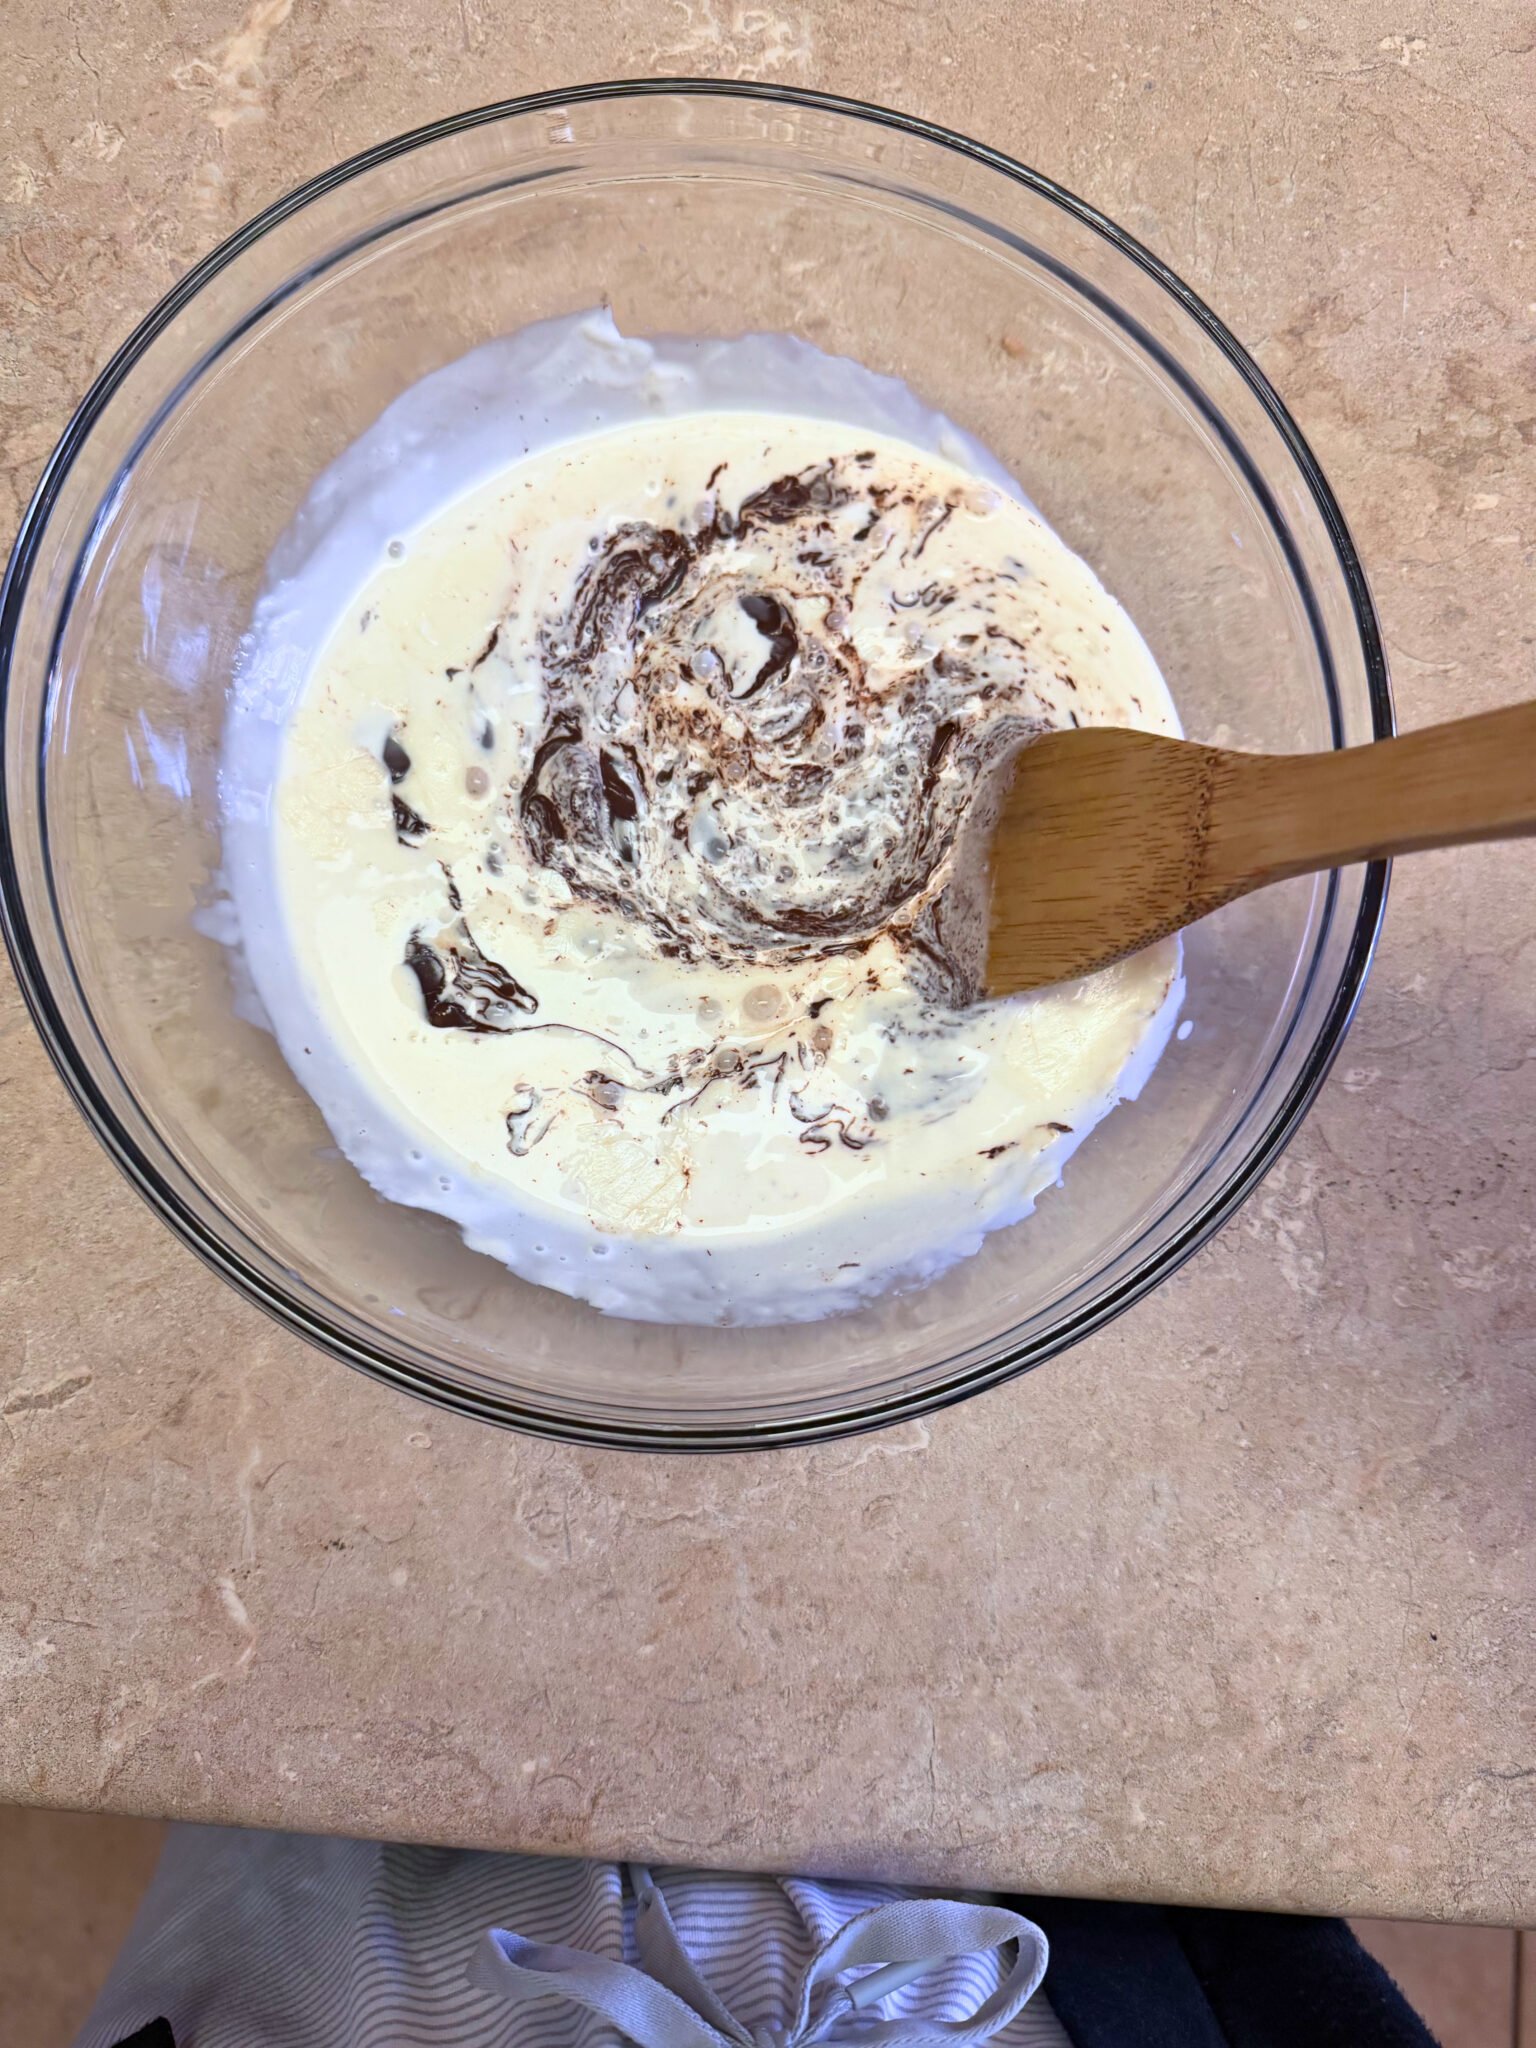
Finally, the toppings are simple but stunning. 2 pints of fresh raspberries (about 4 cups) get arranged in concentric circles on top of the set ganache, creating a gorgeous pattern that looks professionally decorated. A light dusting of confectioners’ sugar adds the finishing touch and makes those red berries really pop against the dark chocolate. Fresh raspberries are definitely best here—they’re vibrant, tart, and beautiful. If you must use frozen, make sure to thaw them completely and pat them very dry so they don’t make the tart soggy.
Let’s Bake! Simple Steps for a Show-Stopping Tart
- Make the Oreo Crust: Preheat your oven to 325°F. Toss those Oreo cookies into a food processor and pulse until they become fine, even crumbs. Add the melted butter and pulse a few more times until the mixture looks like wet sand and holds together when you press it. Transfer the mixture to a 9-inch tart pan (I love the kind with a removable bottom—it makes serving so much easier). Press the crumbs firmly into the bottom and slightly up the sides of the pan. Use the bottom of a measuring cup to really pack it down evenly.
- Bake and Cool: Pop the crust in the oven and bake for 10 minutes at 325°F. This step sets the crust and makes it nice and crispy. Let it cool completely on the counter before adding the filling—this is important! If the crust is still warm, it can melt the ganache.
- Heat the Cream: While the crust is cooling, make your ganache. Pour the heavy cream into a medium saucepan and heat it over medium-high heat. You want it to get scalding hot—just before it starts to boil. You’ll see tiny bubbles forming around the edges of the pan. Don’t let it come to a full rolling boil, though.
- Melt the Chocolate: Put your chopped chocolate in a heatproof bowl. Once the cream is hot, pour it directly over the chocolate. Let this mixture sit undisturbed for 4 to 5 minutes. This waiting period allows the hot cream to gently melt the chocolate without you having to stir or fuss with it.
- Stir Until Smooth: After those few minutes, add the vanilla extract and stir the ganache with a whisk or spatula until it’s completely smooth, glossy, and silky. If you see any lumps of unmelted chocolate, just keep stirring—the residual heat will melt them.
- Fill and Chill: Pour the chocolate ganache into your cooled Oreo crust. Use an offset spatula (or the back of a spoon) to spread it into an even layer. Now comes the hardest part: waiting! Let the tart cool on the counter for 2 to 3 hours until the ganache is completely set. If you’re in a hurry, you can refrigerate it for about 1 hour, but be aware that condensation might form on the surface.
- Top with Raspberries: Once the ganache is set and firm to the touch, arrange your fresh raspberries on top. I like to start from the outside edge and work my way in, creating concentric circles. Place each berry almost touching the one next to it for full coverage. Dust the whole thing with confectioners’ sugar using a fine-mesh sieve, slice, and serve!
Ashley’s Pro-Tips: Making This Tart Work for You
The quality of your chocolate really does make a difference here. Since the filling is so simple, the flavor of the chocolate shines through. I always reach for Ghirardelli bittersweet chocolate chips or a good quality chocolate bar with around 60% cacao. Avoid using chocolate chips labeled “semi-sweet” as they can be a bit too sweet and won’t give you that rich, sophisticated flavor.
When chopping your chocolate (if you’re using a bar instead of chips), try to make the pieces roughly the same size. This helps them melt evenly when you pour the hot cream over them. If some pieces are huge and others are tiny, you might end up with lumps.
If you want to get fancy, you can add a tablespoon of raspberry liqueur (like Chambord) to the ganache when you add the vanilla. It intensifies the raspberry flavor and adds a subtle sophistication that adults will love. Just remember to mention it if you’re serving it to kids!
One more thing: this tart is actually better when made a day ahead. The flavors meld together, and the crust softens just slightly, making it easier to slice. Just wait to add the raspberries and powdered sugar until right before you serve it so everything looks fresh and beautiful.
Storage and Serving: Keeping Your Tart Fresh
This tart stores beautifully at room temperature for up to 2 days, covered loosely with plastic wrap or foil. If your kitchen is particularly warm, or if you’re keeping it longer than 2 days, store it in the refrigerator for up to 5 days. Just know that refrigeration can dull the chocolate flavor slightly, so I recommend bringing it back to room temperature for about 30 minutes before serving for the best taste and texture.
You can absolutely freeze this tart for up to 2 months. Wrap it tightly in plastic wrap and then aluminum foil to prevent freezer burn. When you’re ready to serve it, defrost it in the refrigerator overnight, then let it come to room temperature before slicing. The texture holds up remarkably well!
For the cleanest slices, use a sharp knife and wipe it clean between each cut. Dipping the knife in hot water and drying it off also helps—the warm blade glides through the chocolate ganache like butter. And if you’re using a tart pan with a removable bottom, removing the outer ring before serving makes for a stunning presentation.
A Little Joy on Top
There’s something really special about making a dessert that looks this impressive but doesn’t demand hours of your time or advanced baking skills. This Easy Chocolate Raspberry Tart proves that you don’t need to be a professional pastry chef to create something truly beautiful and delicious. When you can serve a dessert this elegant and watch your guests’ eyes light up, that’s what “imperfectly perfect” baking is all about.
If you love easy, impressive desserts, my Easy Homemade Brownies are another pantry-staple treat that always gets rave reviews! And if you’re baking for little ones, my Easy ABC Toddler Cookies are the sweetest little bites everyone will love.
I hope this tart becomes your go-to dessert for special occasions, holidays, or just because. If you give it a try, I’d love to hear how it turned out and what you thought! Happy baking, y’all!
Want to Save This Recipe?
Enter your email below, and we’ll send the link straight to your inbox.
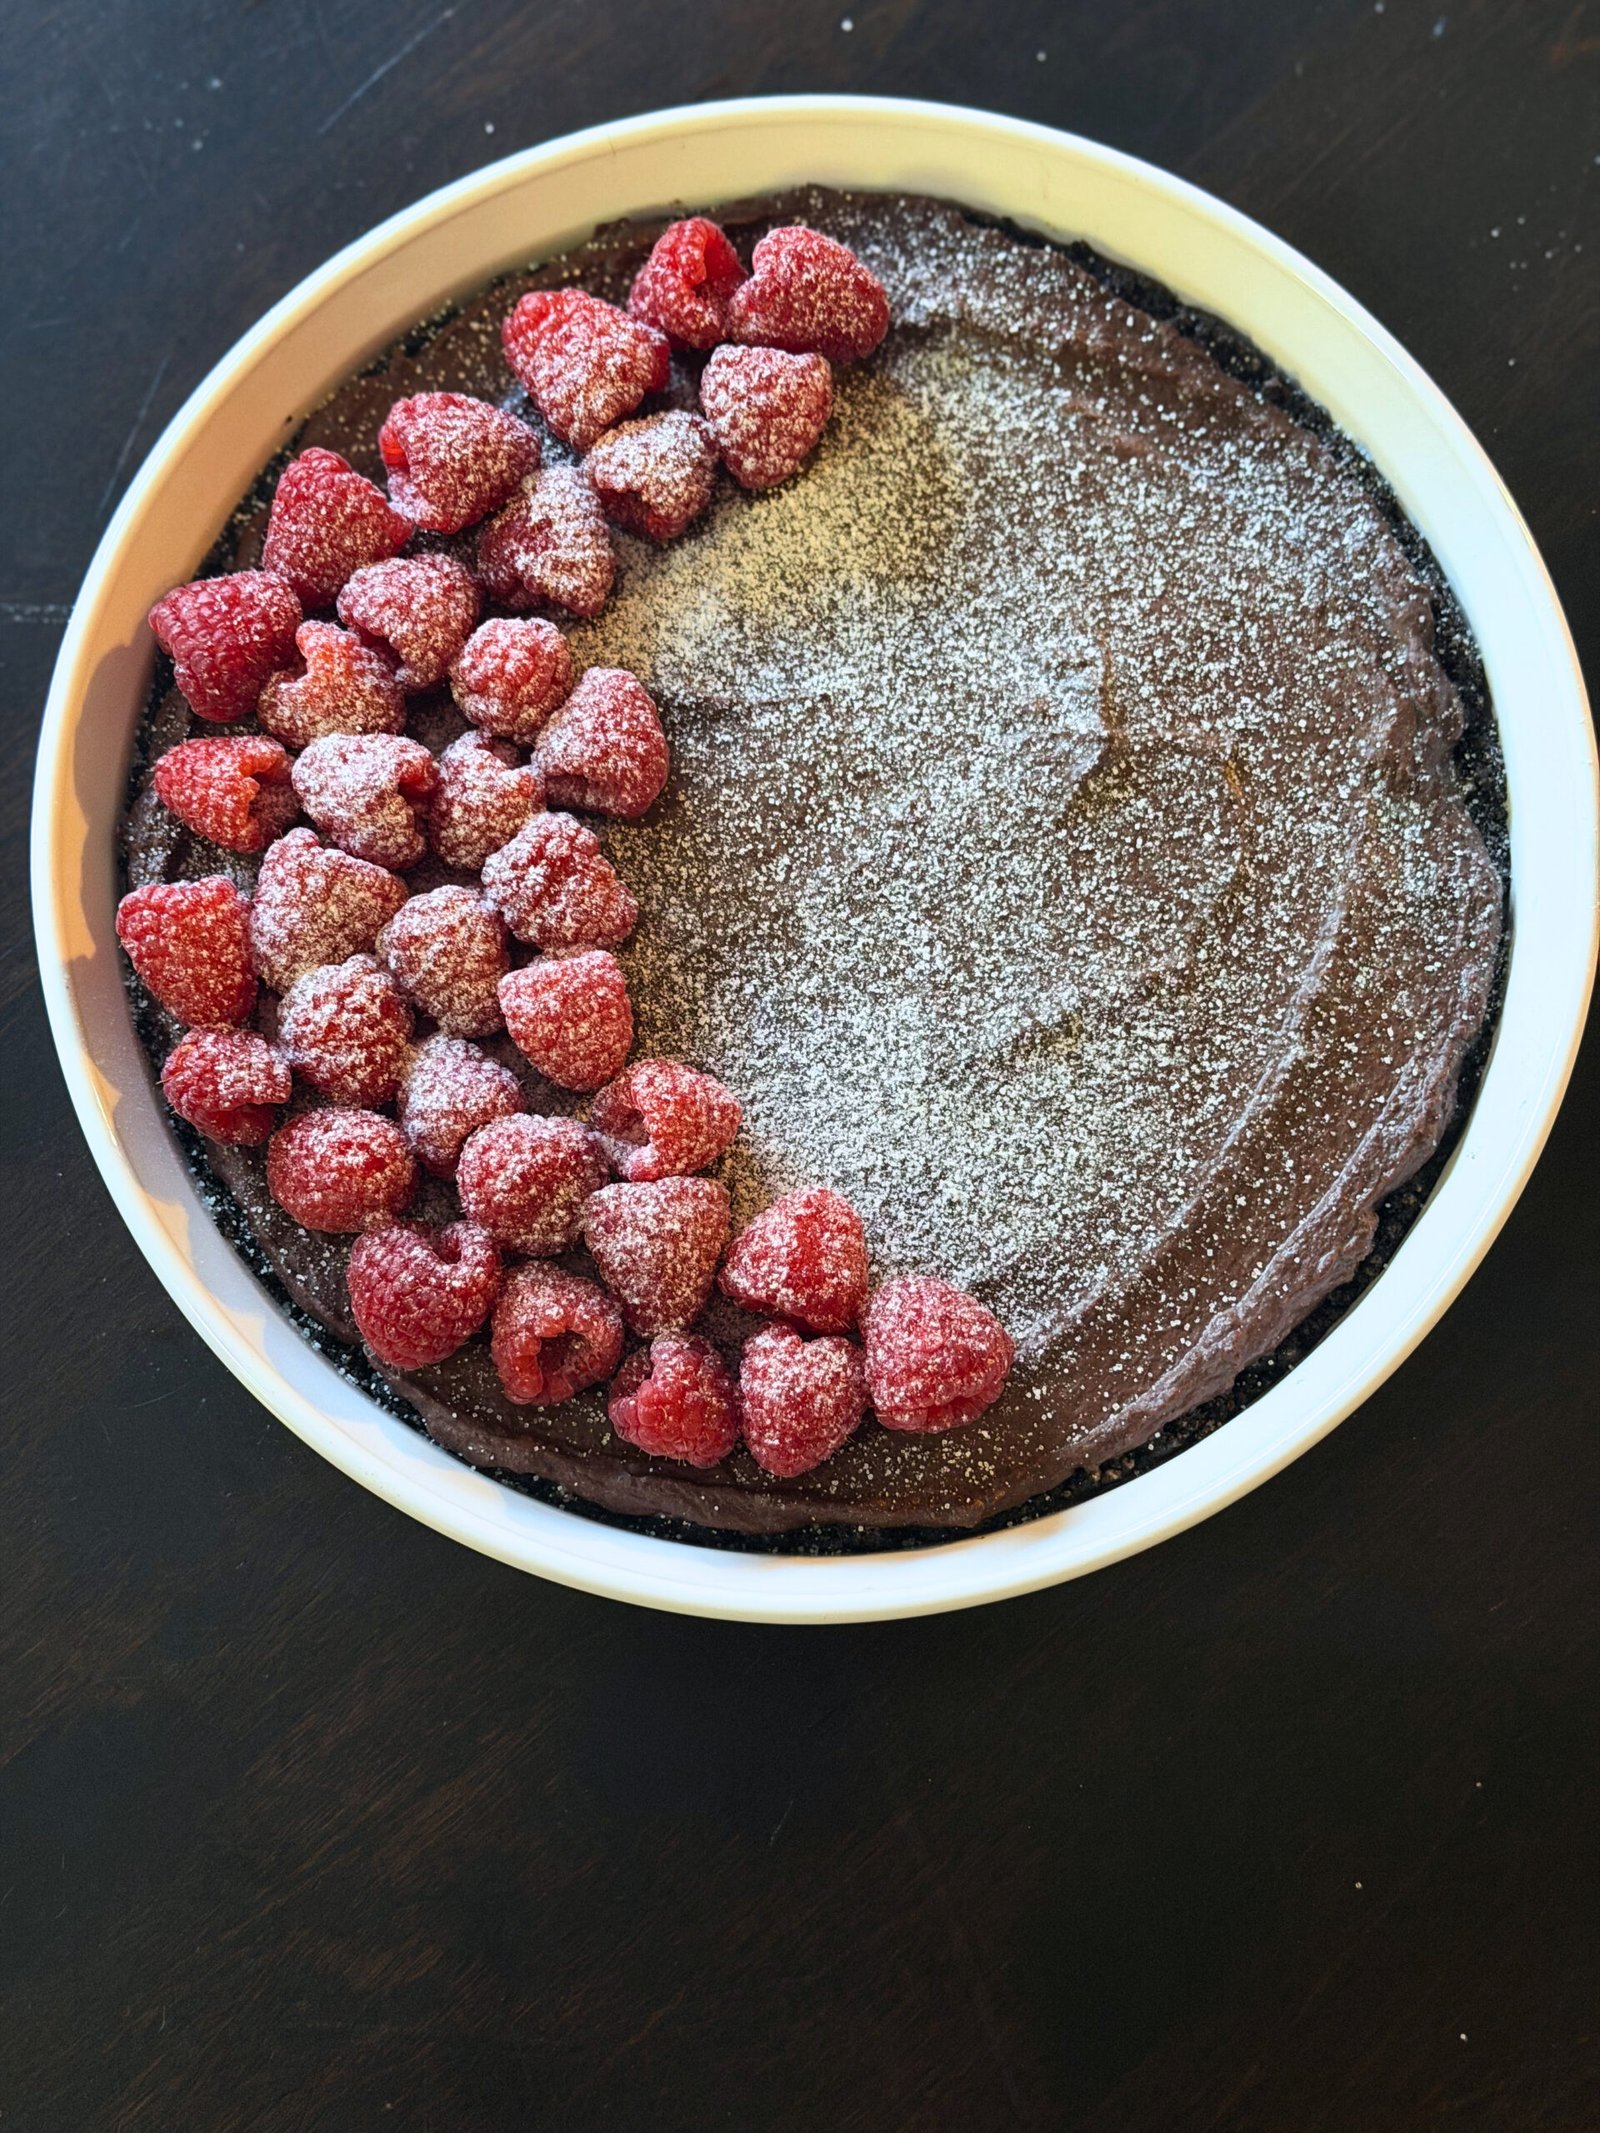
Easy Chocolate Raspberry Tart Recipe
Ingredients
Method
- Preheat oven to 325°F.
- Use a food processor to crush Oreo cookies until fine crumbs form. Add melted butter and pulse a few times until combined.
- Transfer mixture to a 9-inch tart pan (preferably one with a removable bottom). Firmly press the mixture to the bottom of the pan and slightly up the sides. Use the bottom of a measuring cup to press the mixture down evenly.
- Bake crust for 10 minutes at 325°F. Cool completely before filling.
- In a medium saucepan over medium-high heat, cook cream until scalding hot but not boiling. There should be tiny bubbles at the edge of the pan.
- Put chopped chocolate in a bowl. Pour hot heavy cream over the chocolate. Let the mixture sit for 4 to 5 minutes without stirring.
- Add vanilla extract and stir until completely smooth and glossy.
- Pour chocolate ganache into the cooled crust. Use an offset spatula to spread into an even layer.
- Cool on the counter for 2 to 3 hours, or in the refrigerator for 1 hour (note: condensation may occur in the fridge).
- Arrange raspberries on top in a circular pattern, placing each berry almost touching the one next to it. Dust with confectioners’ sugar and serve.
Nutrition
Notes
Ashley’s Pro-Tips:
Chocolate Choice: Choose a good quality bittersweet chocolate (about 60% cacao) for the best flavor. Dark chocolate works too! I prefer Ghirardelli. Chop it into similar sized pieces for smooth, even melting. Fresh vs. Frozen Raspberries: Frozen raspberries can be used in a pinch, but make sure to defrost them completely and pat them thoroughly dry before arranging on the tart. Fresh is really the best way to go for the prettiest presentation! Storage: Store covered at room temperature for up to 2 days or in the refrigerator for up to 5 days. Freezing: Freeze for up to 2 months. Wrap tightly in plastic wrap and aluminum foil to prevent freezer burn. Defrost in the refrigerator, then bring to room temperature before serving for the best texture. Make Ahead: The tart can be made up to 2 days in advance. Add the raspberries and dust with confectioners’ sugar just before serving for the freshest look.Tried this recipe?
Let us know how it was!
Meet Ashleybakeseasy
Welcome to Ashley Bakes Easy! I’m Ashley, a home cook and mother who believes that delicious food doesn’t have to be complicated. My journey in the kitchen started with a simple goal: create meals that my whole family would love, we could afford on a single income, and create recipes tailored for our special needs son Winston.
LET’S CONNECT!
Hello Form Ashleybakeseasy
Welcome to Ashley Bakes Easy! I’m Ashley, a home cook and mother who believes that delicious food doesn’t have to be complicated. My journey in the kitchen started with a simple goal: create meals that my whole family would love, we could afford on a single income, and create recipes tailored for our special needs son Winston.
Leave a Reply